A Step-by-Step Guide to Creating a 1:24 Scale Miniature Replica of a Male Student's Dorm Room

Creating miniature replicas is a fun activity that allows me to showcase my artistic creativity and attention to detail. Today I will share the process of building a commissioned 1:24 scale miniature replica of a dorm room belonging to a male student. I will not only discuss the steps involved in creating this miniature setting, but also provide images of the build process and a tutorial on how to construct the furniture pieces and the room itself. So, let's dive into this exciting journey of miniaturization!
Gathering the Materials
When embarking on the creation of a miniature replica, it's essential to start with a well-planned list of materials. To begin, the following supplies are gathered up:
-
Reference images: Reference images help with maintaining accuracy in scaling and design. My client send me a video and photos of the room.
-
Lightweight wood or foam board: These materials serve as the base for constructing the walls, floor, and ceiling of the miniature room. Materials have to be lightweight and easy to work with and provide stability to the structure.
-
Miniature tools: When working with miniatures investing in a set of miniature tools is a must. A new blade in the Exacto knife, a mini saw, and sandpaper are needed to construct the framework.
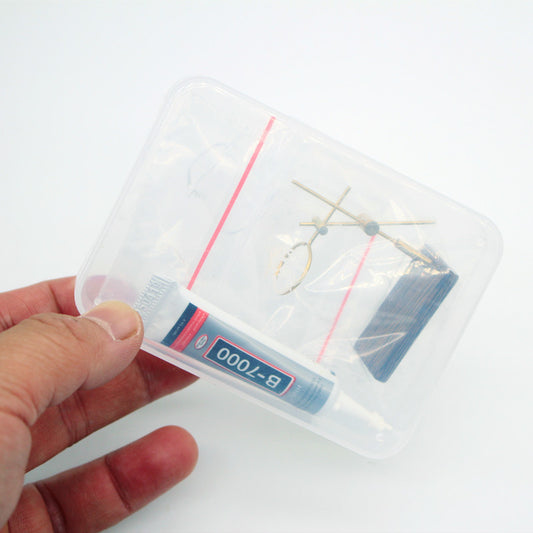
- Wood glue, Crazy Glue , Aileen's Tacky glue are just a few glues needed for the various materials I will be using in the project. One glue does not fit all materials and when it comes to commissioned work the last thing you want to see is things falling apart.
- I use Legos to quickly place all the main objects like the bed, sofa, tables, cabinets etc. on a table. Then I measure roughly how much space (width length) the set up will require. I am extremely visual and get a better sense of the layout this way.
- Next I visit the Ikea website. Ikea has a lot of furniture with detailed measurements, which will be a time saver. I find similar looking furniture pieces and take their measurement, which I then convert to the 1/24 scale needed.
- Armed with all measurements I open up Fusion 360 - a great design software - and begin to enter the basic shape measurements to get an idea of the floorplan and furnishings. This is not necessary but I find working out the design down to every mm saves me a lot of headaches later on with things not fitting properly.
- Once that is all done each furniture piece is created separately as well making sure that everything is scaled properly.
Building the Furniture
With the necessary materials and exact measurements at hand, it's time to build the furniture pieces for the miniature dorm room. Here are some tips:
-
Research the decor: Look for inspiration from real dorm rooms to recreate an authentic atmosphere. Pay attention to color schemes, furniture arrangements, and accessories commonly found in male students' dorms.
-
Crafting the furniture: To make the furniture pieces, refer to the promised tutorials, which will provide step-by-step instructions. Utilize wood, clay, or other suitable materials to construct miniaturized versions of a bed, desk, chair, shelves, and any additional items that complete the dorm room setup.
-
Adding the finishing touches: Once the furniture is constructed, paint and decorate each piece according to your chosen design scheme. Use miniature accessories like posters, textbooks, and electronics to further enhance the room's realism.
-
Prepare the base: Start by cutting the wood or foam board to the desired dimensions for the walls, floor, and ceiling. Use the blueprints or reference images as a guide to ensure accurate measurements.
-
Assemble the walls: Using the appropriate glue or miniature nails, attach the walls to the base, forming the shape of the dorm room. Take care to align the walls properly and reinforce the corners for stability.
-
Add the floor and ceiling: Attach the floor and ceiling panels to the walls, securing them firmly. You can use adhesive or small screws to ensure a strong bond between the different components.
I will be adding more an more to this blog post as the build progresses. Make sure to subscribe to the newsletter to see how the room comes together and so you won't miss any of the furniture tutorials. I will also be adding some little surprises to really add character to this dorm room.
Continuing Education Suggestions:
-
Exploring Advanced Miniature Techniques: Learn about advanced miniature techniques, such as weathering, realistic lighting, and custom fabrications, to elevate your miniature replica creations.
-
Scale Modeling for Different Settings: Expand your miniature skills by trying your hand at creating replicas of different environments, such as an office space, a kitchen, or a library.
-
Engaging with Miniature Enthusiast Communities: Join online forums, social media groups ( you can find my Facebook group at Miniature Lovers ), or local miniature clubs to connect with fellow enthusiasts, share your work, and gain inspiration from others.
Related Topics:
-
The History of Miniature Replicas: Discover the origins and evolution of miniature replicas throughout history, from dollhouses to architectural models.
-
Exploring Different Scales in Miniature Modeling: Dive into the world of different scales used in miniature modeling, such as 1:12, 1:48, and 1:144, and learn how they impact the level of detail and realism.
-
Tips for Realistic Miniature Painting: Explore techniques and tips for achieving realistic and intricate paintwork on your miniature replicas, including color blending, washes, and dry brushing.
Conclusion: Creating a 1:24 scale miniature replica of a male student's dorm room is a rewarding and enjoyable endeavor. By following the steps outlined in this blog post and utilizing your creativity, attention to detail, and patience, you can bring a tiny world to life. Don't forget to share your progress and final creation with fellow miniature enthusiasts, and most importantly, have fun on this miniature journey!
If you like to watch tutorial how each of the pieces of this diorama are made click below:


