Architecture of a Memory: The Apartment Replica

Recreating a lived-in space is an exercise in translation. When I was commissioned to replicate a specific apartment, the challenge wasn't just in the scaling of walls, but in capturing the "atmosphere" of a home that exists in someone’s heart.

The Transparency of Space
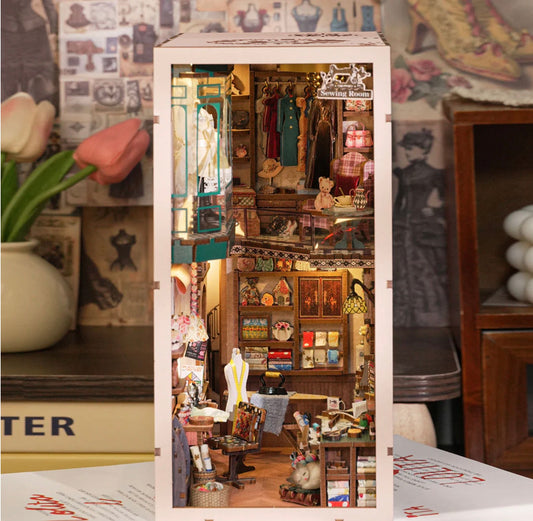
For this study, the choice of vessel was paramount. While traditional wooden room boxes offer a sense of weight, they can often feel like a closed stage. To honor the openness of a modern apartment, I chose an acrylic sanctuary.
The beauty of acrylic lies in its honesty—it allows the viewer to observe the scene from every angle, inviting light to move through the space as it would in a real home. By removing the traditional "ceiling," I’ve allowed the gaze to drop into the room from above, creating a sense of intimacy and discovery.

Structural Integrity and Light
In a miniature environment, every millimeter is a conversation between stability and aesthetics.
-
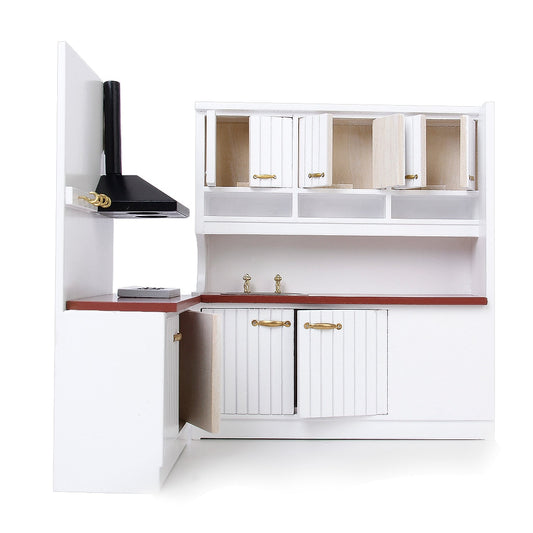
The Vertical Plane: I utilized a dense, heavy-weight craft board for the walls. Unlike wood, which carries the risk of warping over time, this medium provides a perfectly flat, archival surface for the interior textures.
-
The Invisible Hand: Rather than traditional adhesives that can leave a visual "scar," I used high-bond structural tapes to ensure the corners remain crisp and clean.
-
The Glow of Home: To solve the problem of lighting without a ceiling, I introduced architectural beams. These serve a dual purpose: they provide a structural anchor for the light fixtures while cleverly concealing the delicate wiring. They act as the "bones" of the room, casting natural shadows that mimic the flow of a real living space.

The Commissioned Vignette
This project is a testament to the power of the Corner Box—a distilled essence of a home. It is about more than just furniture; it is about the baseboards, the specific glow of a lamp, and the way a room feels when the light hits it just right.
-
\