How to Upholster a Miniature Chair with Custom Made Fabric

In my previous blog post I shared how I printed my own custom fabric for the miniature upholstery project. Today I will be sharing with you how I applied the fabric that I made for the balloon chair and share some tips about how I made the chair.

I had 3D printed this Balloon chair a while back and wanted to make it look like the reference image. For a while I looked to see if I can find a similar looking fabric, but that was a total waste of time. Then I thought why not see if I can print the chair's design onto my own fabric. The problem here was that I could not even find a fabric swatch that was big enough to replicate the design.
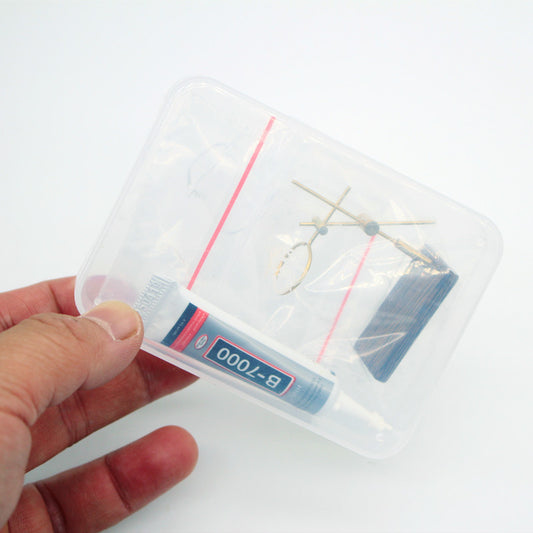
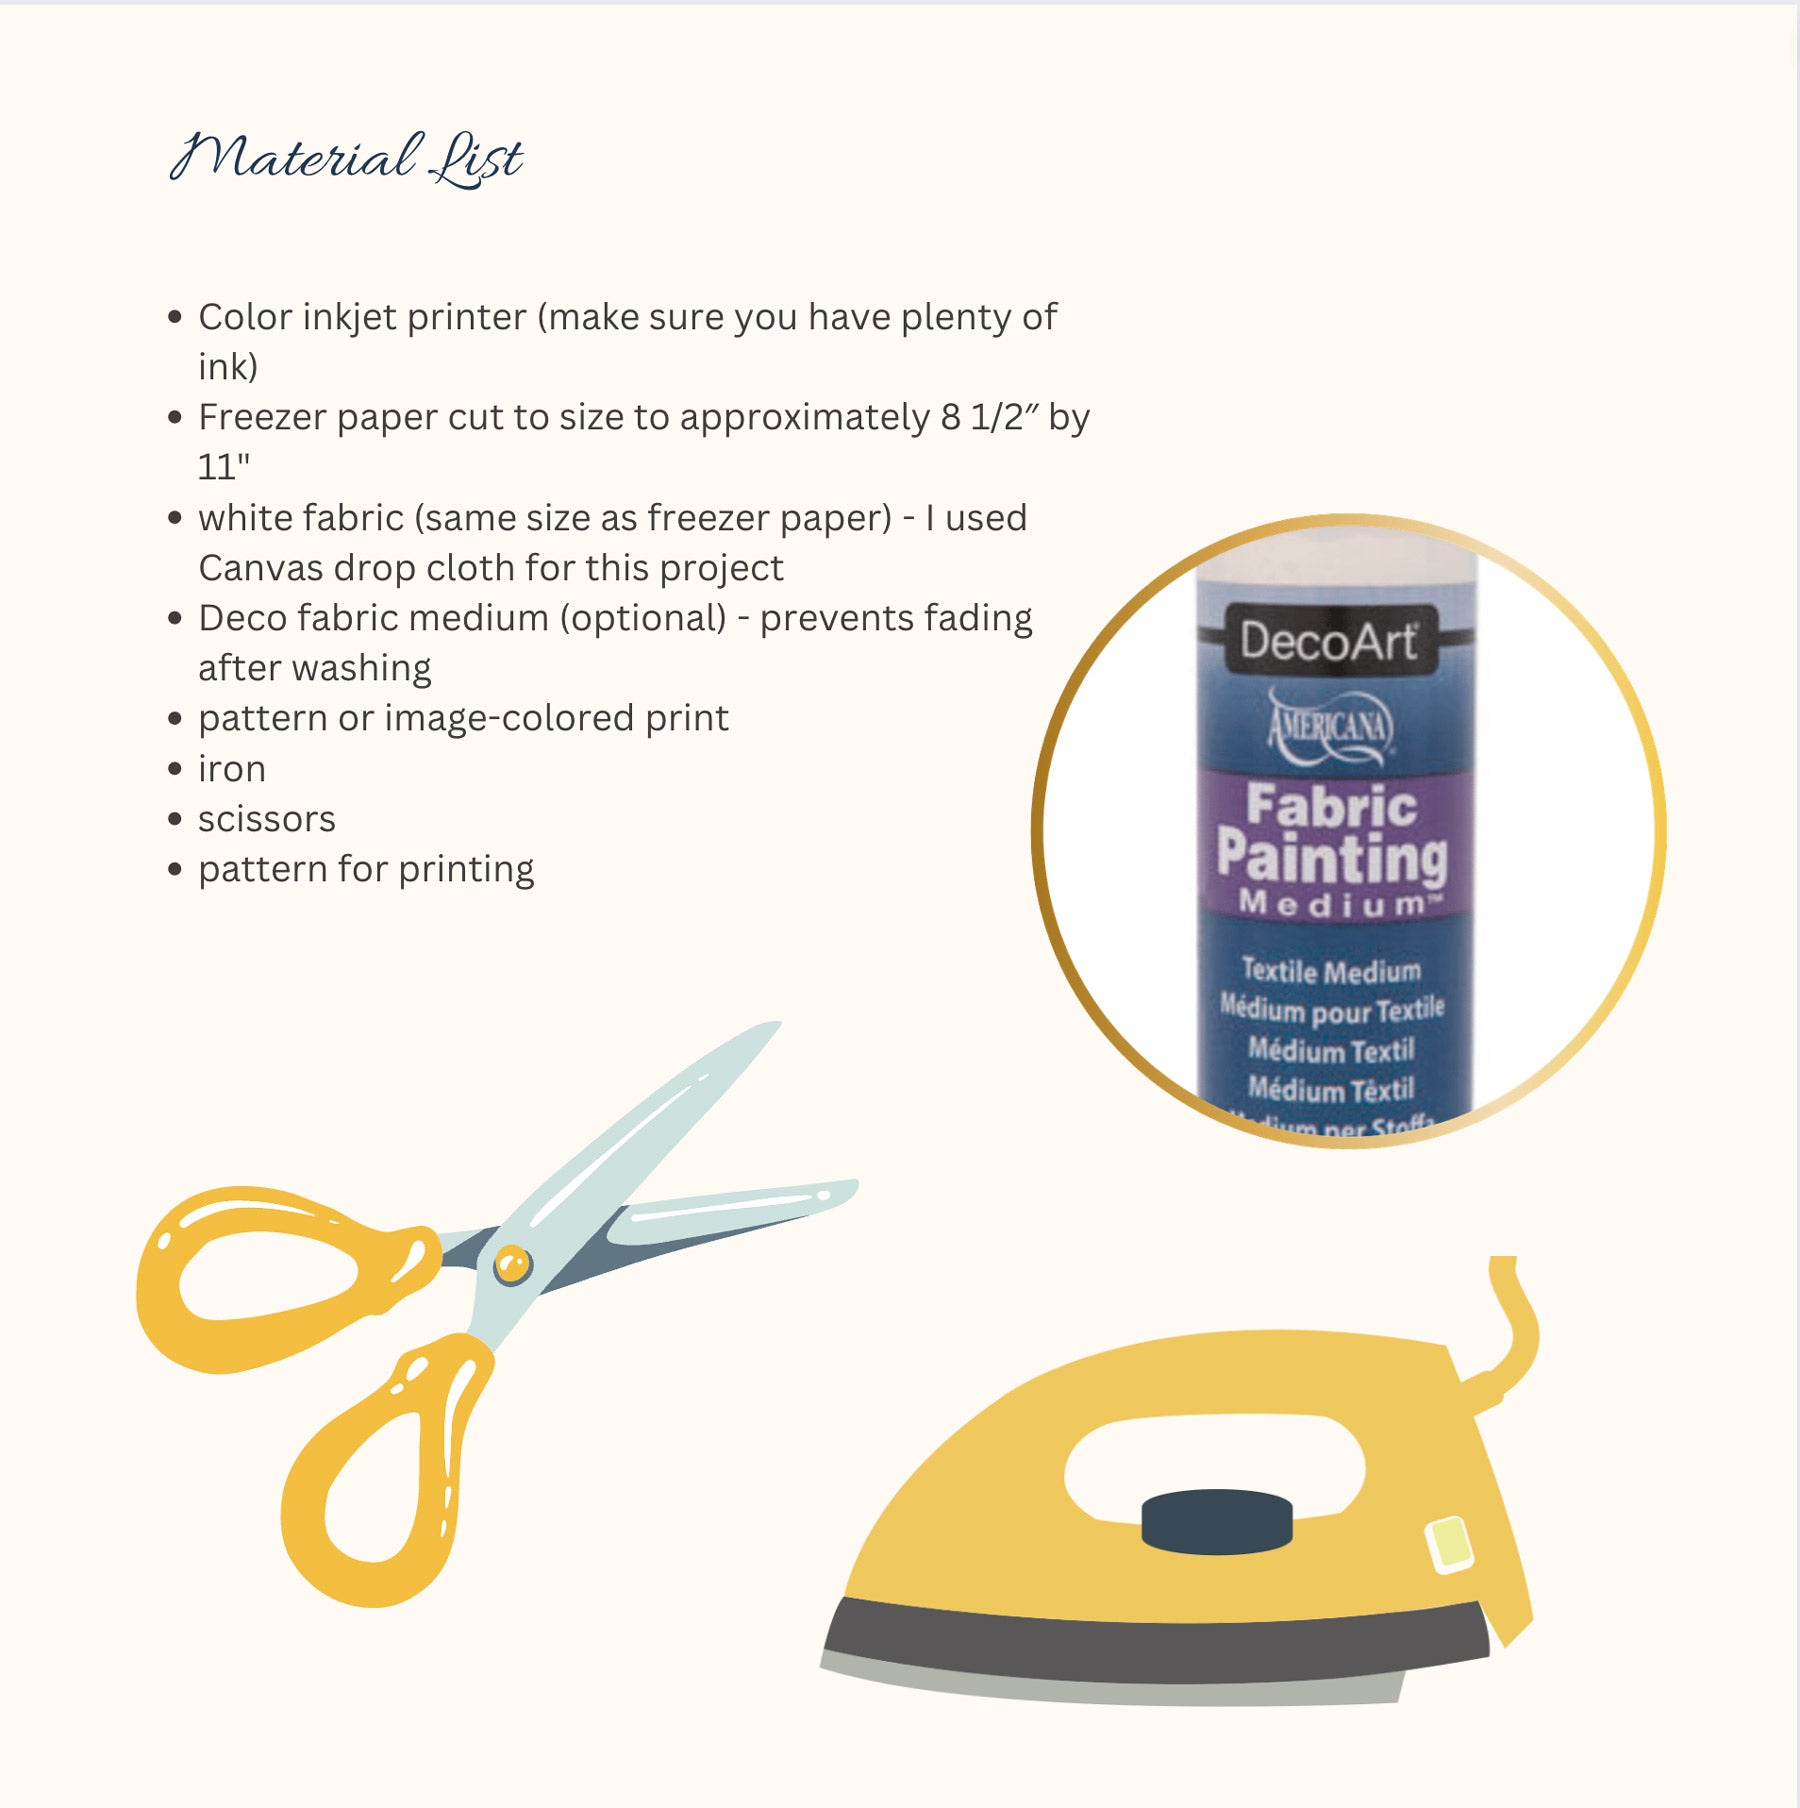 Most of these items can be found on Amazon. Here are some links


Let's continue with the project ~
You can use a fabric scrap that you have and scan it, or take a screenshot of any design that you see online. Since I could not find my fabric I had to use a pillow I found with the same fabric print as the chair.

Now it's time to duplicate the pattern. For this you will need a software or app that allows you to copy and paste and move images into place. I am using Photoshop, but you could do it on Canva and even in Cricut design space.


 Now that the pattern is recreated it is time to print it onto our fabric. Unlike actual upholstering you want to use a fabric that is not too thick and that can take glue well. Cotton usually works pretty well. If you have printed on silk, leave me a comment and let me know what you did.

If you do not use the Avery Canvas fabric and are using your own fabric you need to give it extra support so that it won't snag while the fabric goes through the printer. This is why we use freezer paper to give the fabric extra support.

Don't forget to remove any water that might be left in your iron's water tank!

Place your fabric into the printer and print at the best quality setting that your printer has at 100% scale. The Kodak Varite printer has a fabric setting since the printer is made for crafters.

I love how the fabric has taken on a sort of velvet look that you would see with this type of fabric, even though it is printed on canvas fabric.

If you have separate pieces you can just place the pieces on a piece on printer paper and trance them. Since my chair is already assembled, I cut a piece slightly larger than the size of the cushion first. Then I pressed it in place and while securely holding it traced over the contours with a pencil. take your time at this stage and repeat making the pattern until you have a perfect fit. Only then transfer the pattern onto the fabric. It also helps to pay attention to where the seams will meat, so that your design matches.

Once you have all the pieces it's time to glue them into place.


I actually purchased a large set of Arteza Fabric colors because they lend themselves great for miniature embellishment projects.

I can not believe how long this blog post has become, but I hope that you found it useful. Make sure to subscribe! I will be posting more tutorials since I still have to make a lot of furniture pieces for the chateau.

