How to Make Puzzles Last for a Long Time
Share

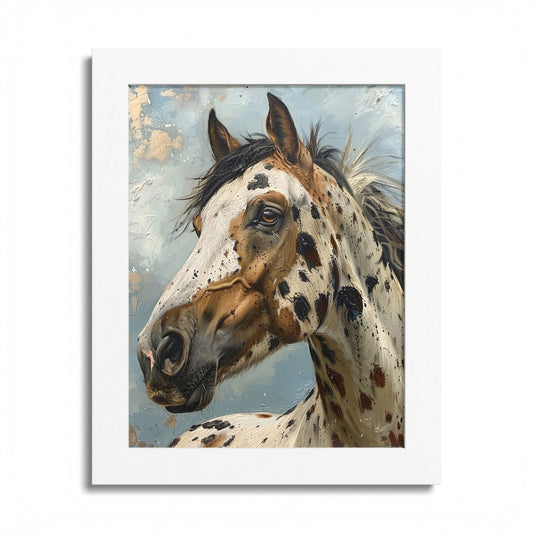
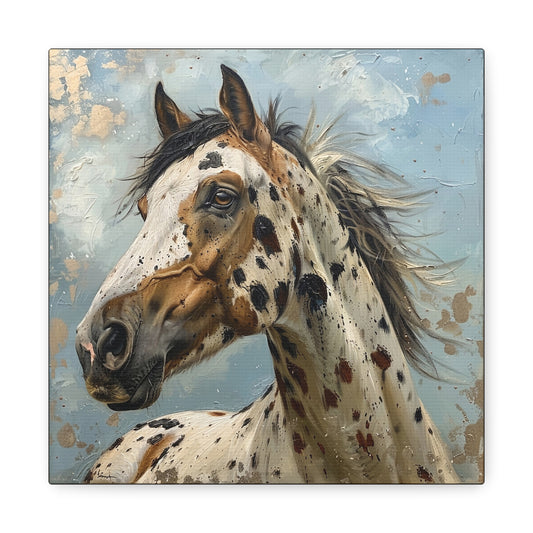
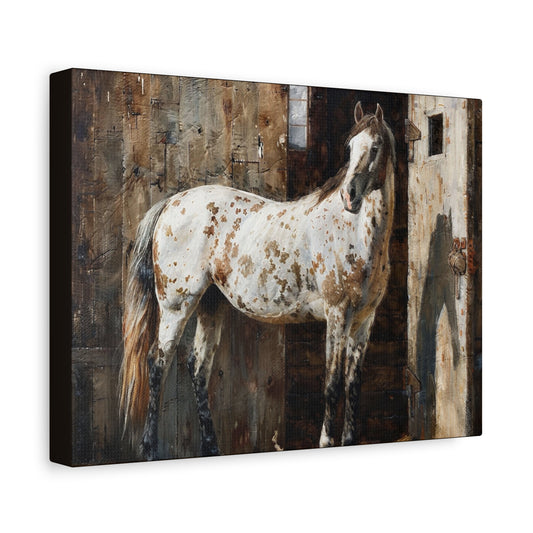
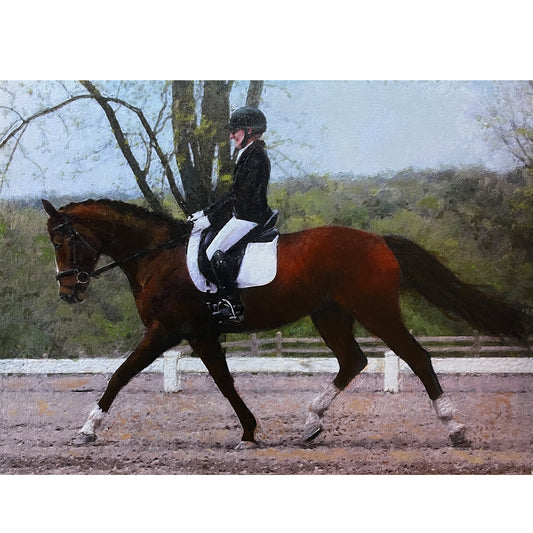
I love to put together puzzles and you might have seen the many puzzles on my website. Some puzzles are reproductions of Old Master paintings and others are made from my original oil paintings. Today I want to share tips on how you can preserve the longevity of your puzzles if you like to display them in frames and hang them up around your house.
Some people glue their puzzles onto a board, but I never have the right size on hand and don't really like that technique. I did find this video on how to give strength to your puzzle without a backing and have tried it on my own puzzles and it worked rather well.

Materials Needed
- All you need for this to work is sometime of either Jigsaw Puzzle Glue or Mod Lodge for Puzzles
- a scraper or old credit card
- a sponge brush or regular brush
- gloves (optional) - Mod Podge washes off with soap and water
- oven or parchment paper (non-stick)

I use Mod Podge in a lot of my projects and love the quality of the product. Mod Podge is a decoupage medium. It is a glue, sealer, and finish designed for craft and art projects and it makes things stick together and give them a nice protective sheen.
After you have applied several coats of the Mod Lodge and the piece has dried, you can dip a brush into more Mod Lodge and apply it heavier on areas that you want to add brush strokes to. When it dries, the brush marks give the illusion that those areas have been painted.

Do not buy cheap photo puzzles and invest in real traditionally made puzzles. The pieces are much thicker and the coating is made to last. Photo puzzles are meant for a onetime use and don't hold up to be displayed as artwork.
How to Make Puzzle Last Longer
- Carefully drag oven paper under the puzzle. Watch the video above to see how it is done. The paper is there to protect the surface you are working on and to make sure that your puzzle won't stick to it.
- Use your foam brush and apply Mod Podge so that all the gaps between the puzzle pieces are covered.
- Work in small sections and periodically use the scraper to scrape off any excess of the Mod Podge
- After one side is covered use your scraper rather than your finger to gently press down on any corners that are not flush
- Let dry until dry to the touch
- Repeat the steps a 2nd time - I prefer to apply two coats to one side before gently flipping over the puzzle
- Once the 2nd coat has dried repeat the entire process on the back side
Here are more videos that I found useful
I love to hear tips and tricks you use to store, safe and display your puzzles, so make sure to comment below.

