Stranded on an Island

Before I share how I created this image, let me give you a little behind the scene look as to how this all came about. "Stranded on an Island" was inspired by a new top I purchased at World Market. If you have been following my blog, you know that I also create content for brands and I have been thinking about how I can get more creative with that work. The top was a good excuse to flex my creative muscle and I started finding a space to set up a dark backdrop. Since my DLSR was out of battery, I used my iPhone on a tripod with remote control.

I started by taking lots of photos of myself in different poses using the remote. I have learned from painting oil portraits that what starts with an idea can sometimes end up looking totally different from the initial idea for the project. So it's always a good idea to just shoot away and edit later.
I use Adobe Lightroom CC to quickly go through all the photos of the shoot until I find the one pose that I think will work. Somehow there is always something out of the shot, like the missing right shoe, but I had plenty of other shots where I could grab the missing shoe from.

I opened a new file in the size I needed in Photoshop. I should point out that ones you are in Photoshop it is essential that every image that gets added needs to be put on its own layer. Even when I think that something looks right, I will have to move or resize it at a later stage. I imported the reference photo of myself and using the Lasso Tool and eraser removed the entire background. Adjusting the brush size lets me quickly erase large areas and get into small spaces.
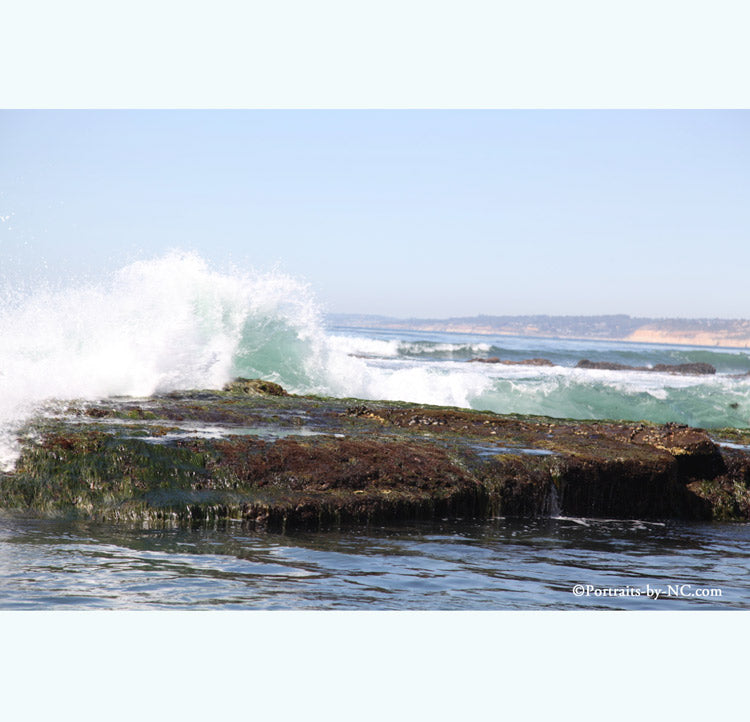
Time to select a background. I took this photo on a day trip to La Jolla, California. I love exploring the rocks around the beach and on that day the waves just hit the rocks in full force, making for some great photos. I imported this image again to Photoshop and placed it on its own layer. Using the scale tool I resized this image as well.
I repeated this step with every prop I added to the base image putting each and everyone on its own layer. I like to treat this initially like a collage. I don't worry about the color or little in perfections. All I want is a visual layout that I think looks good.
Ones everything was in place it was time to take out hard edges. I label all my layers because it makes it super fast to find the ones that I need to adjust. So going through each layer I take care of the edges with the smudge tool. Then I adjust the colors and contrast on each of the layers so the overall image looks more cohesive.
It's a constant back and forth between layers until everything looks almost finished. Only then do I merge all the layers and do another color and contrast adjustment. There are no hard rules to follow, just steps to take towards a design that you think looks pleasing.
This is the final image ones everything has been tweaked.