Grisaille Procedure
Share

After you have prepared your supplies you are ready for the 1st Grisaille Layer. Once the Wash In is completely dry to the touch, it it a good idea to take your calibers and remeasure everything once more. Catching drawing errors early on will save you much trouble down the road.
Supplies:
Flake White#2
Ivory Black
01-09 Gray String
Medium - Lindseed Oil
Procedure:
1- Start with the largest areas first and work towards smaller areas
a. Background
b. Clothing
c. Hair
d. Face
e. etc....
2- Use more paint than medium (a quick dip of the brush into the Lidseed oil just to make the paint flow better).
3- Squint and start with the values that are easiest to spot like either the lightest or darkest values. By picking those you have a reference point to work from where you can ask is the next value lighter or darker than...
4- Another great trick is to load the brush with a color and hold it against the wash-in. If the color disappears into the background wash in color while you squint, your choice was correct, if not you will see right away if it is too dark or too light and just select from lighter or darker values accordingly.
Explanation:
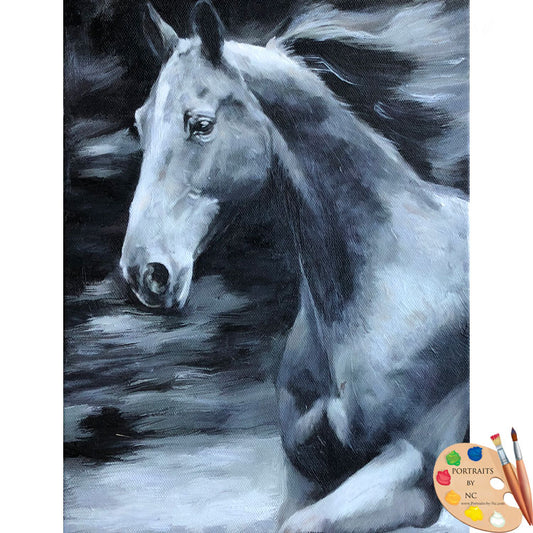
1st grisaille layer - is to cover the wash in with the corresponding gray values and refine the painting further.
2nd grisaille layer - making sure that the light and shadow areas read correctly
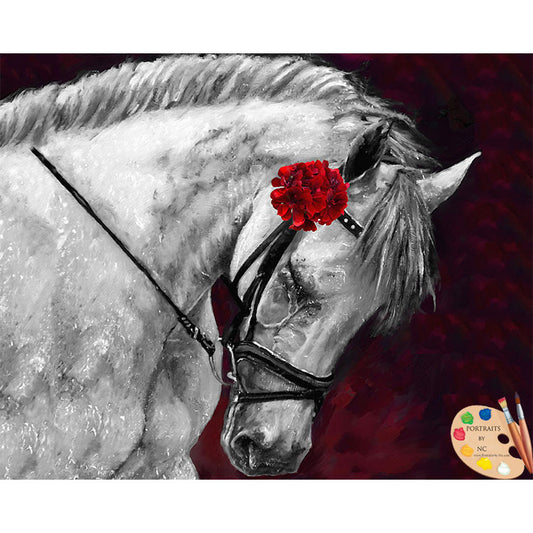
Using the grisaille technique the artist works out all values before any color is added.
Repeat these steps as long as it takes to get the painting to read correctly. I like to think that the painting has to be able to be like a black and white photo. If every value reads correctly than you are ready to move to the 1st color application.


