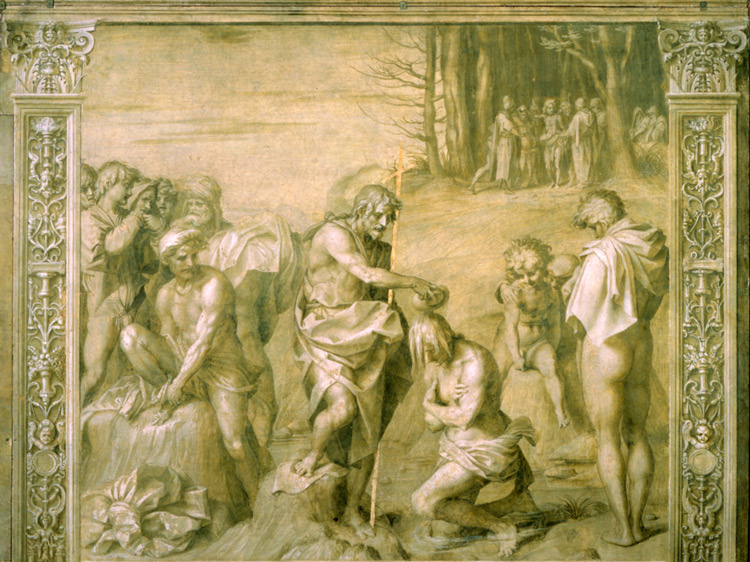
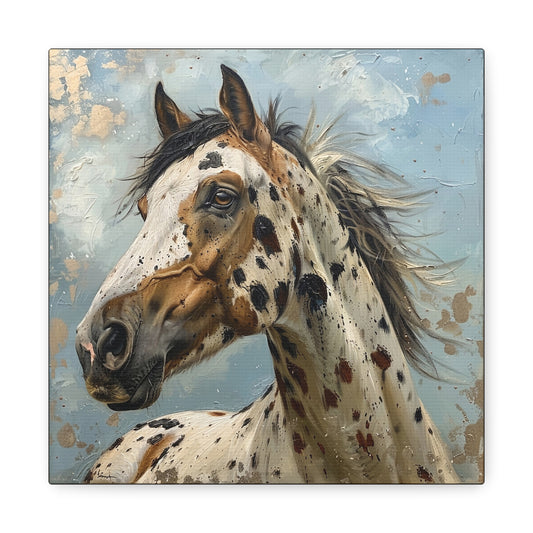
Grisaille Painting Explained


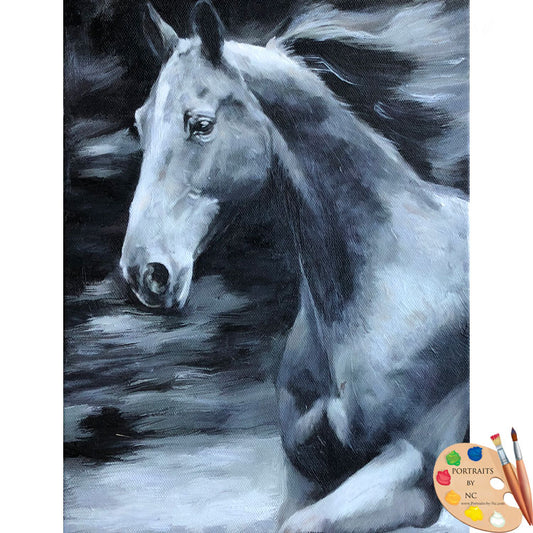
Many Old Masters have used one form or other of underpainting, because for its unique tonal appearance and depth of illustration. Grisaille is a French term and verdaccio Italian. A grisaille is basically based on neutral or warmish gray tones, whereby the verdaccio is based on cooler gray-green tones (Chromium Oxide Green, Mars Black, and Lead White). Verdaccio as used in underpainting can really enhance skin tones to create high realism.
This technique is typically begun by making a light pencil sketch of the subject. I prefer the grisaille method and mix my own colors using Micheal Harding's Ivory Black and Flake White #2 and start with a mix of 9 values of gray plus black and white. Using these colors I develop a a monochromatic painting over the Umber Wash to further develop form and light.
The grisaille helps me to concentrate on developing strong values and areas of light. Leaving some of the white canvas exposed is an effective way to create light values. Full-strength darks must be overstated, since the crispness of their value will be diminished when they are glazed over. The underpainting can have areas of thickly applied impasto style paint to create surface relief or an understated bas-relief.
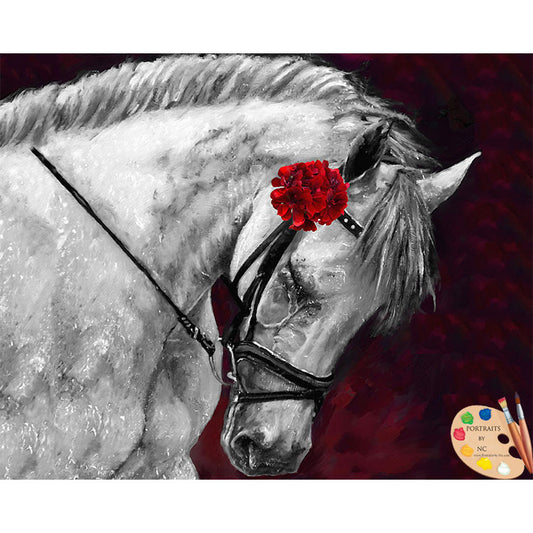
I continue developing the painting until all desired detail is completed. Only after the grisaille underpainting has completely dried (1-2 days), do I add colors. At this stage I will use more medium to create color glazes over the already established painting. Glazes are never applied thickly. Glazes are transparent colors, which gradually will enhance the values of the underpainting. The detail of form remains visible through the transparent over wash of color. Also, multiple washes of different colors over a grisaille underpainting help produce a deep luminosity in the image.
If the underpainting contains a strong value range, then there is a well-defined structural image to build upon. If the underlying image is less defined, you can compensate by introducing darker colors in the final glazes of color. Remember that it may not be necessary to glaze over the entire underpainting.
Once the glazes are completed, then you can apply more opaque paint to the areas of the painting that require it. Scumble over the areas of flesh, produces a nice result. Only apply opaque paint in the top layers!
Always try to vary the color of glazes by mixing various pigments and adjusting the viscosity of the dilution medium. For example, a resultant green tint can be created by applying a yellow wash over a dried blue wash. Keep in mind that colors in an underpainting will be similarly affected by any glaze of color that is applied over them.