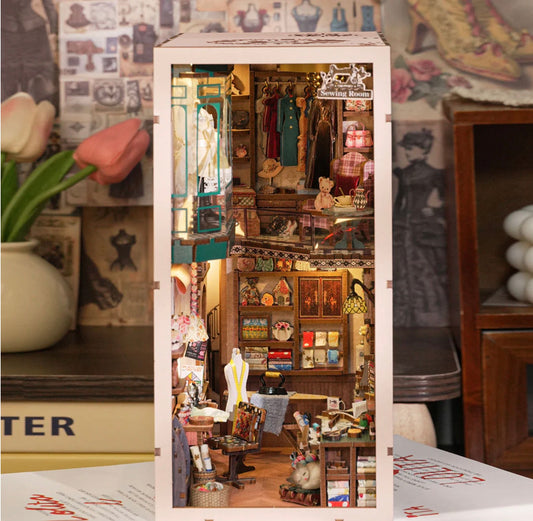
DIY Miniature Fireplace Tutorial: Rolife Catherine’s Living Room Build

The heart of any home is the hearth, and the Rolife Catherine’s Living Room kit is no exception. In this stage of the build, we are focusing on the intricate details of the fireplace assembly.
A Delicate Balance of Interior and Exterior
Let's Build

Precision and Patience
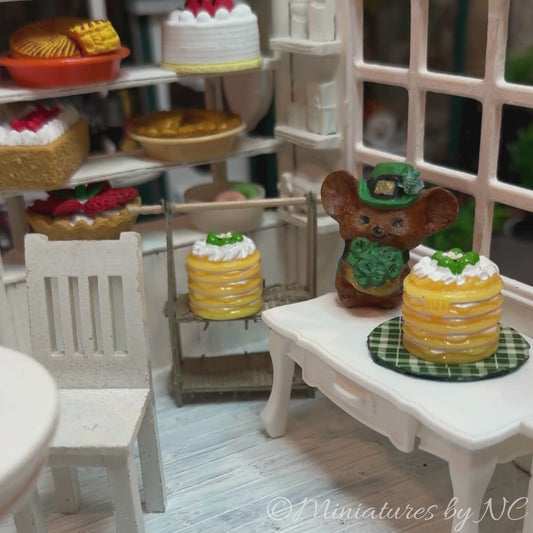
Assembling the mantel requires a steady hand, but the way the wooden pieces lock together creates such a clean, architectural look. I’ve enjoyed seeing the contrast between the crisp white of the fireplace surround and the rich, colorful accessories—like that striking deep purple clock and the gold-framed art—that bring life to the mantelpiece.

Creating a Sense of Depth
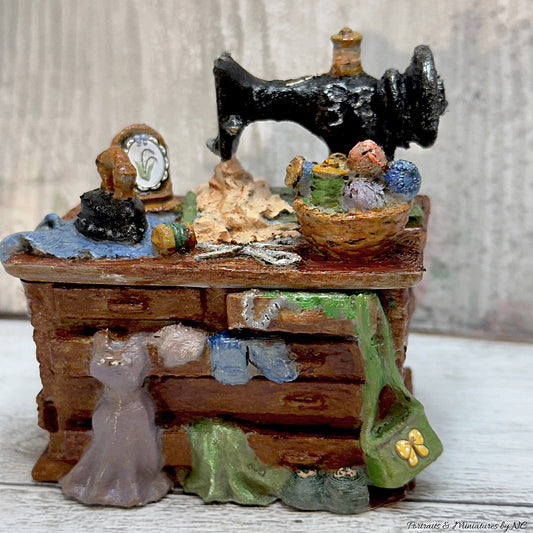
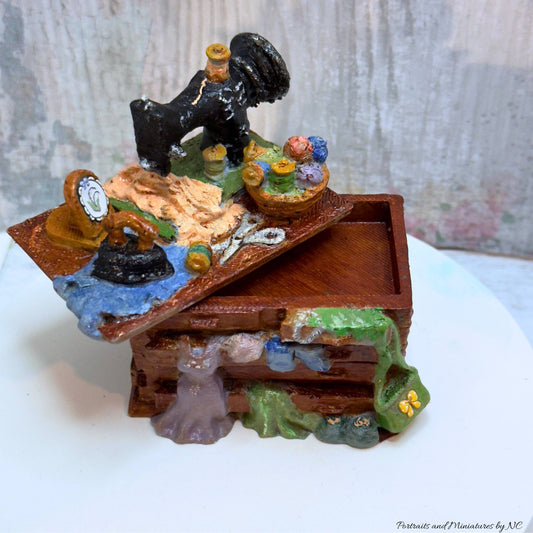
While the kit comes with beautiful "flat" components, you can already see how the layers of wood and plastic accessories start to create a realistic sense of scale. Once this structural phase is complete, I’ll be showing you how to add even more dimension. We’ll be using textural finishes to give the "stone" areas more grit and the "wood" more grain, taking this from a beautiful kit to a one-of-a-kind collector’s piece.

Moving Beyond the "Flat" Look
Right now, we are focusing on the clean, out-of-the-box assembly to get the foundation right. However, once the entire kit is fully assembled, the real magic begins. I’ll be sharing a dedicated tutorial on how to elevate this design using professional artistic touches. We will be moving away from the "flat" factory finish and into a 3-dimensional, textural look. I'll show you how to: Add depth with custom oil-paint washes. Create realistic weathering on the "plaster" surfaces. Introduce tactile textures that make the miniature feel lived-in and authentic.

Build Catherine's Living Room with me!
Artist Tip: Before you head to Rolife to order Catherine's Living Room Kit, make sure to use copy coupon code SOOTHING to get $15 off the kiti! It’s a fantastic way to start this project with a little extra savings.