Building Rolife Catherine's Living Room: Wall Assembly & Artistic Tips

I am so excited to continue my collaboration with Rolife as we move into the second phase of the Catherine’s Living Room (DG175) project. After unboxing and prepping the pieces, it’s time to see the structure take shape!
A Delicate Balance of Interior and Exterior
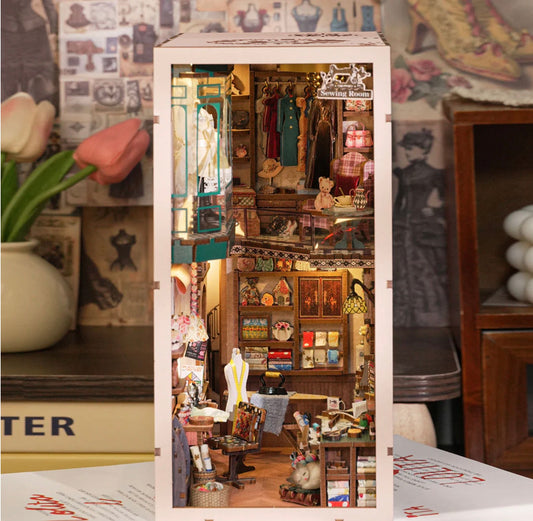
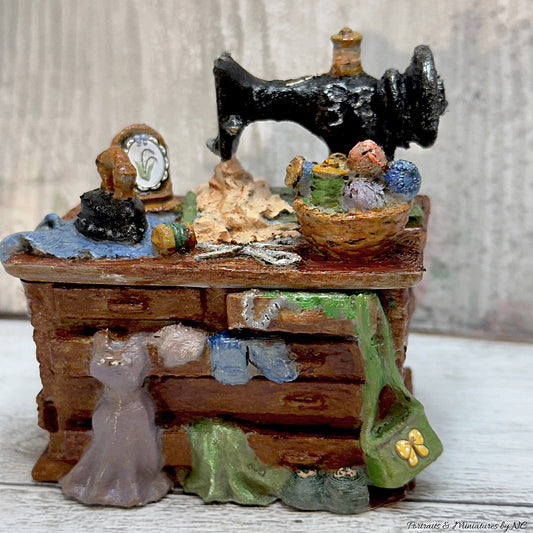
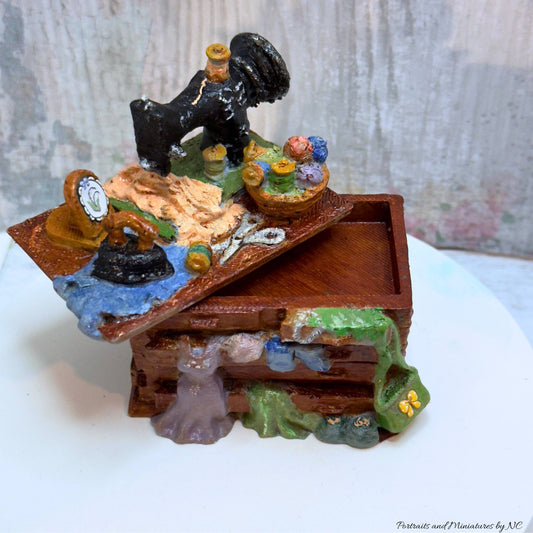
What strikes me most about this specific kit is the sheer delicacy of the design. The exterior walls feature beautiful cut-outs that allow light to dance through the space, while the interior layout feels incredibly intentional. There is a refined, airy quality to the architecture that makes it feel like a high-end sunroom rather than just a miniature kit. The laser-cut wooden panels are sturdy yet intricate, providing the perfect canvas for what comes next.

Moving Beyond the "Flat" Look
Right now, we are focusing on the clean, out-of-the-box assembly to get the foundation right. However, once the entire kit is fully assembled, the real magic begins. I’ll be sharing a dedicated tutorial on how to elevate this design using professional artistic touches. We will be moving away from the "flat" factory finish and into a 3-dimensional, textural look. I'll show you how to: Add depth with custom oil-paint washes. Create realistic weathering on the "plaster" surfaces. Introduce tactile textures that make the miniature feel lived-in and authentic.

Build Catherine's Living Room with me!
Artist Tip: Before you head to Rolife to order Catherine's Living Room Kit, make sure to use copy coupon code SOOTHING to get $15 off the kiti! It’s a fantastic way to start this project with a little extra savings.
Timeline of the Built