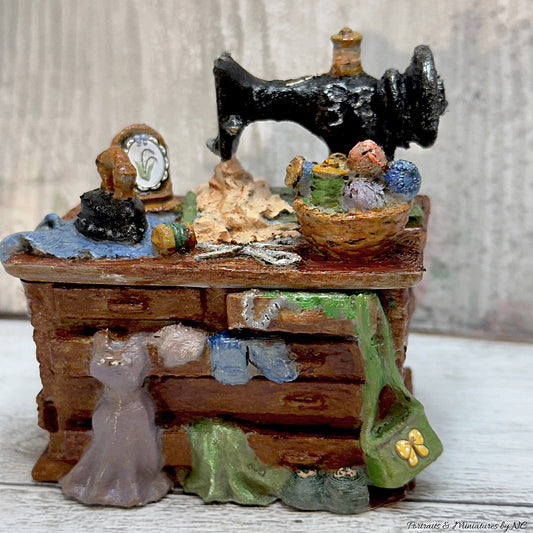
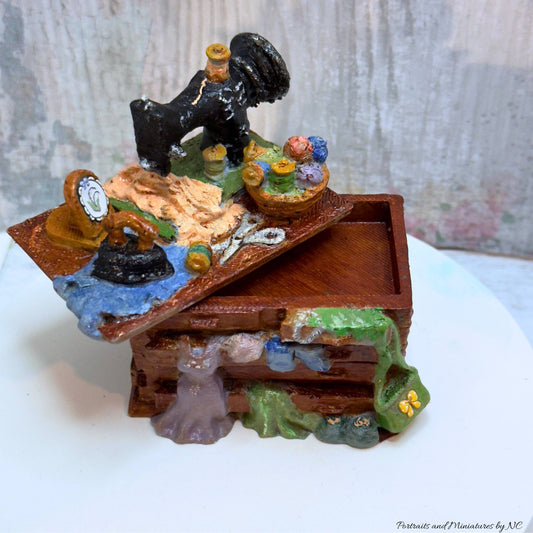
Cabinet with 3 Different Bins - STL File 3D Model

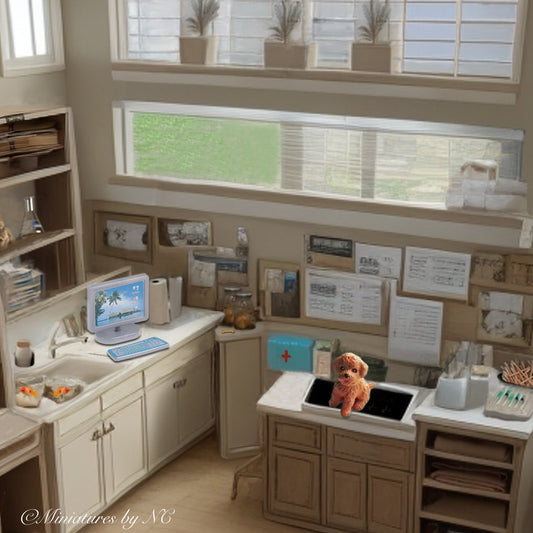
I've been brainstorming ways to share my 3D printed designs with the miniature community, and I'm excited to announce that you can now easily download and use my STL files through my online shop! For our example, for the Cabinet with three different bins I used a Bambu X1C with a 0.4mm nozzle and Bambu Gray matte PLA, and I provide the exact settings I use with each downloadable STL file.
One of my favorite designs is a versatile cabinet with three different bin types. You can customize the cabinet for various rooms:
- Simple Front Bin: Allows you to add your own handle to match your personal style.
- Gridded Front Bin: Adds a rustic touch to your design.
- Basic Front Bin with Pullout Handle: For a classic look.
Mix and match different bins, use them all in one design, or even leave some shelves empty for a unique aesthetic. I can't wait to see how you bring these designs to life!
 The 3d printed cabinet and bins can easily be painted with Acrylic or Chalks paints. I even use Marker or water colors to get the shading I need.

For the mesh I wanted a rust wire look and after I painted it all white covered it a warm brown. I wanted to give you different options on how to style the cabinet. Here I only chose two bins. The plain one that does not have a pull drawer is made so that you can add whatever pull you like.

Next I like to share a different look with the same cabinet.

I wanted to show you a wood finish using all the same bins, this time with the pull handle.
For this finish you need Mod Podge, a brown Marker and brown watercolor. First I covered the entire piece with a brown marker and let it dry. I poured some mod podge into a small comtainer about 1 tablespoon. Then I dipped my brush in lots of water and swished it around in brown water color to pick up as much pigment as possible. I transferred that brush into the Mod Podge and mixed the pigment into the glue. Then I painted the entire cabinet with that mixture. Gently apply this mixuture otherwise you might take off more of the underlying marker as you intend. The goal is to get an uneven color coverage that looks like aged wood. You can let the piece dry and then go over any areas that you think might need some more touching up. I love the result that this technique offers.
If you have a 3D printer you can purchase the STL file by clicking below. However if you like me to make you a simiar looking cabinet, hit the contact button and let me know what you like to have done, so that I can give you a quote.
