Mosaic Stepping Stones
Share

Stepping Stones can get pretty expensive, especially if you need a lot of them in order to safely navigate through your flower beds with minimal damage to the plants. I came across these instructions many, many years ago in one of my gardening magazines and thought I share them here.

Here are the materials you will need:
Safety Goggles
Tiles, Marbles or Old China Ware
Hammer
Cement Stepping Stone
Chalk
Tile_nipper (optional)
Craft Sticks
Ceramic Tile adhesive
Sanded tile grout and grout float
Towel
Acrylic grout and tile Sealer (optional)

1. Wear safety goggles when breaking the tiles or china. Stuff does go flying! I wrapped my tiles in a towel before breaking them to bits.
2.Use the chalk to create your design on the cement and start arranging the tiles. You can use the tile nippers to cut the tiles into desired shapes. They won't be perfect, but that's ok. Leave about 1/8 to 1/4 inch gap between the tiles for grout.
3. Use the craft stick and apply 1/8 inch layer of the adhesive to each tile. Attach each piece to the stepping stone and glue everything in place. You can remove any excessive glue with a damp sponge or rag. Let tiles set for 24 hours before applying the grout.
4. Apply grout and let it set according to manufactures instructions. Before you let it set clean the tiles with a damp sponge to make sure that non of the grout overlaps the design.
5. Once everything is set you can use a dry towel to remove any residue. Apply sealer to enjoy your new creations for years to come.
3. Place your design on
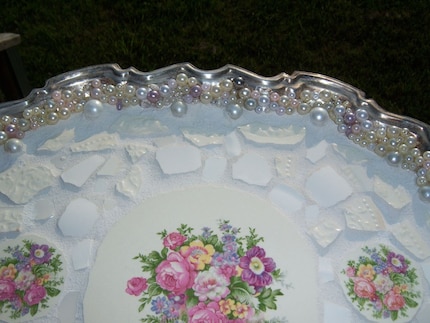
Of course why stop at stepping stones, ThimbleBiskit decorates Silver Trays and oh do I love this one!


