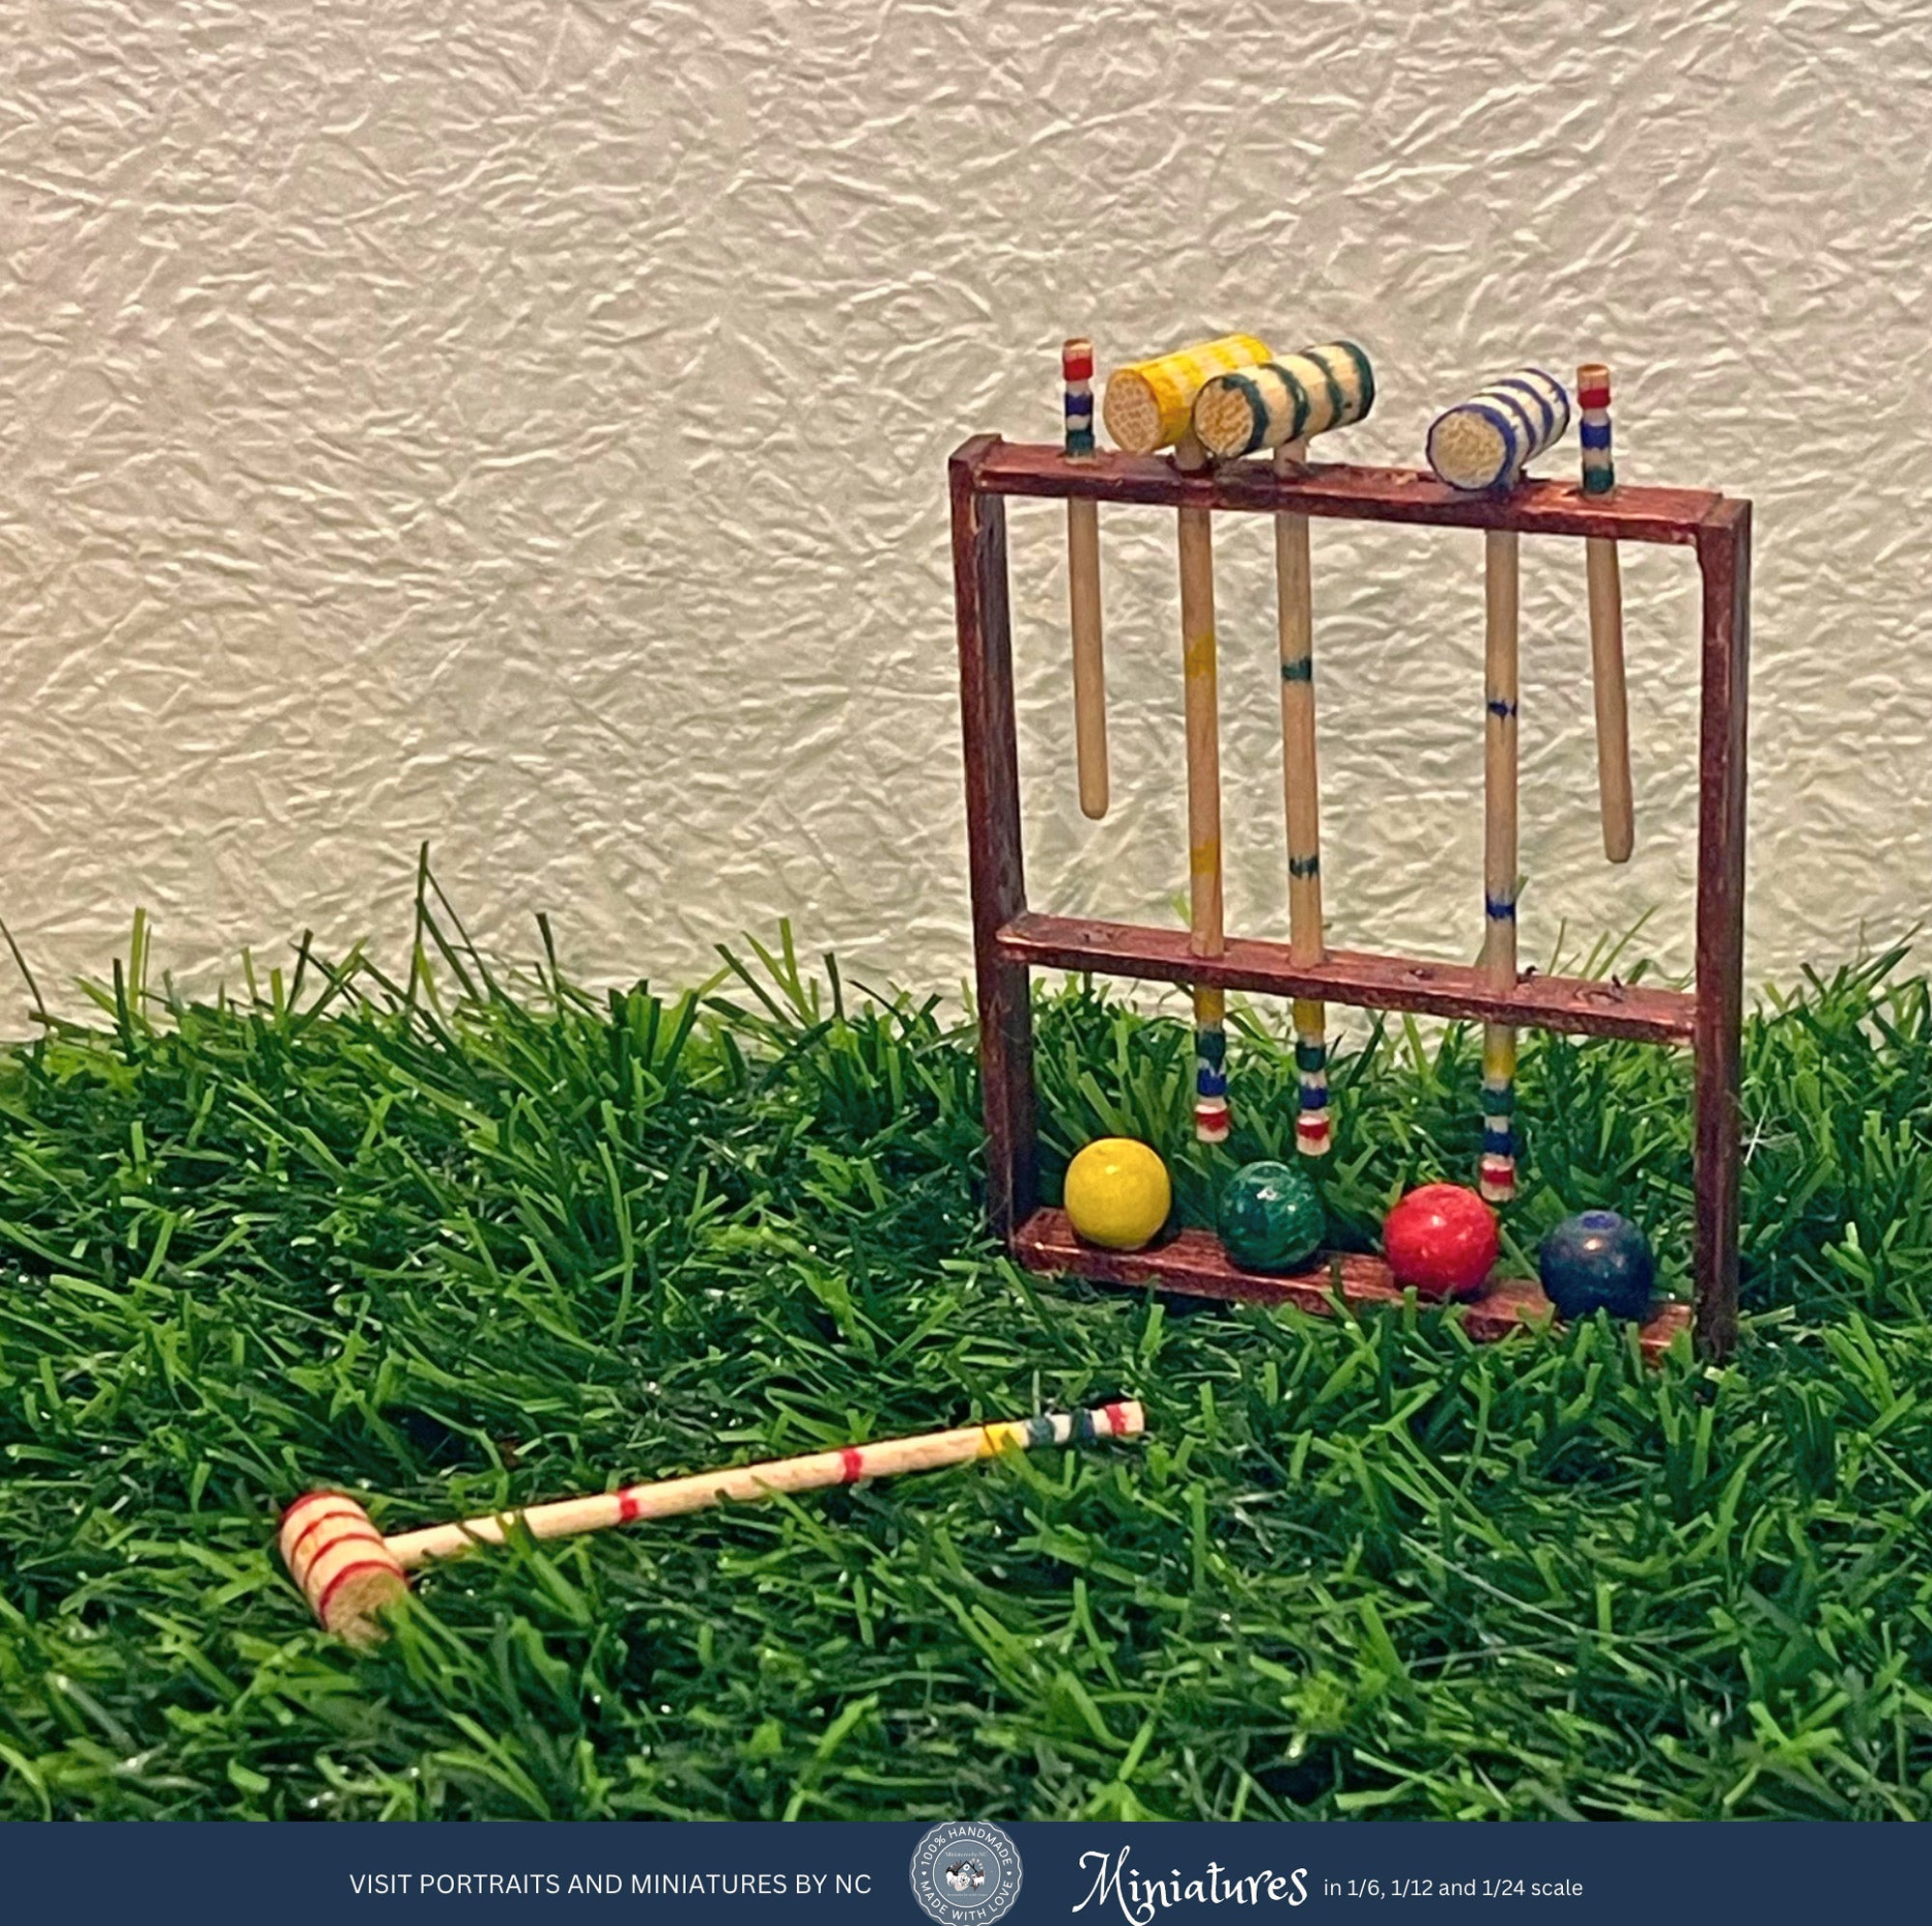
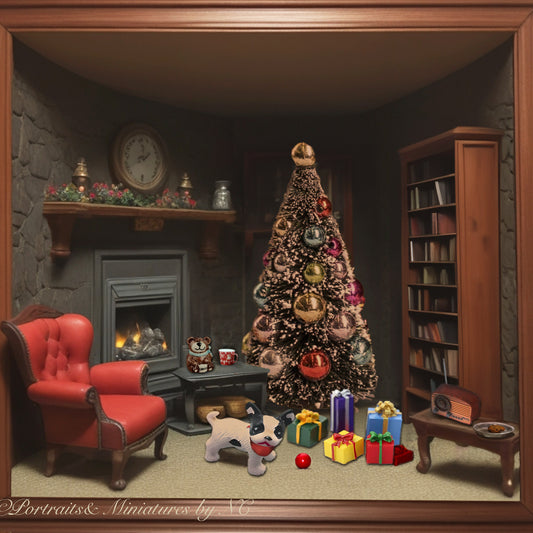
How to make a Miniature Croquet Set

Bringing a miniature scene alive always requires the addition of small accessories like this miniature croquet set. Learn how to make your own croquet set in any scale by following these easy instructions.
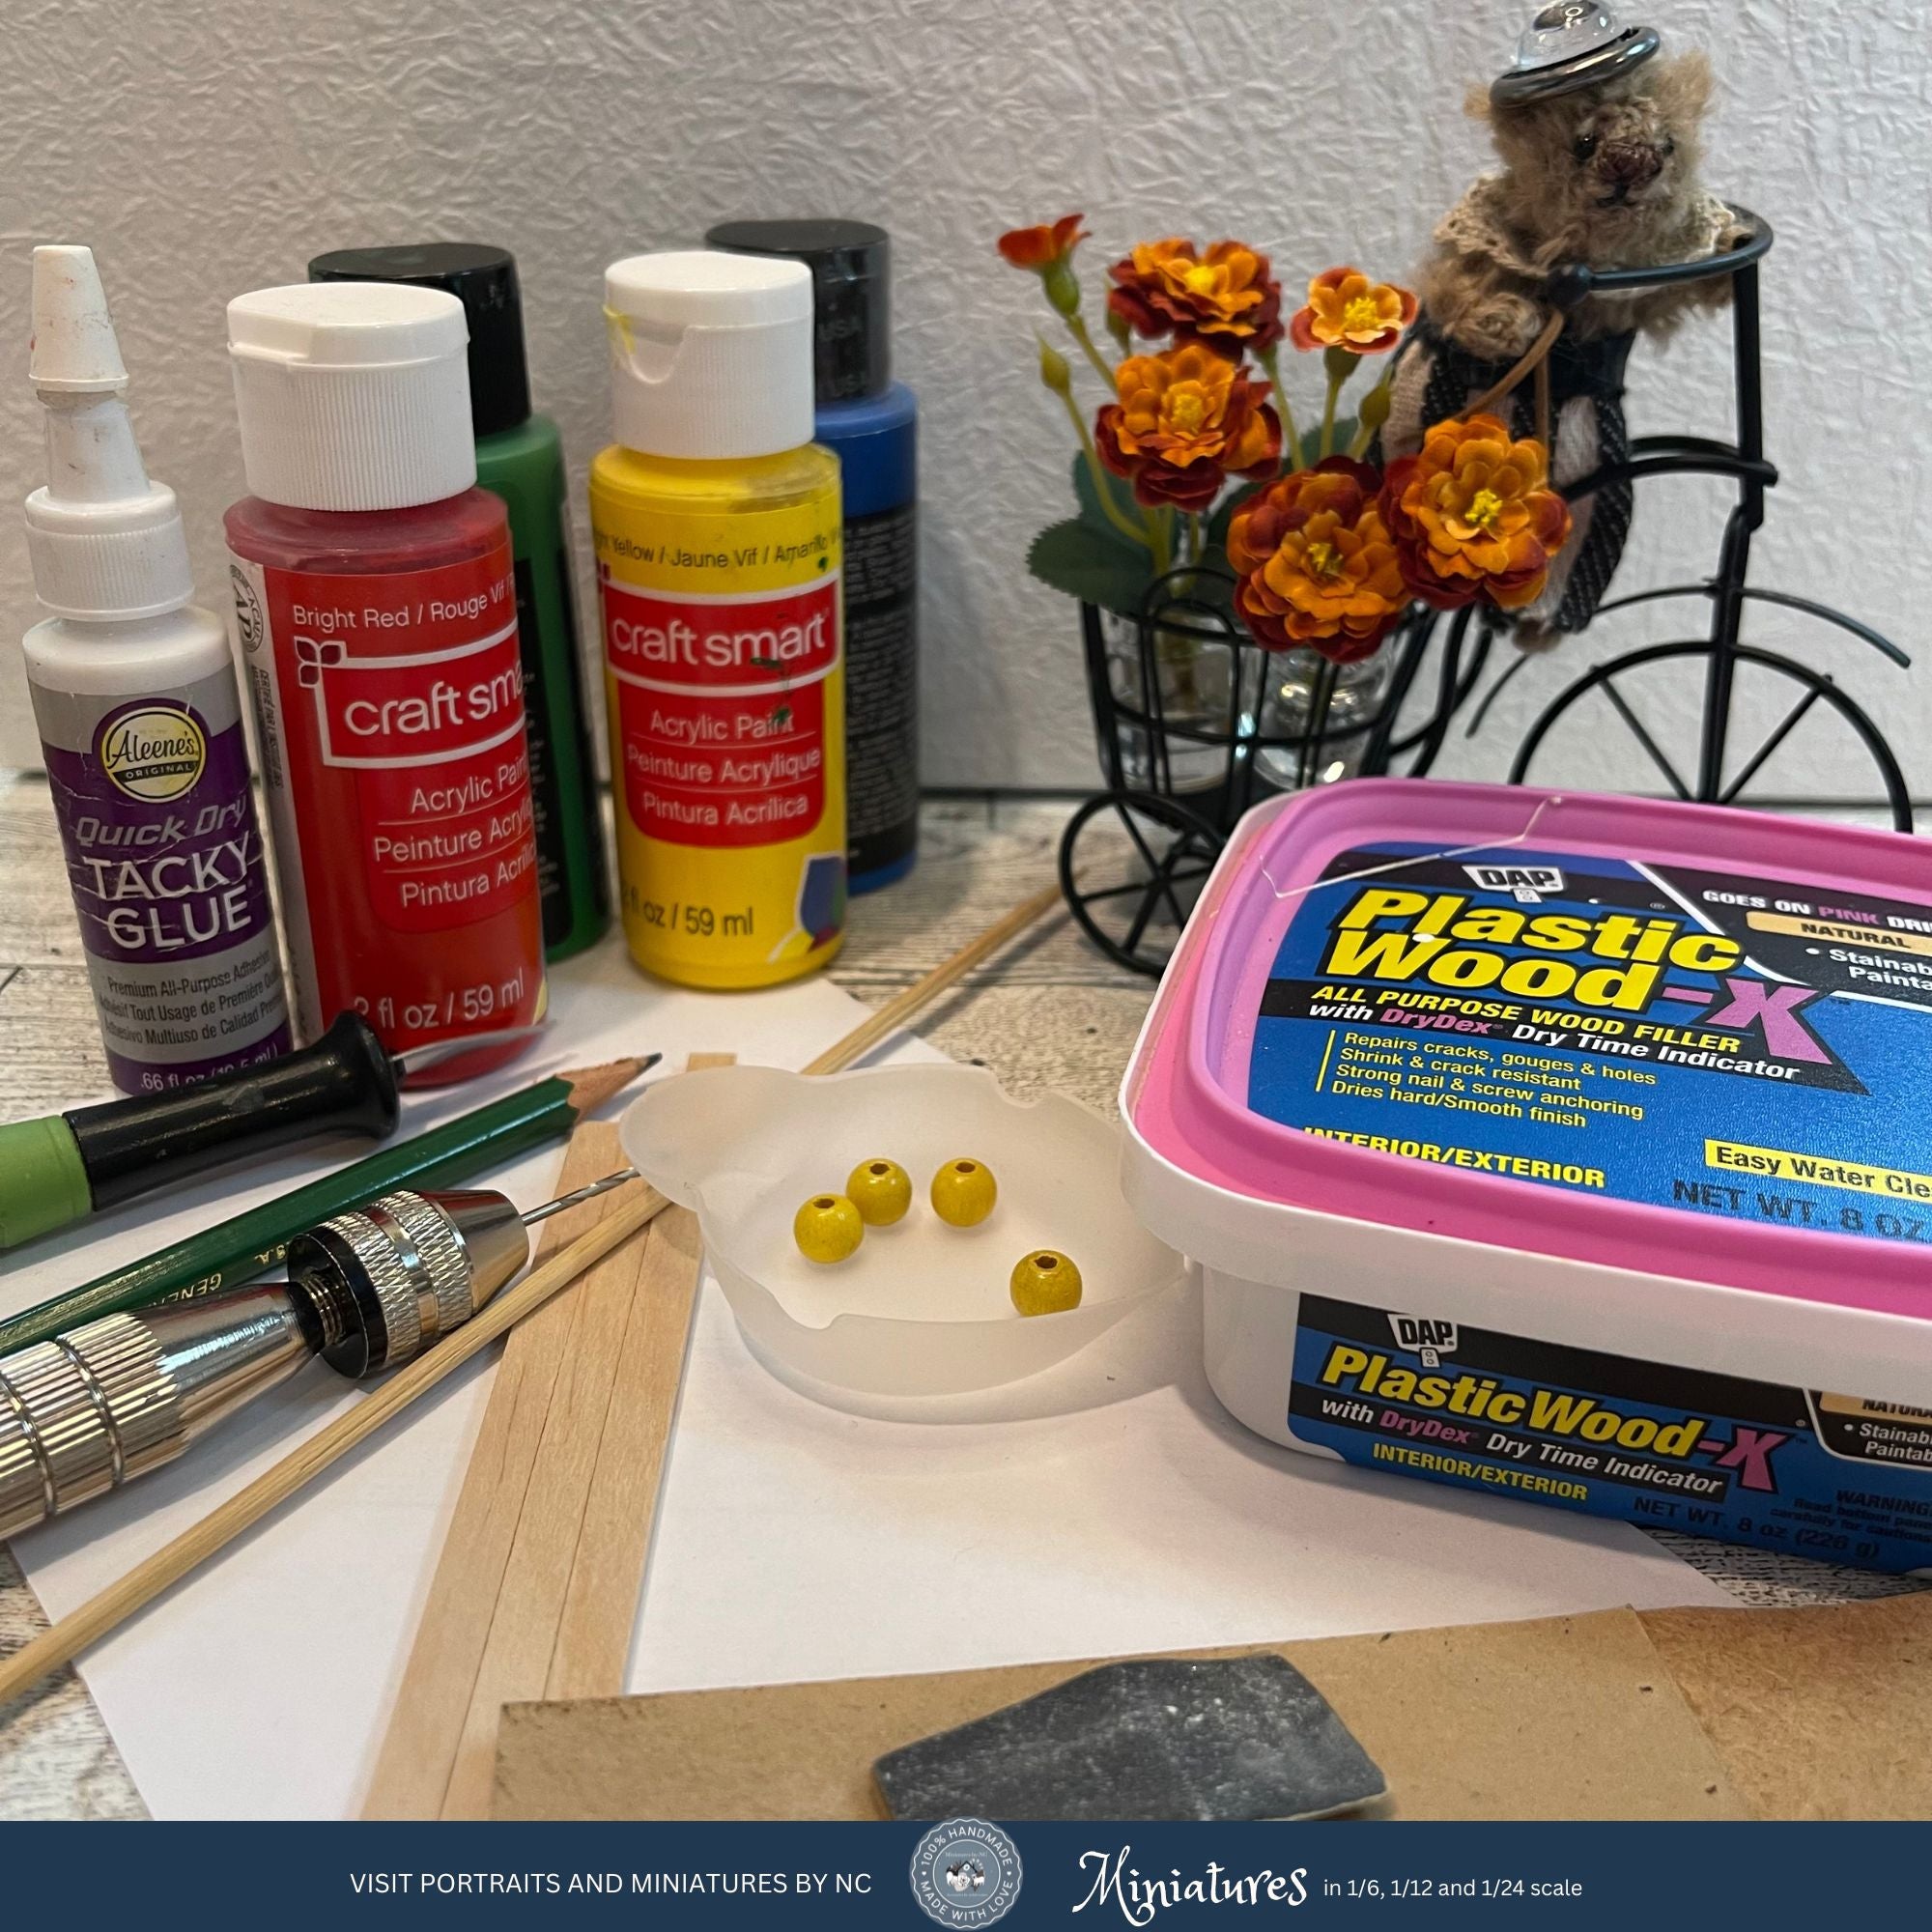
Let's start by gathering up some materials.

Instructions
- Croquet Balls
Fill the holes of the beads with wood filler and set them aside to dry.
- Croquet Rack
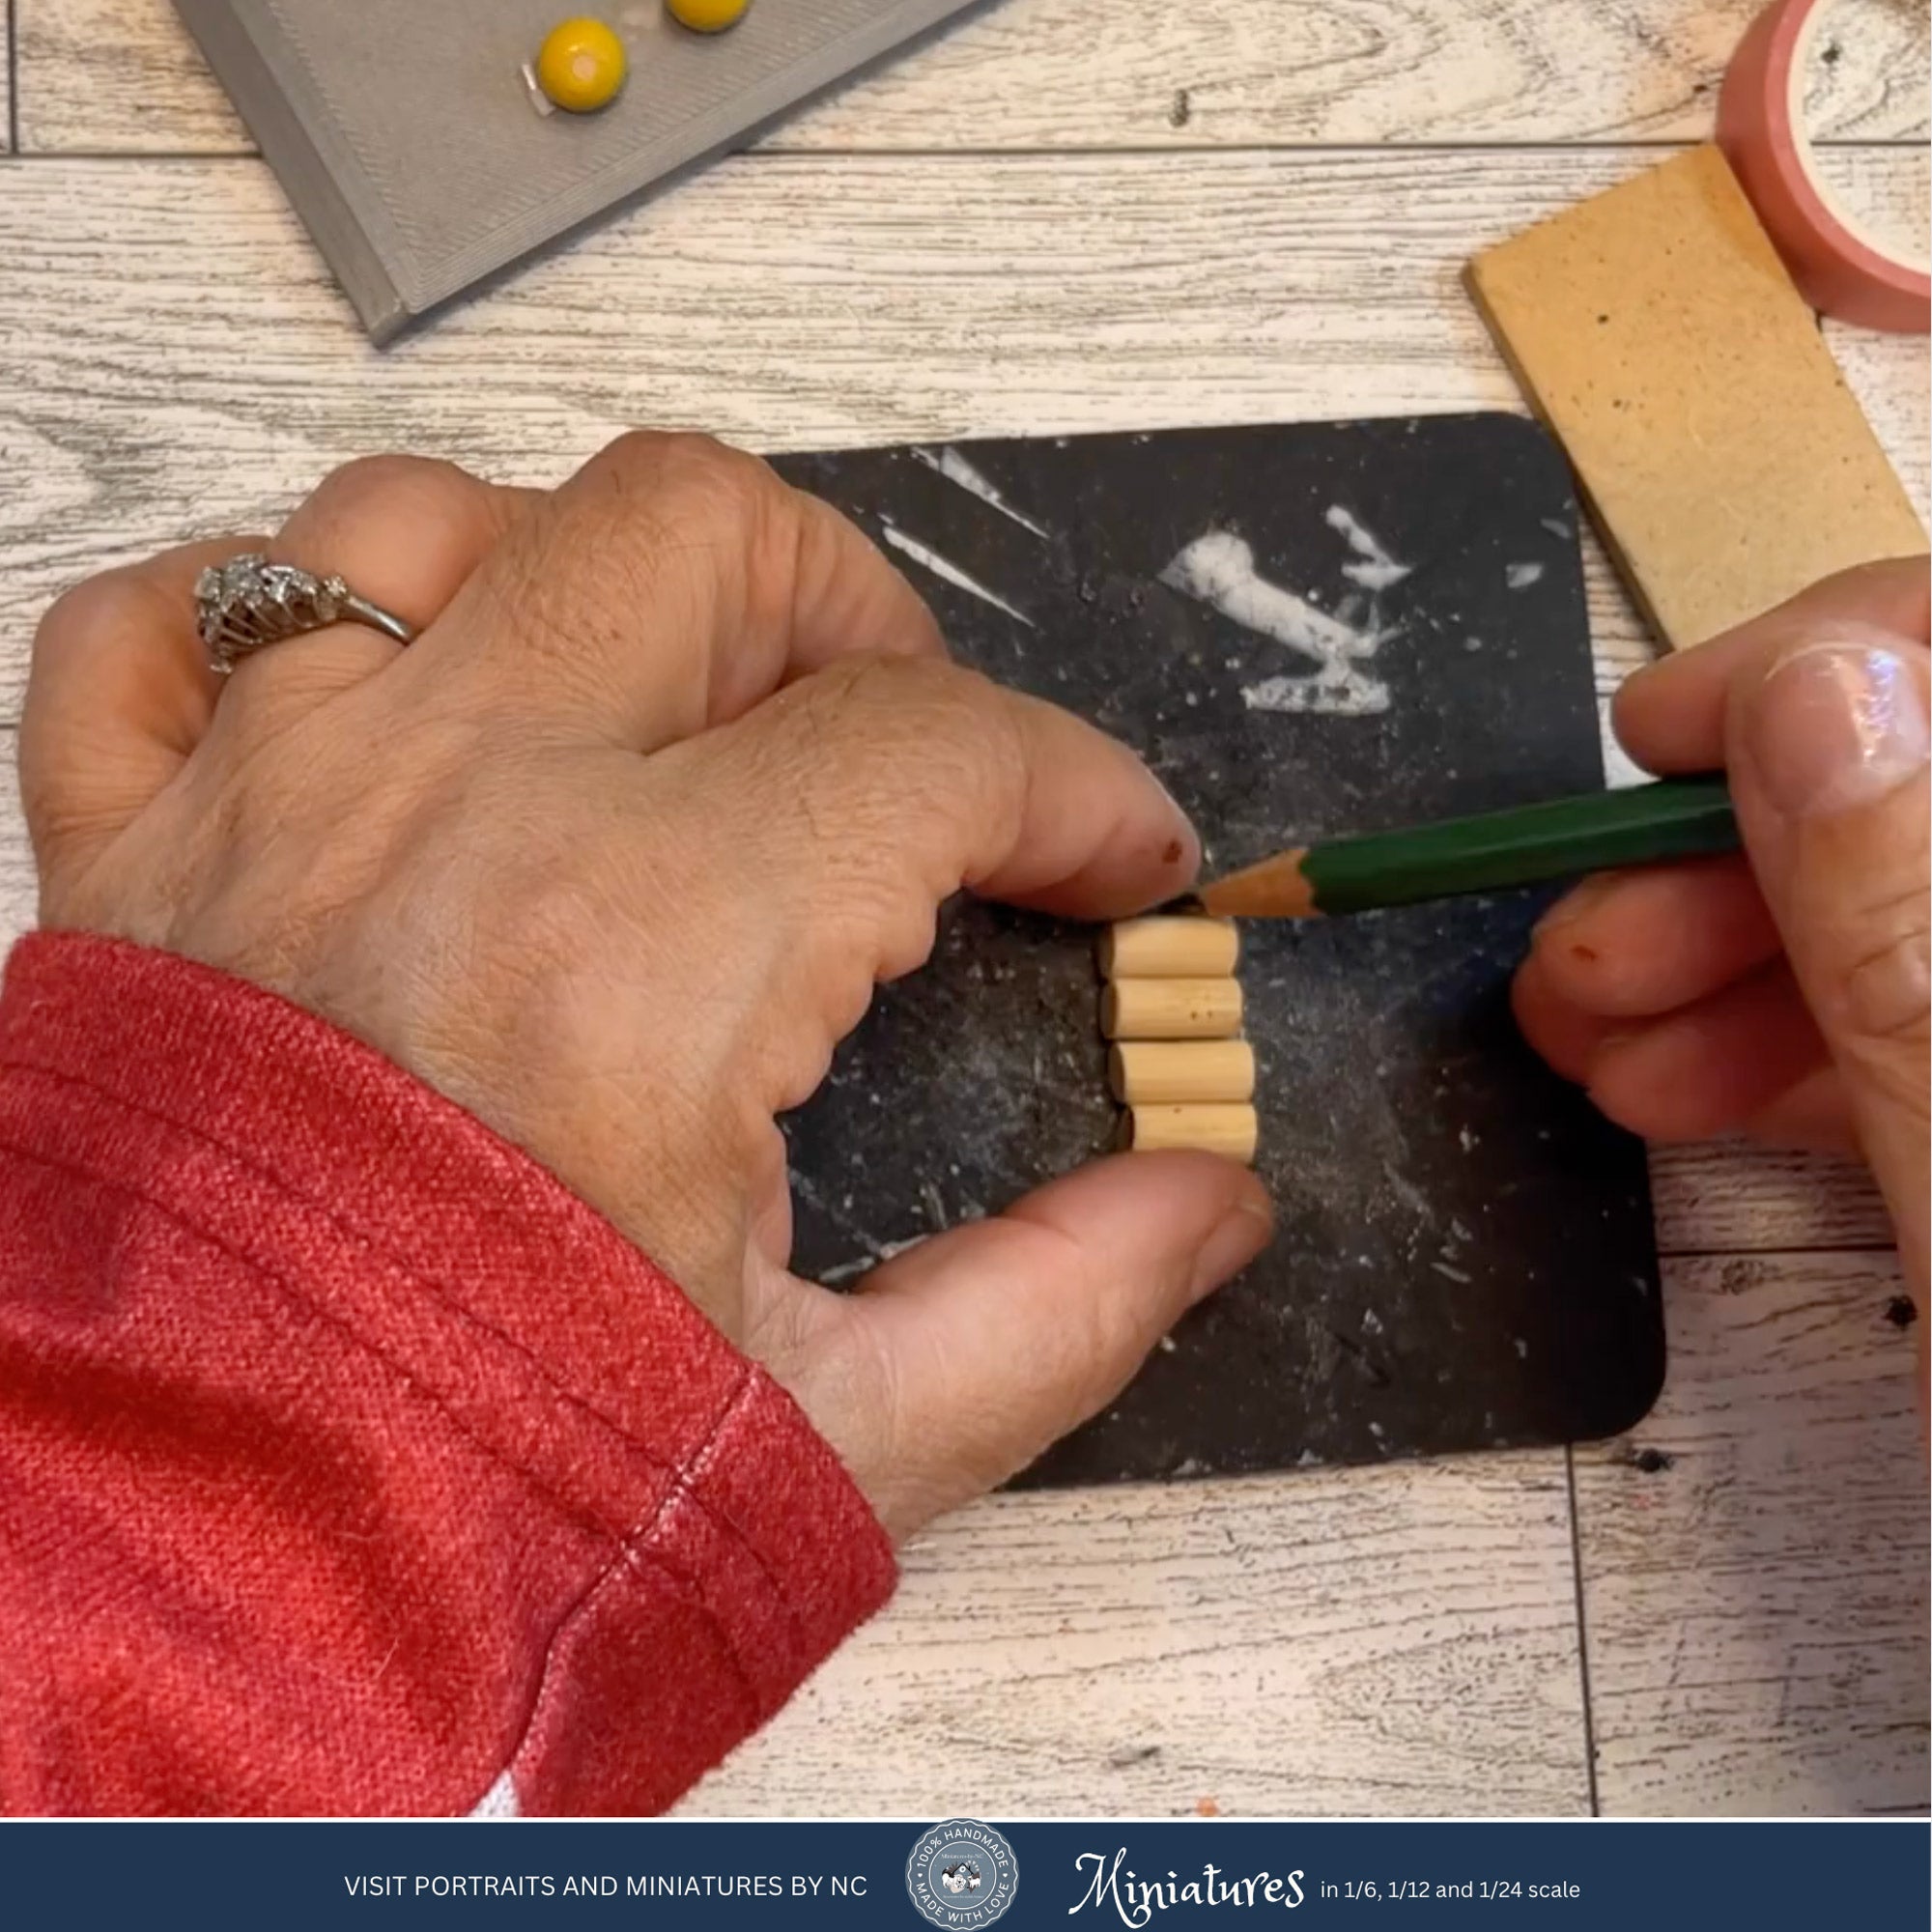
Take a popsicle stick and cut three 2inch (51mm) pieces.If you have a miter saw cut the pieces there so the ends come out straight. Otherwise use you Exacto knife and sand the ends for a smooth finish. Set one stick to the side for later. 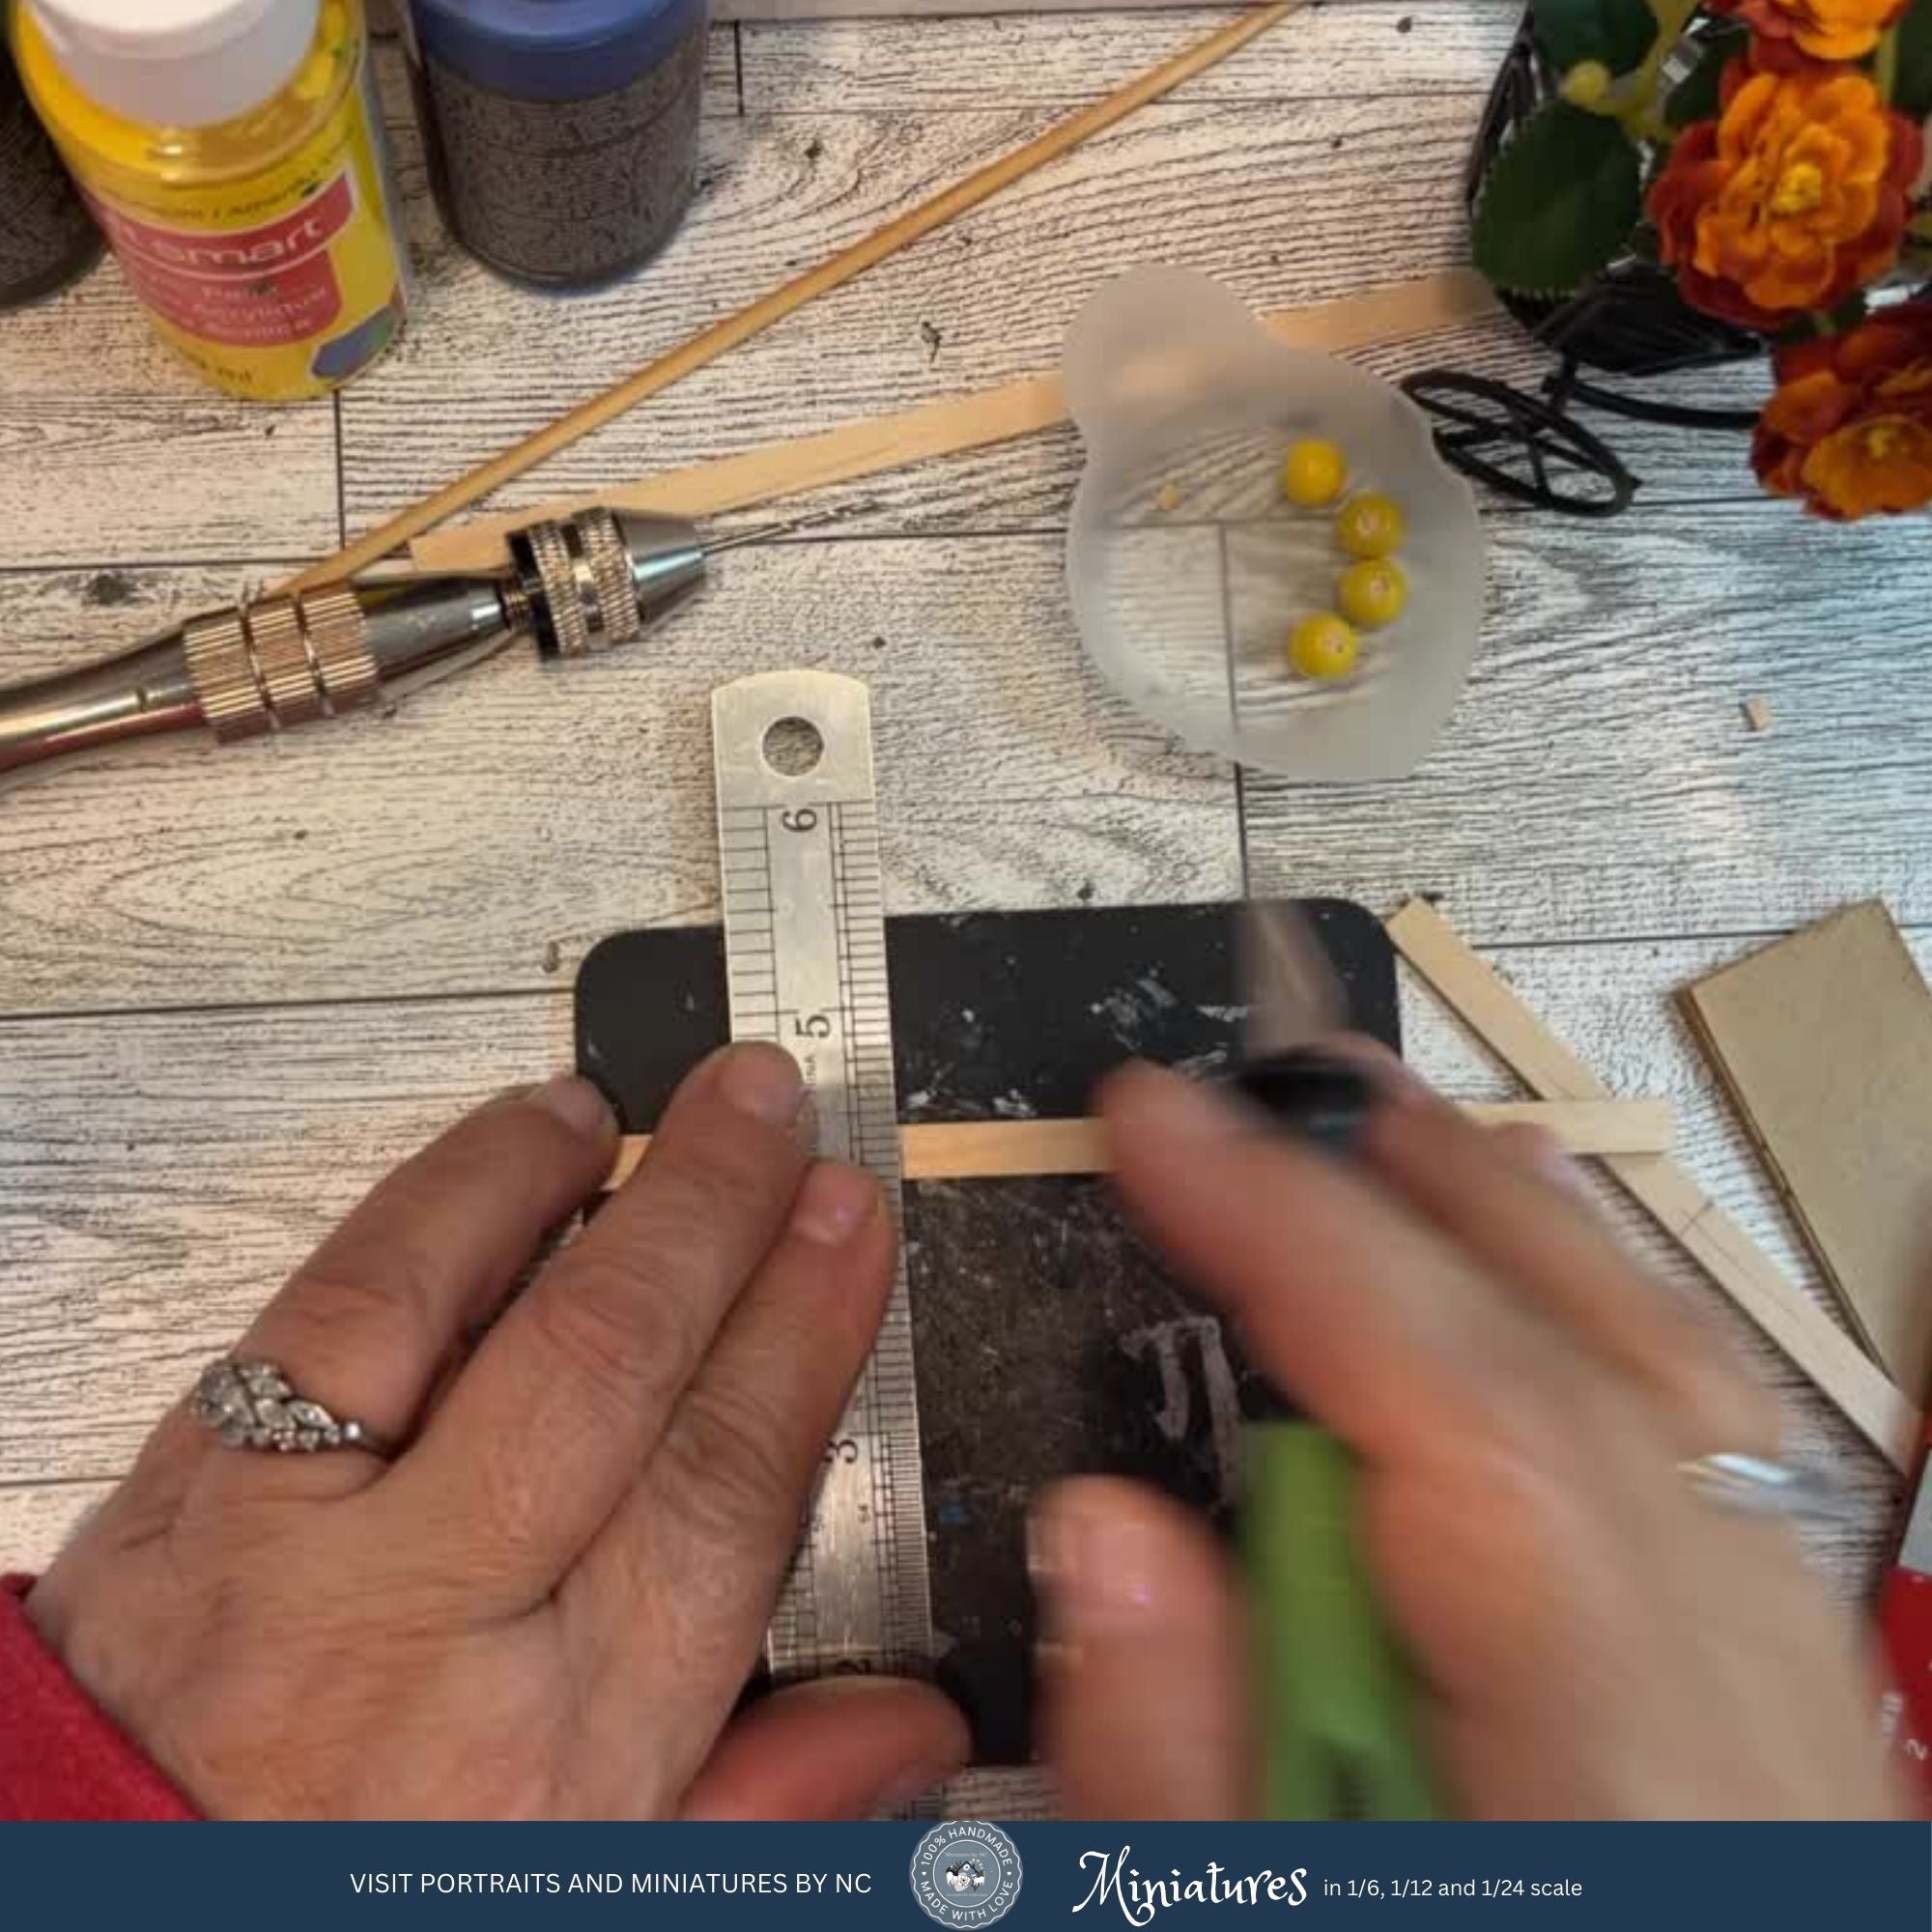
Please note - between taking photos and writing the blog post while making the rack, I did not realize until much later that I had only made 5 holes and had to redo the two inserts. To get 6 holes start from the edge of the wood make a mark at 6mm increments. The mark will be the center for each 2mm hole and you will end up with evenly spaced holes.
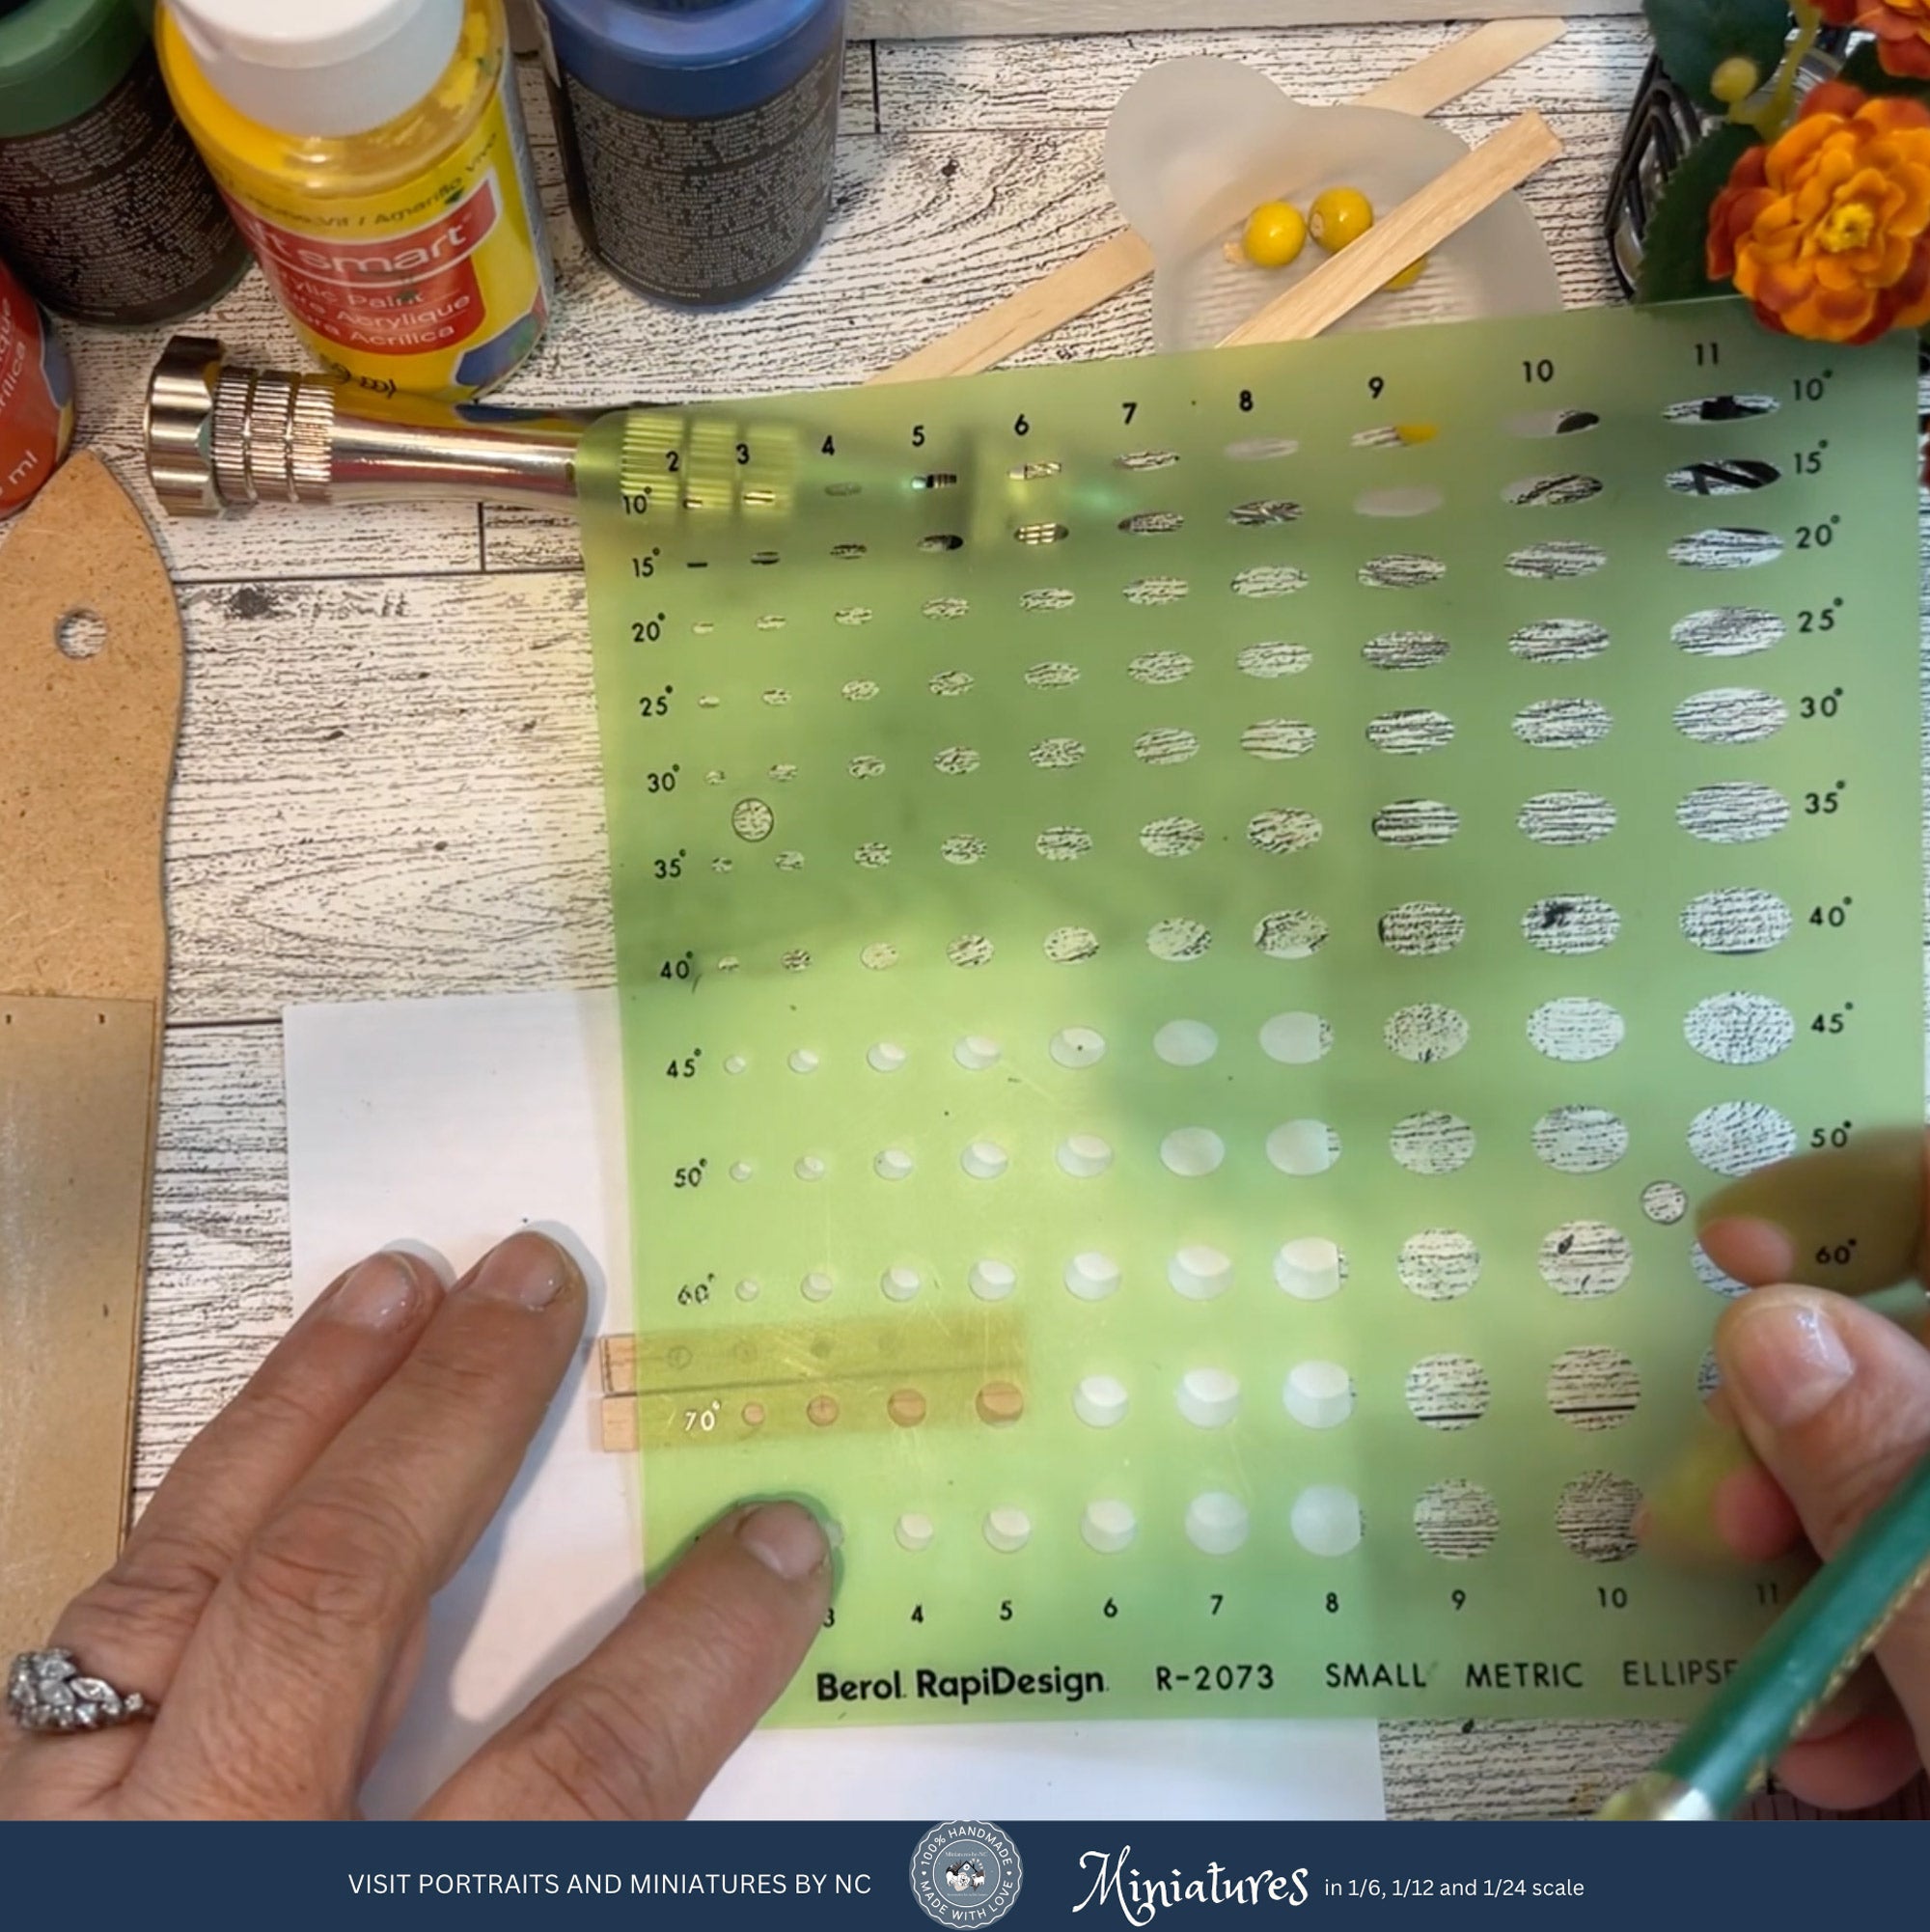
Now we need to make the holes. I like to find the vertical and horizontal center first so that the holes end up well aligned. To figure out the opening I use the end of the shish kabab stick and find the corresponding opening on a Berol Rapi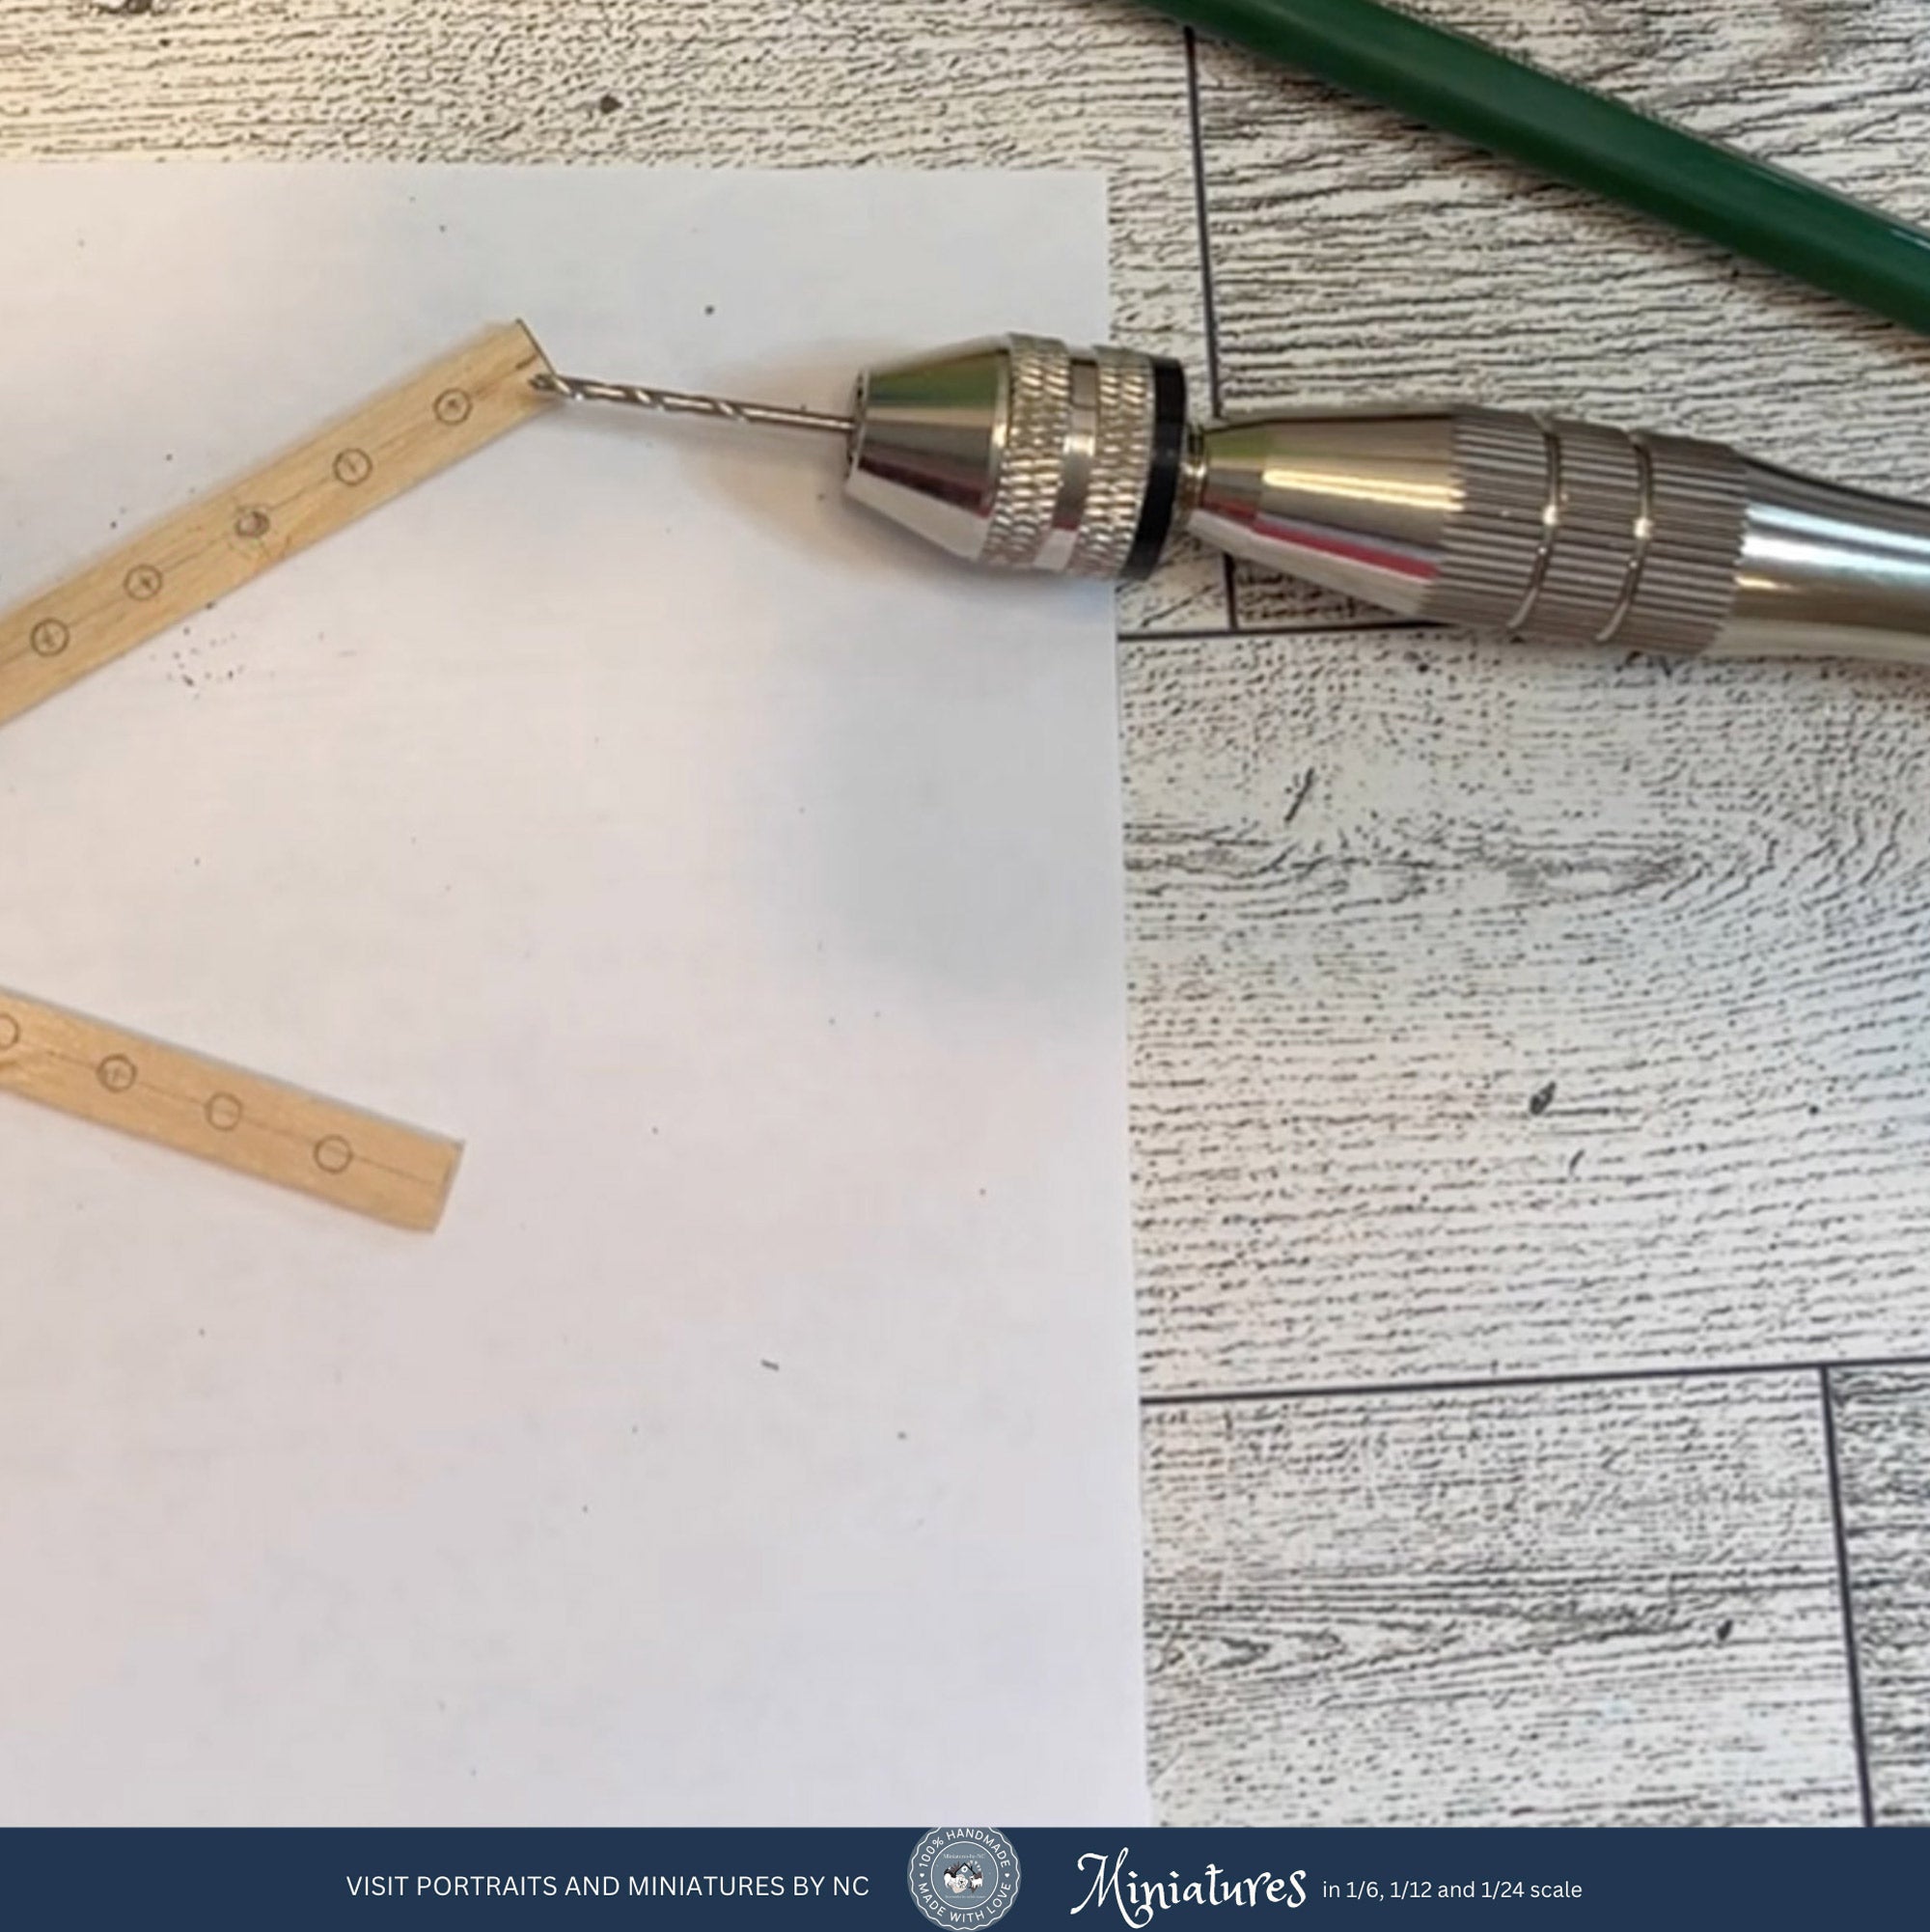 Design R-2073 circle template.
Use the hand drill to drill the six holes in each of the sticks. Better yet, try out the little hand drill that I use.

Tip!
Regardless with what tool I make the holes, I have found that slowly going up in drill bit size prevents the wood from splitting. You will also have more control over where the holes end up, since there is less chance of slipping while drilling.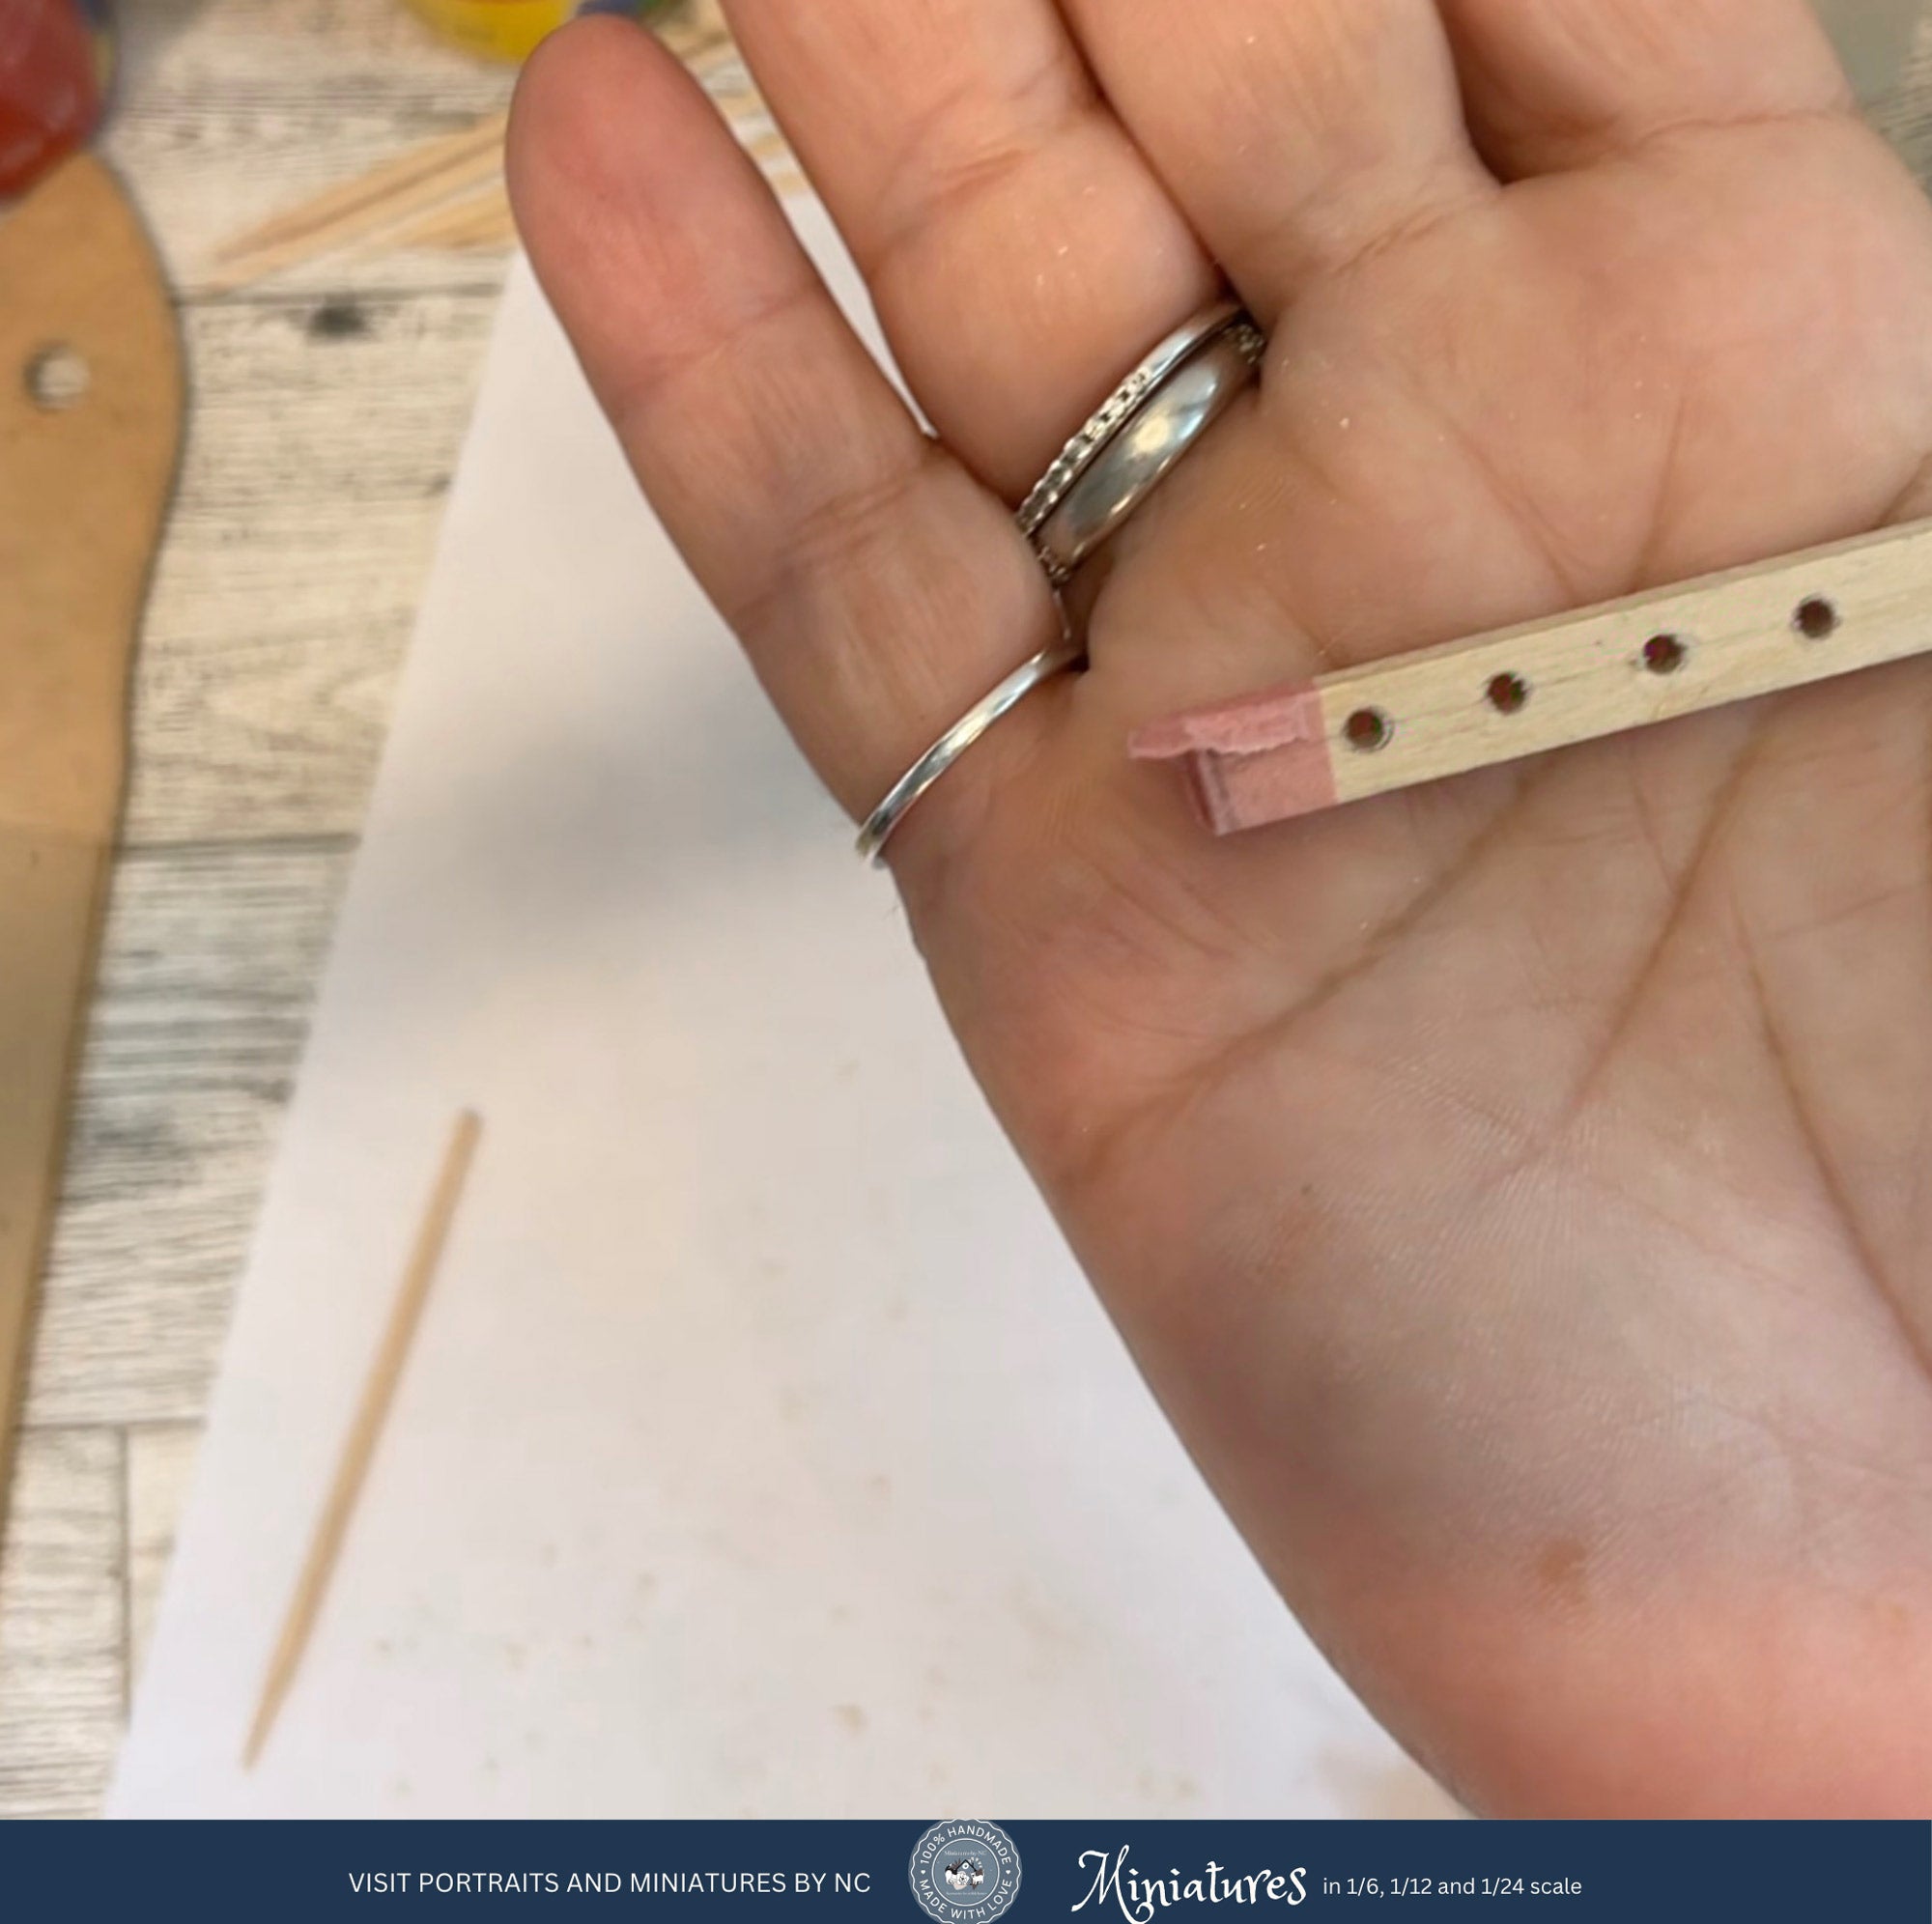
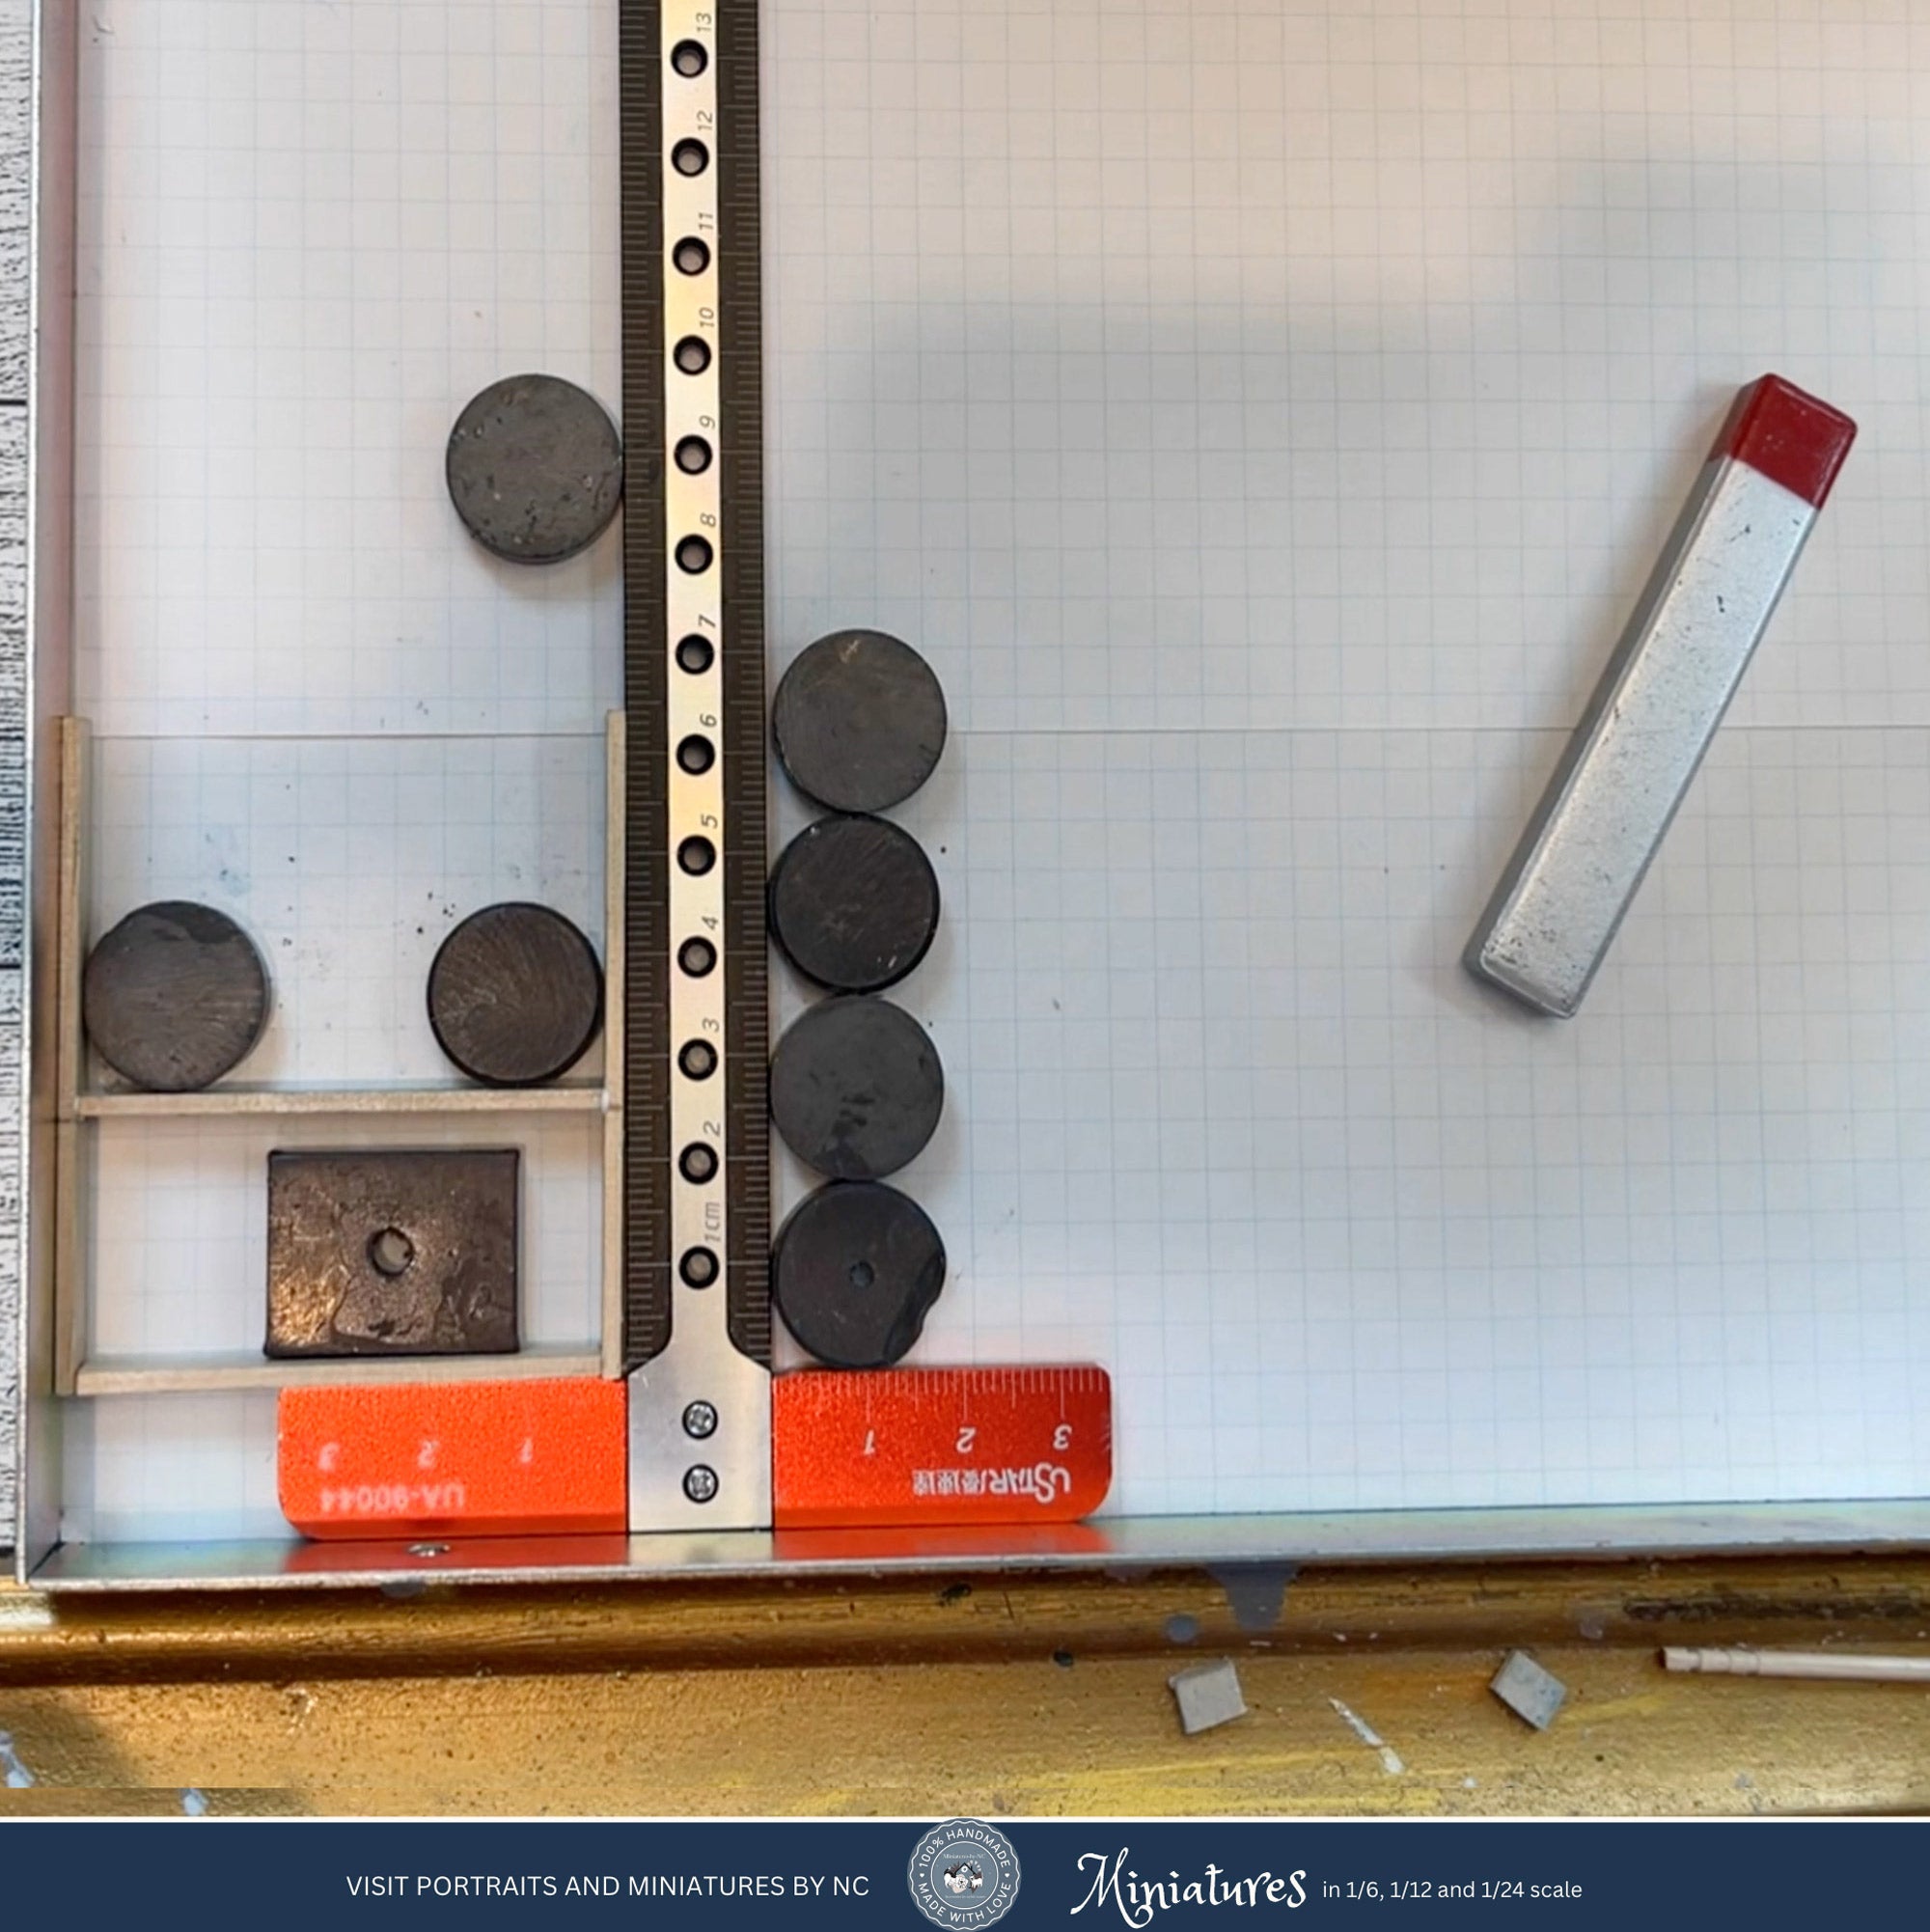
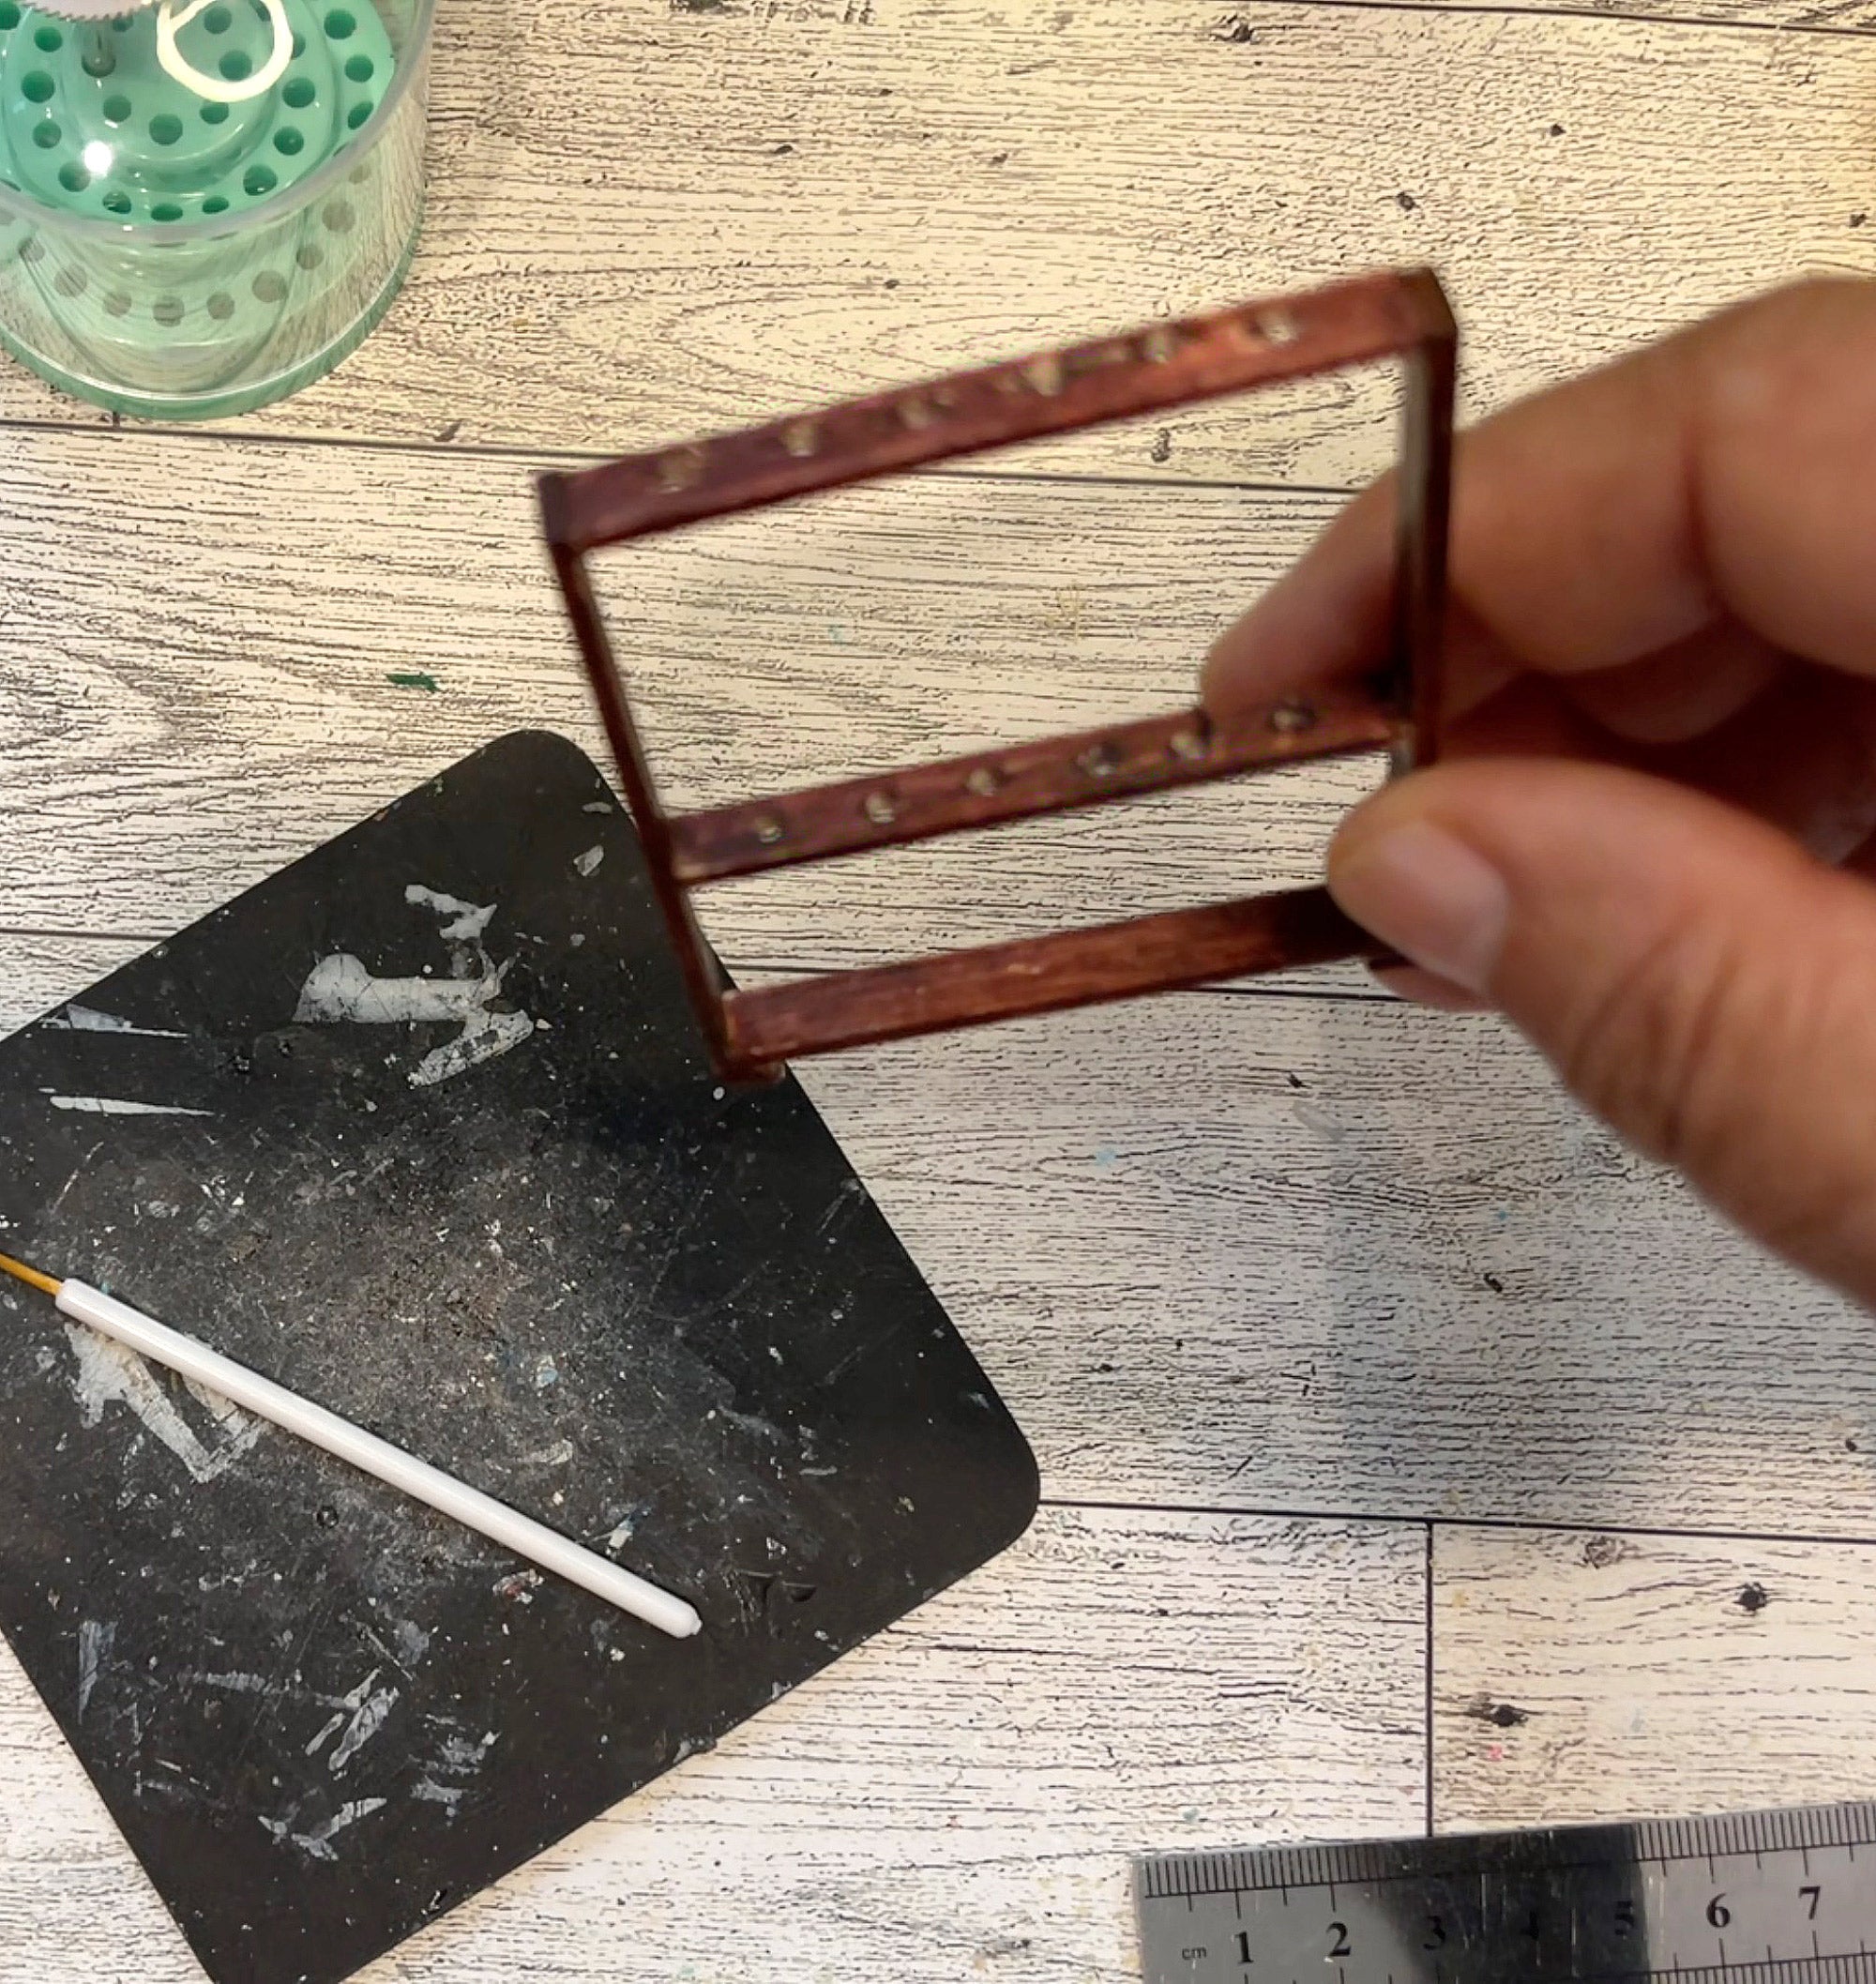
To make the sides of the rack use 2 more Popsicle sticks and cut two 2½” (63.5mm) lengths and lightly sand the ends. Measure and mark 1½” (38.10mm) from one end of each of these pieces.

For the feet of the rack measure and cut two ¼” (6.35mm) lengths of Popsicle sticks and lightly sand the ends.
I recommend painting the pieces before assembling them, but in this tutorial I will do the painting later so that you can see the markings better for where to attach the pieces to. I like to use Aleene's tacky glue for this purpose, since it allows for slight modifications in case that you have to move the pieces around before it permanently sets.
Glue on the ends of the 2” (50.8mm) lengths and sandwich them between the longer side pieces 2½” (63.5mm) lengths with the solid piece at the bottom, one drilled piece at the 1½” (38.10mm ) mark and the other drilled piece at the top. Let dry.
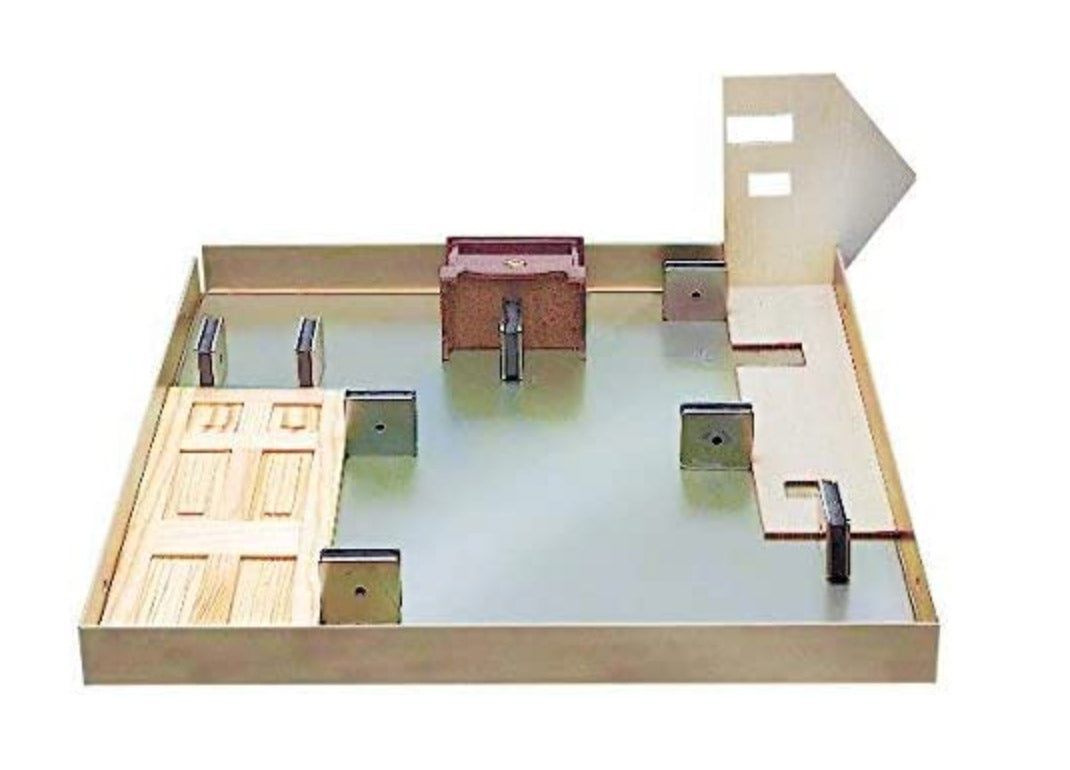
I don't know about you, but I have a difficult time gluing things straight on, so I have invested in a magnetic gluing jig. It makes things much easier and my work no longer looks like the leaning tower of Pisa.
Once the main frame is dry glue on the feet (¼” / 6.35mm) to the bottom corners of your rack. Let dry again. Stand your croquet rack on its feet and if you have not already painted it, paint it whatever color you like. I will be using Acrylic brown and a Sharpie brown marker. I also like to coat the paint with Mod Podge. Mod Podge seals in the color and adds extra strength to the built.
Mallets and Stakes
Use your miter saw to cut four ½” (12.7mm) wide pieces of dowel to ½” (12.7mm) length. These pieces will be the heads of you mallets. Mark the center of each “mallet head” and using the hand drill, drill a small hole wide enough for the toothpick to fit in.
Cut the toothpicks to about 2.25" (57.15mm). Make sure that once you place the mallet heads on there is enough room to clear the wooden balls. Glue the toothpicks to the mallet heads.
Paint a stripe at each end of the mallets. Each mallet has one color (see photo).
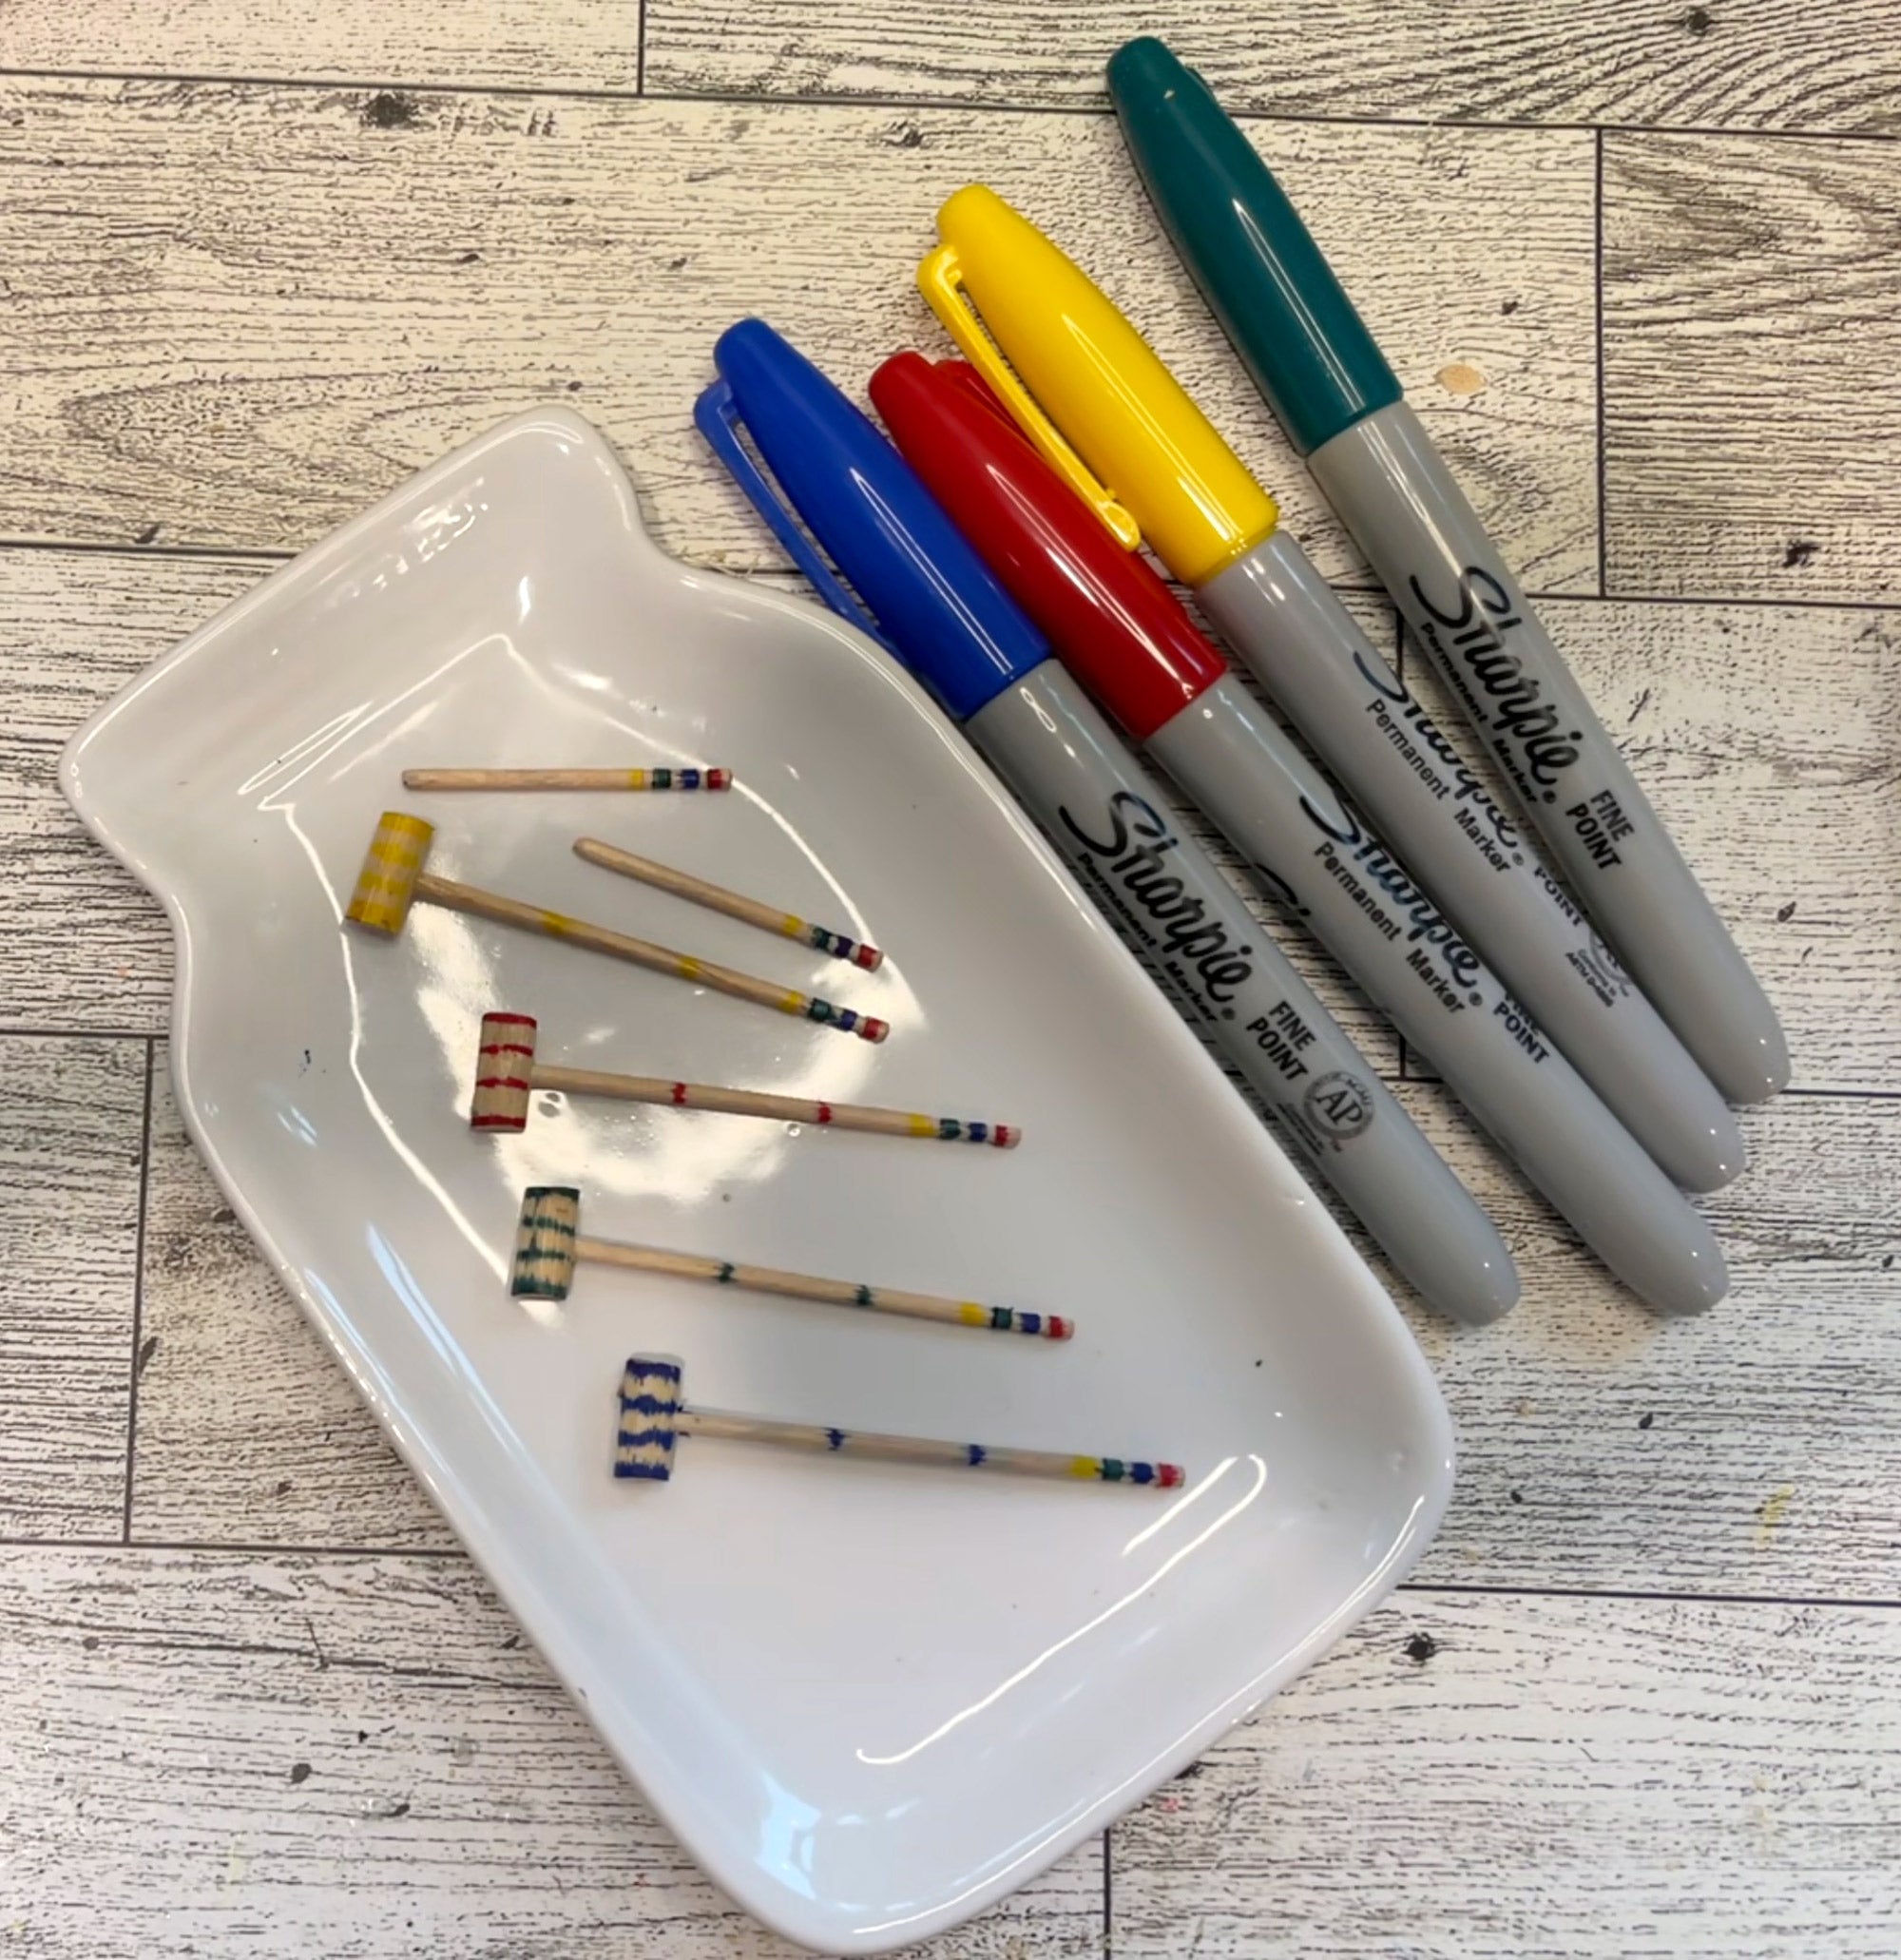
Cut two more toothpicks to half their size and paint stripes on them. These are the markers that are placed on the ends of the rack.
- Hoops
Cut nine 1” l(25.4mm) lengths of wire and bend them into a “u” shape to form the hoops. Now your little people are ready to enjoy their game of croquet.