How to Print Any Design onto Fabric for Craft Projects

There are several ways to get a design printed on your own fabric and today I will share two of them with you.
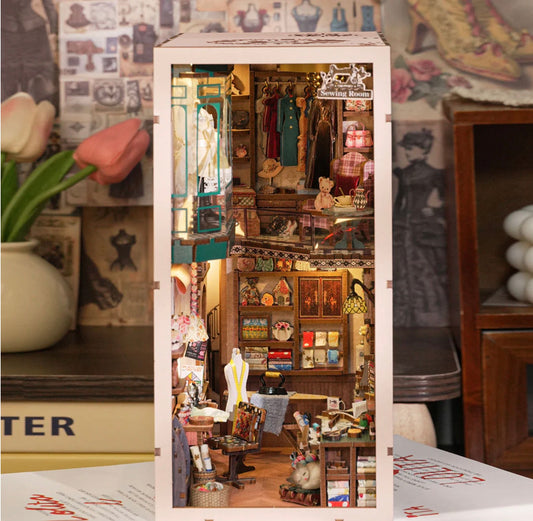
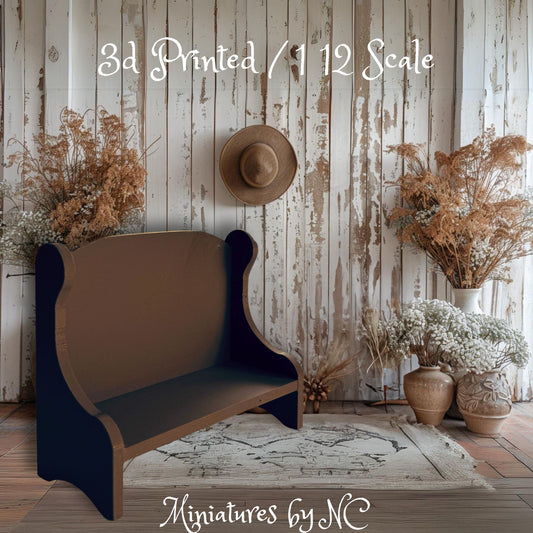
I have been using Avery Inkjet Printable Fabric Sheets for a few projects and thought I share my experience with you. This is a canvas weave style fabric and a bit heavier than a regular cotton fabric. I love using the Avery Printable fabric because I do not have to use freezer paper and can basically print the design directly from my computer onto the fabric. It works wonderful for miniature furniture upholstery projects and takes glue very well.
First let's see what Avery Printable Fabric is and how to use it by watching these videos:

The 2nd method can be used on any type of fabric and requires the use of freezer paper.
There are many places to find fabric swatches. You can scan a piece of fabric that you already have or look on line and take a screen shot of any pattern that catches your eye.
For this project I am showing you what to do if you like to make a pattern from a piece of furniture covering that you like.


If you do not have photoshop you can scan the image into Canva or any other image editing app.

Try your best to make the missing parts of the pattern to resemble the rest of the design. It's a bit tedious but well worth the effort.

When duplicating the pattern it might be a good idea to print a sample. You can set the printer setting to draft and print in black and white to save ink. Once you have your sample printed do a dry fit to see if the pattern is to the scale needed - otherwise adjust before continuing.

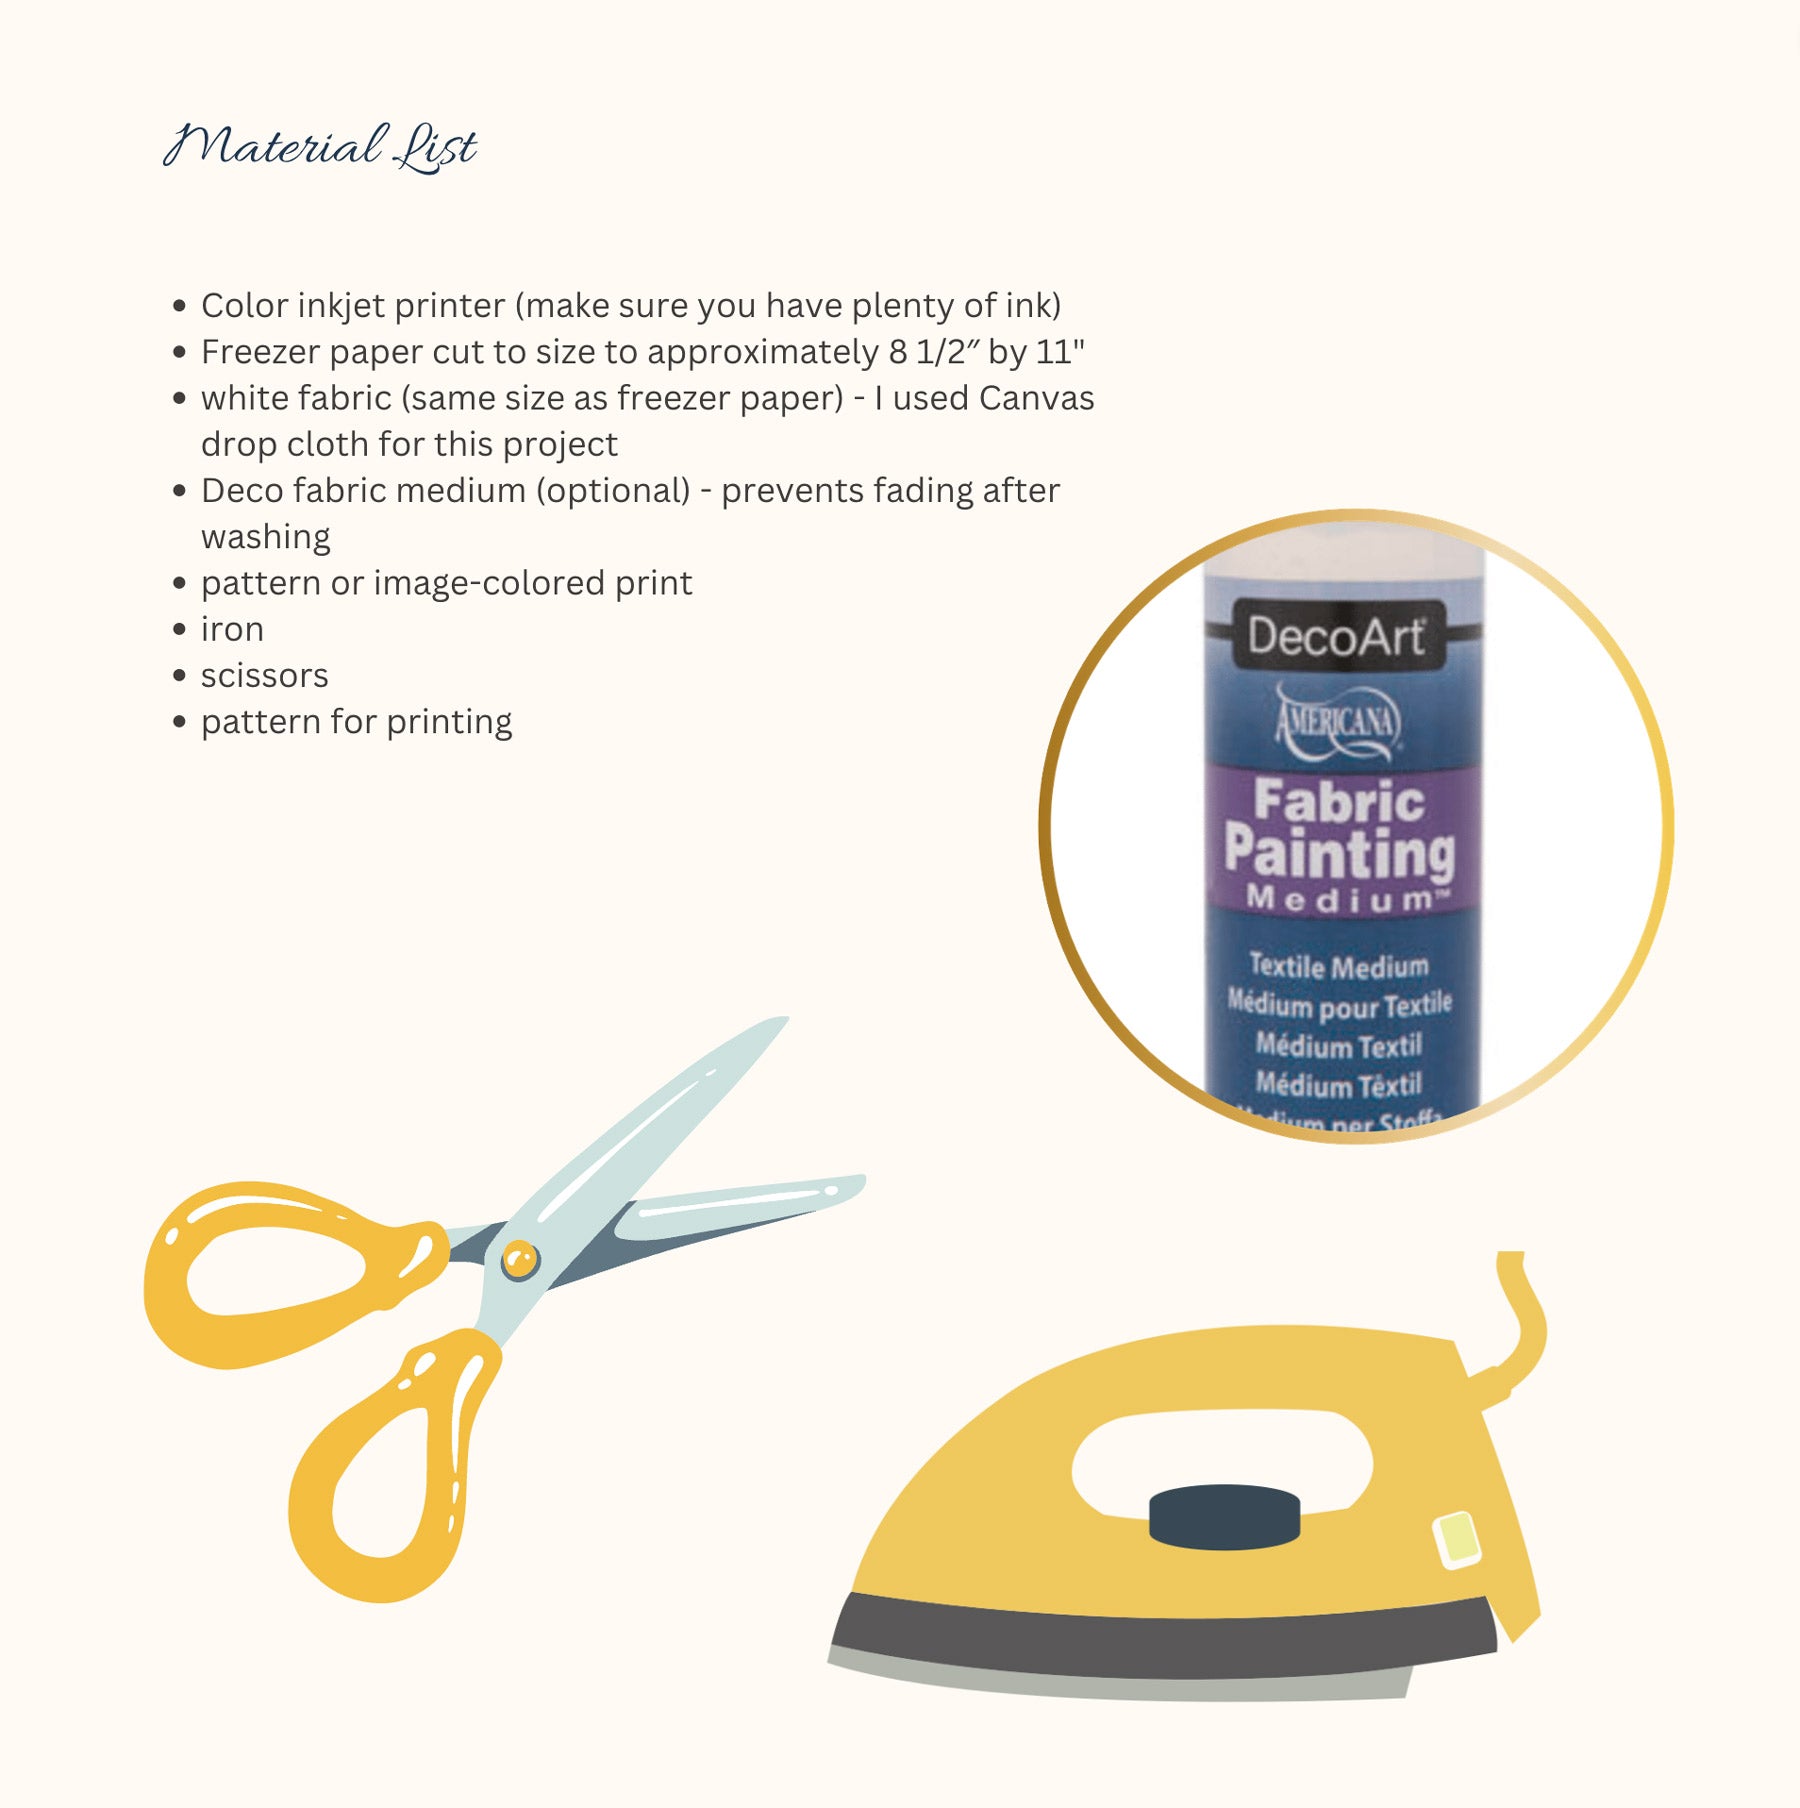
Printer settings can vary, just select the best color print that you can get out of your printer. My Kodak Varite prints on fabric and has a setting for that, so that is what I chose. Let's print the pattern onto our fabric


You are ironing the freezer paper onto the fabric to give the fabric support while it is running through the printer. It is important that the fabric and the freezer paper are exactly the same size as your printer paper, so it will not get caught during the printing process.

And here is the printed fabric. I wanted my fabric to be a bit warmer in color and love the way it has turned out. Since this is going on top of the balloon chair I will end this rather long post and share the next process of the actual upholstering in the next blog post.