How to Make Miniature Carnations

Making miniature Carnations is incredibly easy if you use Crepe or even tissue paper.
This technique uses some tricks found in quilling, where you tightly wind the paper around a center stick and then pull pieces apart to form the petals.
Until I have more time to write the instructions here is the full video.

I will be sharing some close-up shots of the video so you can better follow along on how to make the carnation flowers.

The room box of Mrs. Maisel's kitchen has to have a vase filled with carnations and roses. sitting on the table. I had roses on hand but needed to figure out how to add the carnations.

Most items for this project can be found via Amazon. I am going to list the items I have used, so you can put them on your shopping list.
- Pink Crepe Paper Streamer
- Aleene's Tacky Glue
- Floral Wire, Green Floral Tape and Cutter
- Vase Mold ( will list soon)
- Quilling Pen
- Hard Curing Resin
- White Tissue Paper
- Chalks
- Scissors
- Exacto Knife and needle
DIRECTIONS

We begin by making the vase. Pour the resin into the mold making sure that the entire cavity is filled with resin. Let it cure until it is solid.

Gently remove the vase from the mold. It can be a bit tricky at times, so do not rush and be gentle so that you won't tear the mold.

I love how this vase looks. It is more 1/6 scale than 1/12 but roomy enough to be filled with lots of flowers. I think it just looks amazing :)

I used two types of paper for this project. One was pink crepe streamer paper and the other tissue paper. The look is slightly different and the tissue paper will give you a very soft looking flower.

Crepe paper has these ridges that can add to the visual interest of the petals. It can also be stretched which is nice when you need to give the metals more form.

Layer the paper to about 4-5"

Cut thin stripes about 1/4" wide. The size should be the size of the entire height of you flower head.

Using sharp scissors cut along the edge to make a fringe.Make sure not to cut all the way through since we need to twirl this around itself.

Here you can see what it should look like. You do not have to be exact when making the cuts, just make sure that the gaps are not too wide apart.

A quilling tool has a very narrow slit throught it's center. This is where you carefull insert the paper. Add a tiny dab of glue to keep the paper in place and start rolling the paper strip together.

Before you pull off the paper add another tiny dab of glue to keep the whole thing from unravelling.

Now we will make the stem. Cut the green floral wire to the desired stem length. I cut mine to about 1.25" . You can always shorten it later if needed.

Take one end of the wire and bend it into a tiny loop. We need this loop so we can add a bit of glue on it to secure the flower head.

Gently insert the wire stem into the center of your flower. Hold it a few seconds so that the glue can set.

Now that the stem is in place we can add the floral tape to give the wire more bulk and the leaves.

Cut the floral tape a bit smaller than the wire and wrap it tightly around the stem. You press the tape into place since it has a sticky side and will hold on to itself.
 You want to make the stem as thin looking as possible.

The leaves will be glues around the stem. The tacky glue comes in very handy here, since it allows you to reposition the leaves as needed before the glue starts to set.

Use some green craft paper and cut out long leaves. They do not all have to look the same or be the same length. Variety works well here, just make sure that the general shape is that of a long leaf.

Put some more glue around the stem and attach two leaves at different levels. You can use your finger nails to bend the ends of the leaves so they do not look so stiff.

Sorry I did not have a better photo, but I think you get the idea how the leaves should look and sit on the stem.

I made the white and yellow carnations out of tissue paper using the exact same steps as with the crepe paper. The look is softer and I like that you can easily add color variations with colored chalks.

Using your Exacto knife scrape a bit. of yellow chalk off. The dip a clean brush into the chalk and dust the tissue flower lightly with color. Don't press down otherwise you will flatten the petals.

Add a bit of glue to every stem before placing it into the vase. You can use a needle to gently pry apart the petals to give the flower heads the shape you like.
In the comment section below leave me a note and tell me how you make carnations for your dollhouses.
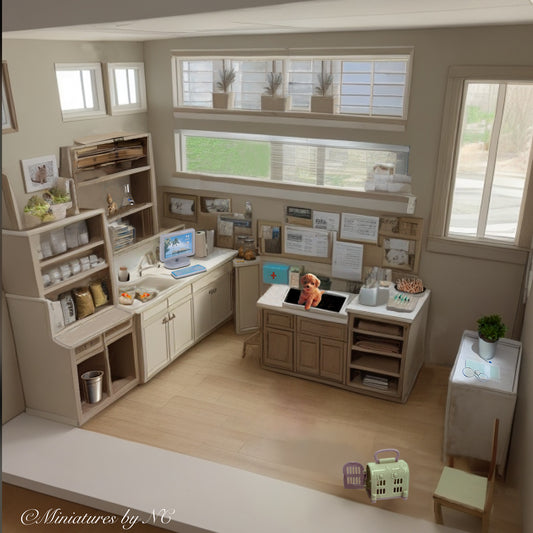
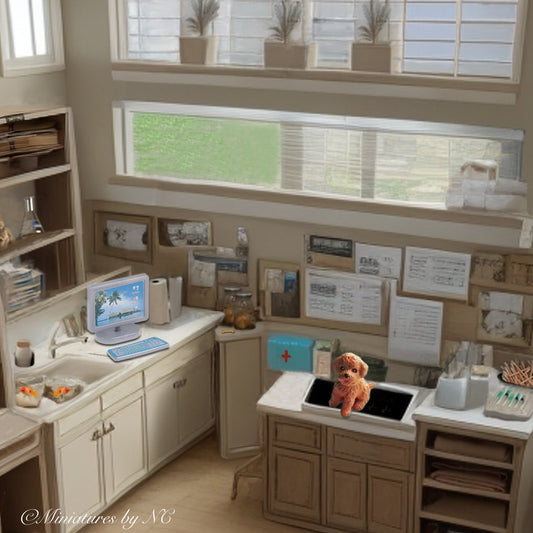
The flowers were made for Mrs. Maisel's kitchen. Here is the kitchen reveal.