How to Manipulate Lighting in Photoshop
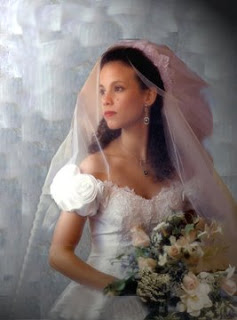
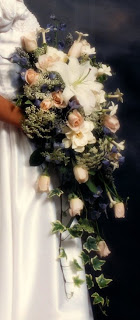
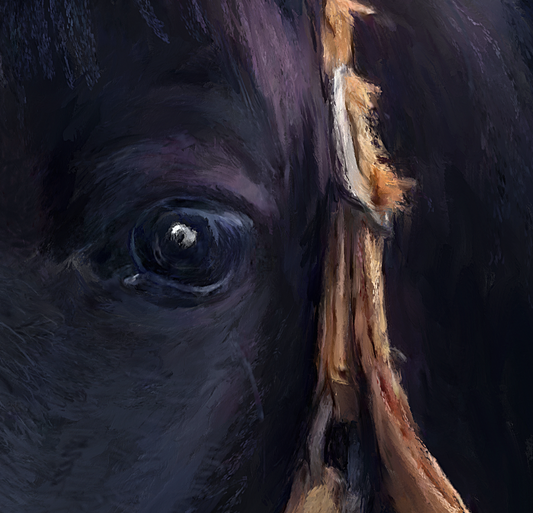
The reference for my new painting "Jeune Mariée" has been pieced together from two separate photos and has some lighting issues that needed to be resolved.
Problem: On the image on the left the light is coming from her upper right side, being strongest on her sleeve. As light travels, it should disperse and get less intensive, yet the flowers are brightly lit as well, obviously receiving light from another source.
Ideal situation: For a single portrait the strongest focus should be on the face. I think of the face as the 'Star' and everything else as supporting characters or props. Everything has to have a hierarchy and has to either be physically arranged or manipulated by lighting to make the star of the show pop out.
Fixing the problem:
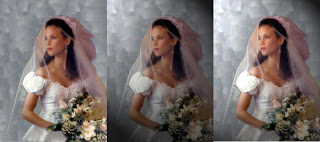
Using the 'Lighting Effects' feature in Photoshop, the focus will be brought more on the face with a gradual tapering or fanning out of the light.
How:
Open reference photo
Create Copy hit control J
Filter>Render>Lighting Effects -- This opens your 1st light -- drag the circle to change lighting direction and amount of light being reflected
Go to Style and choose what type of light you want - play around with settings and color of light (click square to change colors)
To add a 2nd light drag the light bulb under the image into desired position -- do the same thing as with 1st light source
Hit ok
Play around with Opacity until you get desired effect
Source:
Adobe Photoshop Lighting Video