Creating a Vintage Distressed Age Look: A DIY Tutorial for Cardstock and Wood

There's a certain charm and character that comes with aged and distressed surfaces. Whether you want to add a vintage touch to your home decor or create unique artistic pieces, giving your materials a distressed age look can be a fun and rewarding DIY project. In this tutorial, we'll explore how to achieve that sought-after vintage appearance on both cardstock and 2mm thick wood using paint and other mediums.

Materials Needed:
-
Cardstock or 2mm Thick Wood: Choose your preferred surface. Cardstock is readily available at art supply stores, while thin wood sheets can be found at craft stores.
-
Sandpaper: Various grits (e.g., coarse, medium, fine) for distressing the surface.
-
Base Paint: Choose a base color that complements your desired vintage look.
-
Acrylic Paints: Select a palette of colors for distressing. Common choices include brown, beige, and white.
-
Paintbrushes: Different sizes for applying base and distressing paints.
-
Water: For diluting paints and creating washes.
-
Rags or Sponges: For creating textured effects.
-
Clear Sealant or Varnish: To protect and seal the finished project.
Step 1: Prepare Your Surface
If you're working with wood, ensure it's smooth by sanding it with coarse grit sandpaper. For cardstock, select a heavyweight option to withstand the distressing process.
Step 2: Apply the Base Paint
Using a brush, apply an even coat of your chosen base paint to the entire surface. Allow it to dry completely before moving on to the next step.

Step 3: Distress with Sandpaper
Once the base paint is dry, use different grits of sandpaper to distress the surface. Focus on areas that would naturally wear over time, such as edges and corners. Sand lightly for a subtle distressed look or more vigorously for a heavily aged appearance.
Step 4: Create a Wash
Mix a small amount of water with a darker acrylic paint color to create a thin wash. Apply the wash with a brush, covering the entire surface. Quickly wipe away excess with a rag or sponge, leaving paint in crevices and textured areas.

Step 5: Add Layers of Color
Using a dry brush technique, lightly apply additional colors to enhance the distressed look. Focus on areas that would accumulate dirt and grime over time. Be subtle with your strokes, building up layers gradually.

Step 6: Experiment with Textures
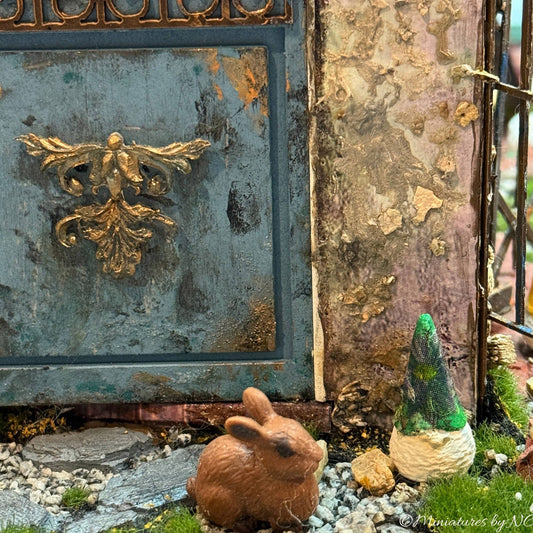
Dip a sponge or rag into a contrasting color and dab it onto the surface to create interesting textures. This step adds depth to your distressed finish. Use tiny scraps of paper and glue them on to create that peeled paint effect.
Step 7: Seal and Protect
Once you're satisfied with the distressed age look, allow the piece to dry completely. Finish by applying a clear sealant or varnish to protect the surface and give it a finished sheen.
With a bit of creativity and the right materials, you can transform ordinary cardstock or 2mm thick wood into beautifully distressed, vintage-inspired pieces. Experiment with colors, textures, and techniques to achieve the desired aged effect. This DIY project not only allows you to express your artistic flair but also provides a unique and personalized touch to your home decor or craft projects. Enjoy the process and let your imagination guide you!
