🏠 Bringing Memories to Life: The Miniature Living Room🏠 Making the dolls

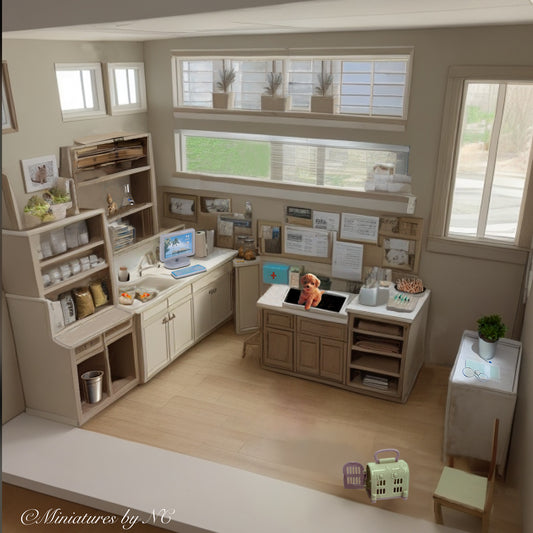
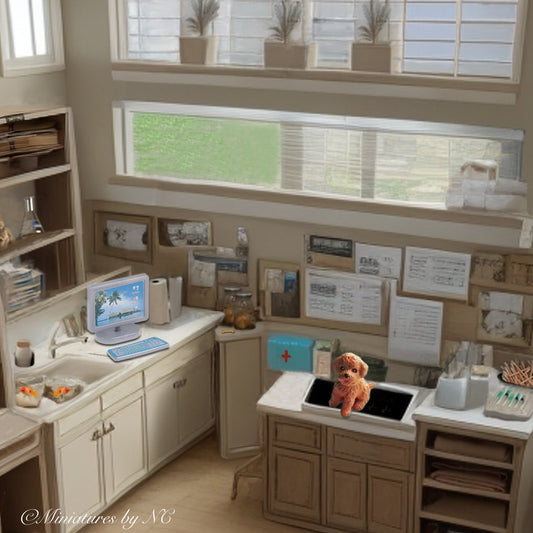
The diorama of the Miniature Living room has several dolls that need to be recreated. Three of the dolls sit in the corner on top of a fridge and others are placed inside the book shelf. They are truly very small and are a challenge to sculpt.
After some serious thought, I chose Arteza clay for crafting my doll heads. Working on such a tiny scale can be tricky—one wrong move and the heads get disfigured. So, I placed each head on pins and delicately sculpted their faces. Next came the baking phase. I set the toaster oven to 260°F. My new oven finally stopped smoking (new appliances need breaking in), but I kept a close eye to ensure the heads didn't burn.

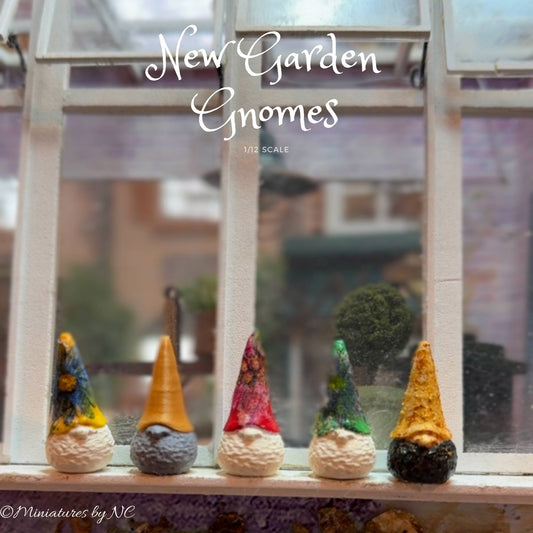
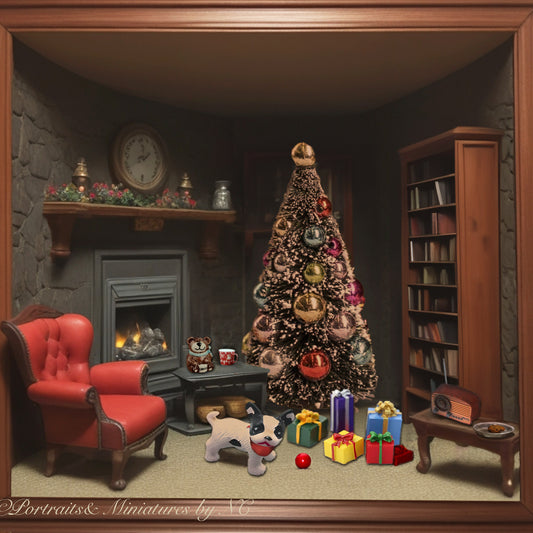
After the heads cooled down I made a cone to drape the garment over. A circle template comes in vary handy to make the shape of the cone.


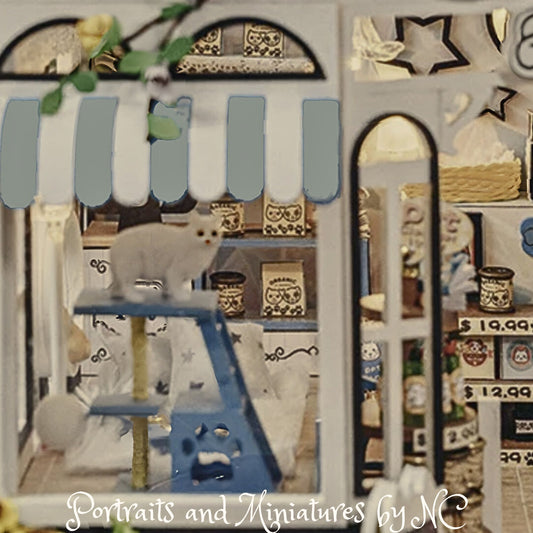
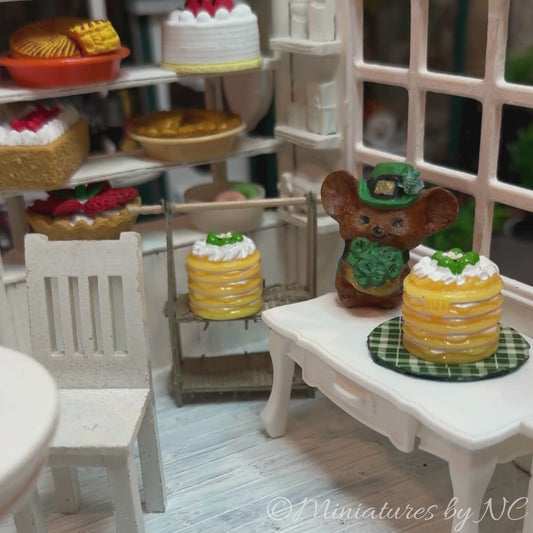
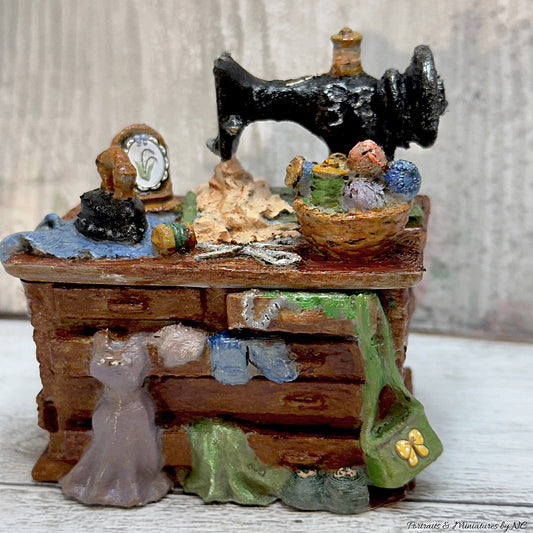
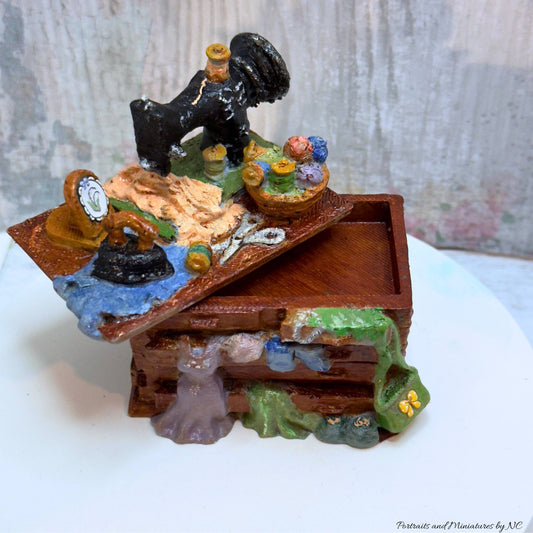
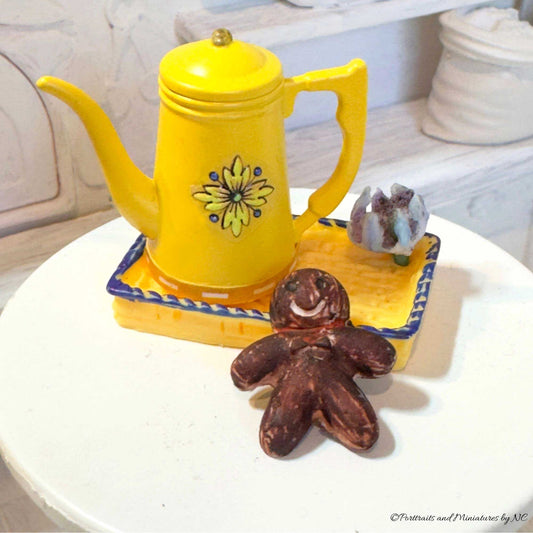
Here is the finished room box
🌟🏠 Bringing Memories to Life: The Miniature Living Room Diorama 🏠 by PortraitsbyNC