How to Make Miniature Ice Cream Cones

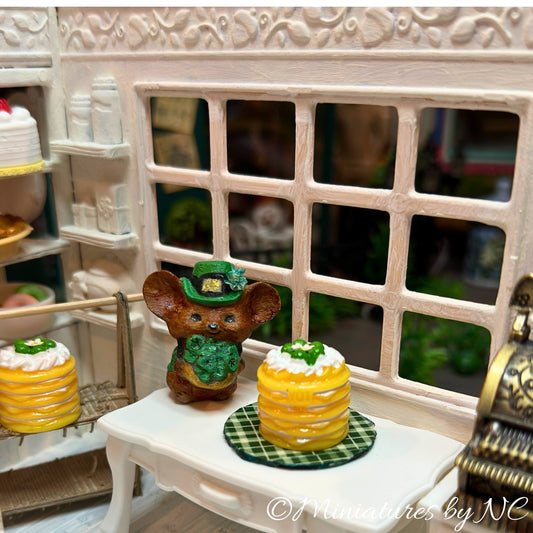
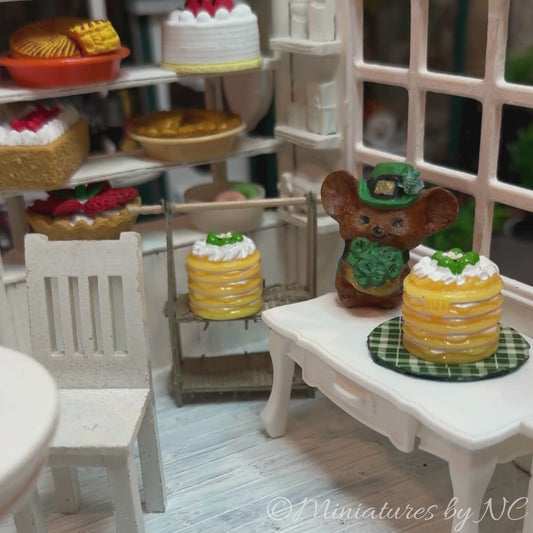
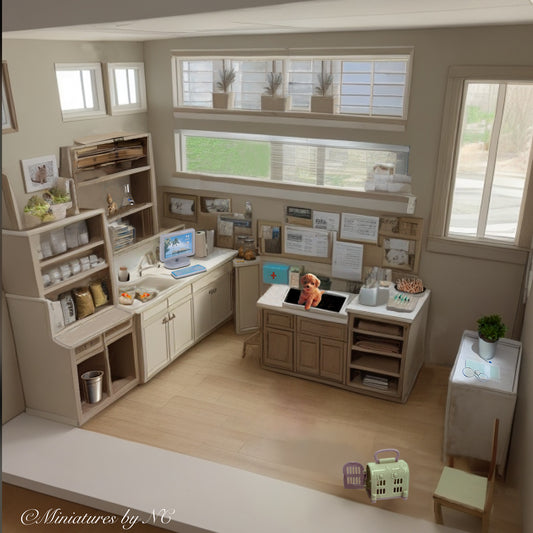
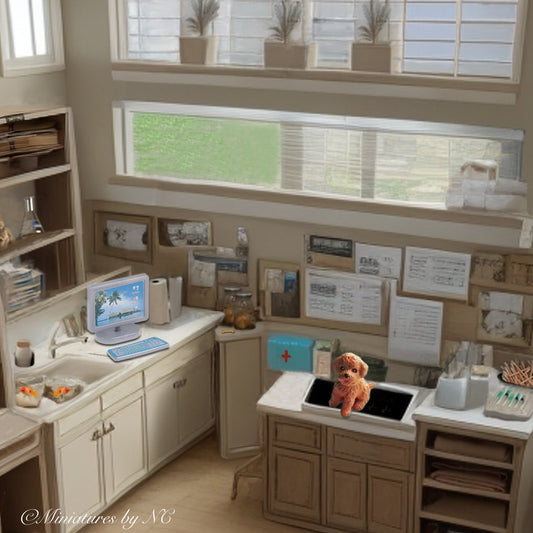
The little ice cream parlor needed more color. The kit came with lollipos on wires which where ok, but I wanted something that really stood out. So I decided to make ice cream cones.
For this project you will need:
- Fimo
- Ice Cream Mold
- Watercolor
- Oil Paint
- Gloss varnish
Let's begin ~

When you work in 1/24 scale you pretty soon discover that it is very difficult to maintain a decent texture. Your project can go much easier and faster if you have the right tools such as a perfect ice cream mold. This mold above is for larger pieces and I still have to source my tiny mold for you. All you have to do is take a bit of Fimo and condition it until it becomes pliable. Then carefully press it into the mold. Then place the mold in the freezer for about 20-30 minutes. Your tiny molds will be so much easier to get out and won't deform when you try to get the pieces out of the mold.

Follow the manufacturers guidelines for baking. I place my tiny pieces on a white ceramic tile, which works very well for even heat distribution.

Let the pieces cool off before handling. Use some sandpaper and your Exacto knife to remove any visible blemishes. There are many ways you can add color but when I am using white clay, I like to add the first layr of color with water colors. This helps me to get a feel for the color and it's intensity. Then I go over it with oil paints, but you can use Acrylic paint as well.


