Building a Custom Diorama of the Marvelous Mrs. Maisel: Showcasing Handmade Miniatures of 60's Tupperware and Kitchen Appliances

Step into the glamorous world of the 1960s with a custom diorama inspired by the hit TV show, "The Marvelous Mrs. Maisel." In this blog post, I will guide you through the process of building a unique diorama featuring handmade miniatures of Tupperware and kitchen appliances from that era. Get ready to unleash your creativity and take a trip back in time to the stylish and vibrant world of the Maisel family.

Gathering Inspiration and Materials
-
Researching the 60s Era: Before embarking on this diorama project, it's essential to immerse yourself in the aesthetics and design of the 1960s. By diving into vintage magazines, photographs, and watching episodes of "The Marvelous Mrs. Maisel" I learned about the essence of the era. For a convincing look it's vital to take note of the colors, patterns, and iconic designs prevalent during that time.
-
Collecting Reference Images: To create accurate miniatures, I gathered reference images of Tupperware and kitchen appliances from the 60s. I searched online platforms and visited antique stores to find authentic representations of the period. These references served as a valuable resource throughout the diorama-building process.
-
Acquiring Materials: Next, the necessary materials for constructing of the miniatures had to be gathered. I had basic supplies such as polymer clay, acrylic paints, paintbrushes, and sculpting tools on hand. Additionally, I considered using recycled materials or repurposing everyday objects to add a touch of authenticity to the miniatures. After visiting craft stores and browsing online marketplaces I gathered up all the materials needed to start on this project.

Making Handmade Miniatures
-
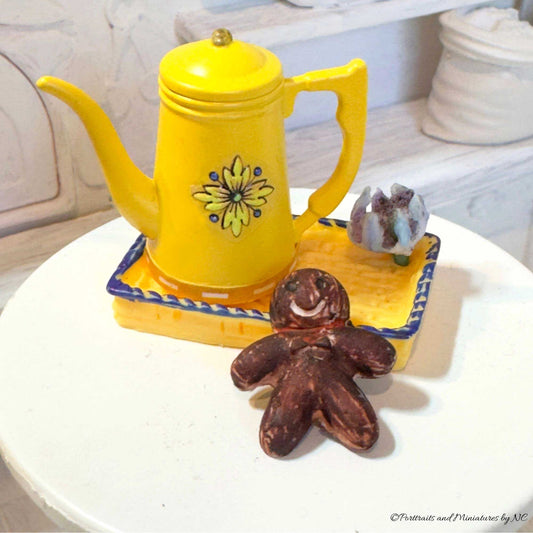
Researching Tupperware Designs: Tupperware was an iconic product of the 1960s, known for its vibrant colors and innovative designs. I studied the various Tupperware lines available during that period, such as the Wonderlier bowls, Shape-O Toy, and the Tuppertoys collection. Shapes, sizes, and patterns were analyzed to accurately replicate them in miniature form.
- Selecting Materials: I chose suitable materials such as polymer clay, air-dry clay and resin to sculpt the miniatures. Polymer clay is a popular choice as it can be baked to harden. Acrylic paints and fine brushes were essential for adding intricate details. PLA in various colors was used to print the flooring and kitchen cabinets. Beads, wire, fabric and many other odds and ends were used to recreate the pieces scene on the TV set.

Assembling and Displaying The Diorama
- After creating the miniatures, it was time to assemble the diorama. I arranged the miniatures in the box, keeping in mind the overall composition of the set I was replicating. Elements were glued in place with the glues appropriate for the material that were used. Additional props like miniature furniture, utensils, lights and accessories were added to enhance the scene.
- Once everything was set up, it was time to step back and evaluate the overall look and feel of the diorama. Necessary adjustments were made to to achieve the desired aesthetic.
- Finally, a protective cover was added to shield the diorama from dust or damage, ensuring it remains a cherished piece for years to come.

