Posterize in Photoshop

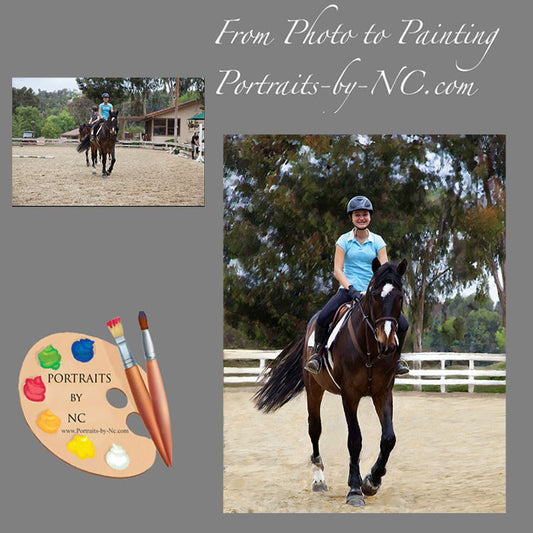
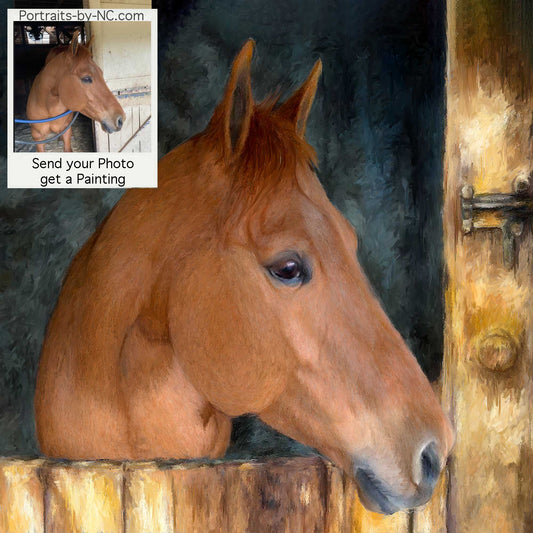
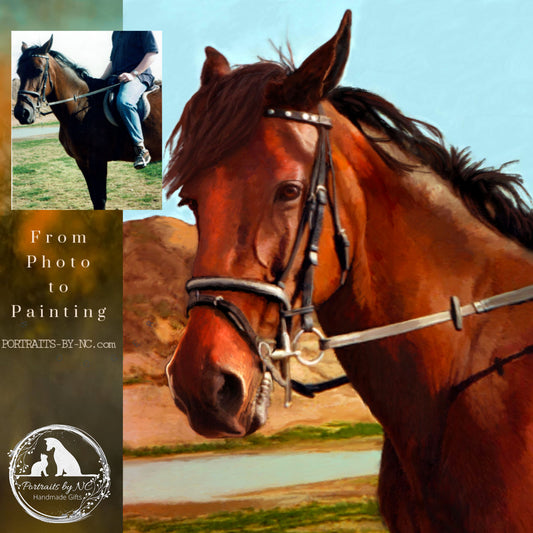
When working from a life model, the artist needs to squint to loose sight of all detail and determine the areas that are light, medium or dark. Half tones and reflective lights are often easily seen during a life sitting, but are often lost when viewing a photograph that tends to flatten everything.
In order to make optimum use of a photograph reduce the number of values to 6. Six values will be a good starting point to figure out what values are initially needed to quickly place the figure on the canvas. This is were the posterize command in Photoshop becomes a useful tool.
The Posterize command lets you specify the number of tonal levels (or brightness values) for each channel in an image and then maps pixels to the closest matching level. For example, choosing two tonal levels in an RGB image gives six colors: two for red, two for green, and two for blue.
This command is useful for creating special effects, such as large, flat areas in a photograph. Its effects are most evident when you reduce the number of gray levels in a grayscale image, but it also produces interesting effects in color images.
If you want a specific number of colors in your image, convert the image to grayscale and specify the number of levels you want. Then convert the image back to the previous color mode, and replace the various gray tones with the colors you want.
Source: Adobe Photoshop

Open photo in Photoshop
Choose Image>Duplicate
Choose Layer>New Adjustment Layer>Posterize>ok
This opens the New Layer dialog box enter the number of tonal levels you want (try 6) and click ok
Save
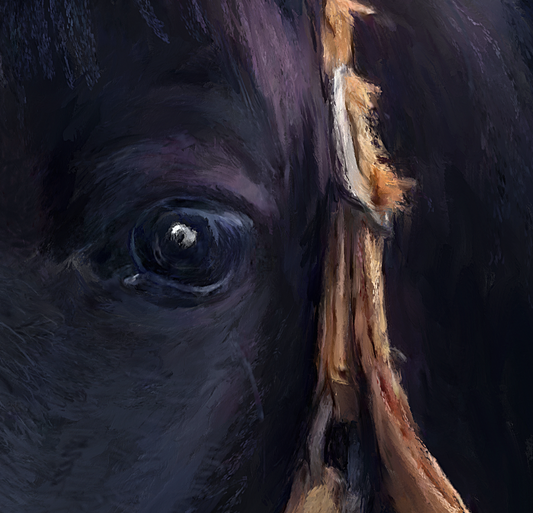
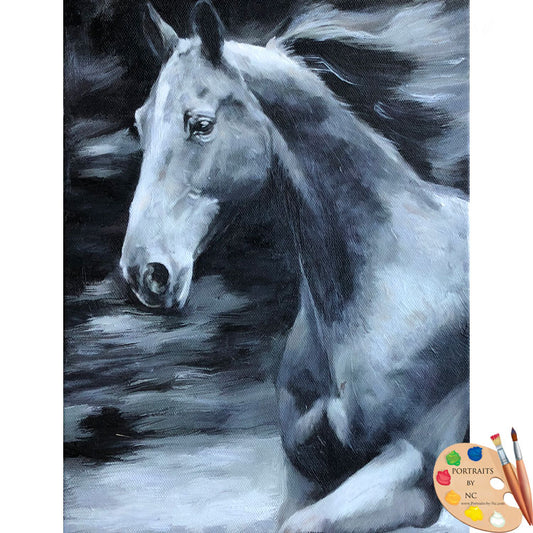
Since I like to start with a monochromatic underpainting I remove all color from my duplicated reference photo.
To get a black and white version open your original photo
Choose>Duplicate>Mode>Grayscale
Choose Layer>New Adjustment Layer>Posterize>ok
This opens the New Layer dialog box enter the number of tonal levels you want (try 6) and click ok
Save
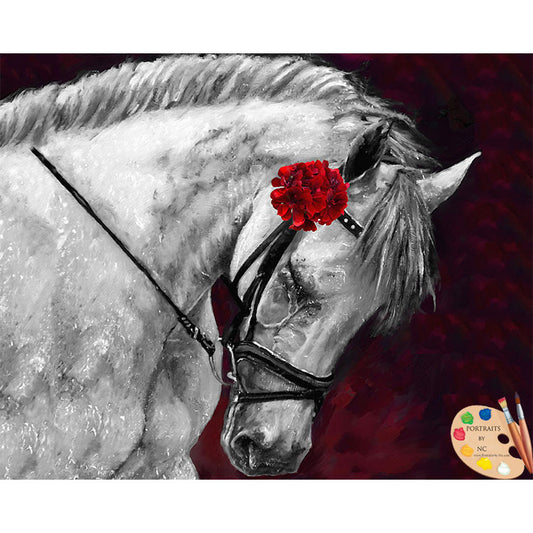
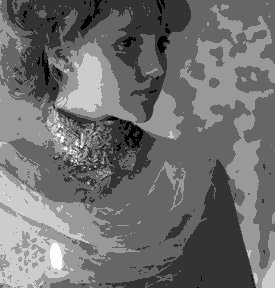
It is also a good idea to create a reference that only shows the areas that belong to the lights, halftones and those which are located in the darks. This is a super simplified value version, but as long as you remember that your lightest light in the darks has to be the darkest light in the light and vice versa. In other words, make sure your values are not jumping over into the adjacent area.

Open photo in Photoshop
Choose Image>Duplicate
Choose Layer>New Adjustment Layer>Posterize>ok
This opens the New Layer dialog box enter the number of tonal levels you want (try 3) and click ok
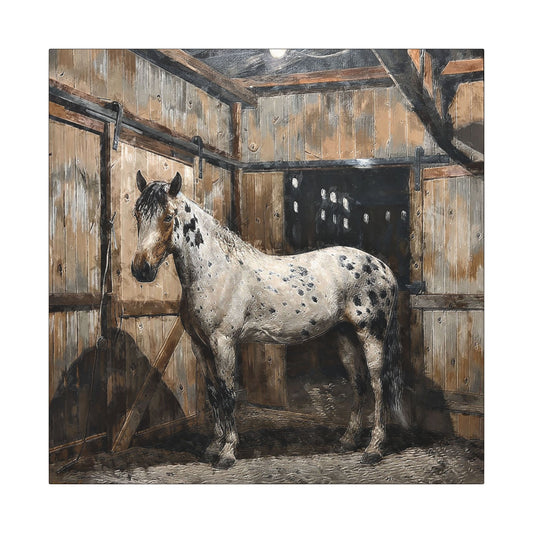
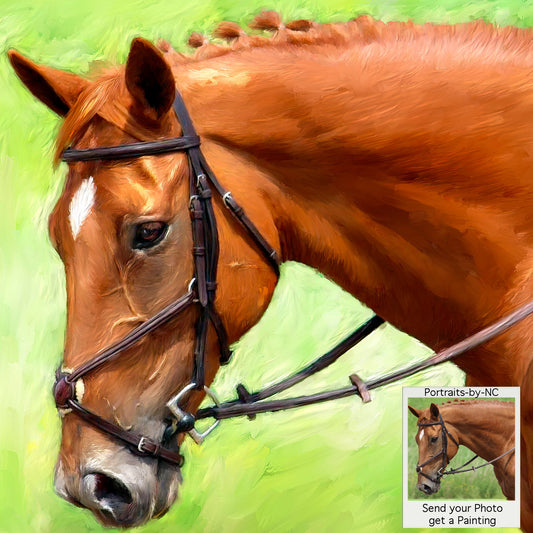
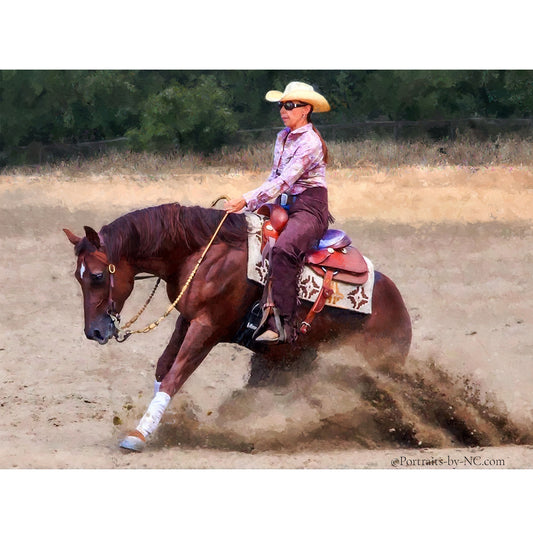
Update: Here is the finished painting