
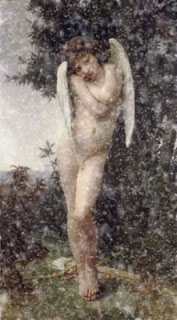
Creating Snow via Photoshop

Just when you thought you have seen it all, there comes along another Photoshop tutorial.This tutorial will teach you how to add snow to any image.
Please leave Old Master paintings just the way they are and try this on your own work instead. I have come across Photoshop manipulations of Bouguerau paintings that make my hair stand on end! It's almost sacrilegious!
This was copied from
Web Design Library and full credit is due to them.
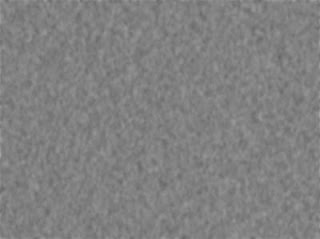
Open the picture that you want to put snow in it. That's your background Layer now. Create a Layer Group above the Layer group. In the Layer Group Create a new Layer. Fill this Layer with 50%Gray. Now go Filter > Noise > Add Noise... 50%, Gaussian Distribution, Monochromatic. After that go Filter > Blur > Gaussian Blur... Radius 4.0 pixels.
You should have something like on the picture below:
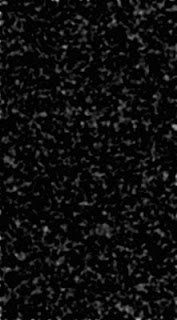
OK, now go Layer -> New Adjustment Layer -> Curves, this too is in the Layer Group, on the top. Here are my values, but feel free to experiment with your own:

Create a Clipping Mask between these two Layers (hold Alt key and place it between the two Layers, an icon like a movie camera will appear, click with the mouse, and that's it.)
You should have something like the picture below:
Put the Layer Group in Blend Mode: Screen and lower the Opacity on 90%. Here is what you should have so far:

Duplicate the Layer Group. Open the duplicated Layer Group select the two Layers inside and duplicate them two. Now shrink them to 1/4 of their size and put it in the left up corner. Do the same with the rest of them. Right up corner, down left corner and down right corner.
We are doing this to get a depth in the picture. here is what I got:
If there are lines showing use the Smudge Tool to get reed of them by.
Go beck to the first Layer Group and make a duplicate of it and put the duplicate under the original Layer Group. With the Move Tool selected, make this Layer 200% larger, here are the values, and click on the link like in the photo:

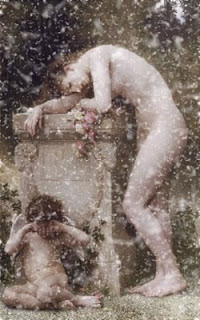
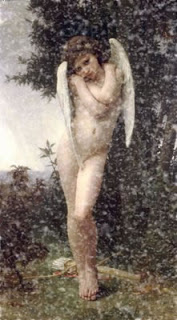
Open the Hue/Saturation and lower the Saturation a bit to get a cold look. And that's it. Here is the result:


