How to Build A Worm Composting Bin
Share
Yesterday I attended a class about how to build your own worm composting bin at the Ecology Center. For a year now I have been dumping coffee grounds and eggshells into my garden to attract earthworms and to better the condition of my garden soil. It was time to take the next step.
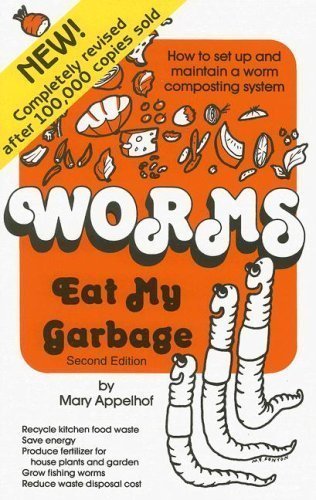 Worms Eat My Garbage: 2nd Edition by Mary Applehof (Feb 5 2007)
Chelsea Green
Did you know if 1 million people vermicomposted each year 82,000 tons of food waste could be turned into fertilizer instead of filling up our landfills? Worms can eat food scraps equivalent to their body weight each day and their castings turn into rich organic fertilizer that does wonders for your soil and the plants and vegetables that you have planted. Compost tea breaks down contamination and introduces healthy microbes into the soil and acts as a great natural fertilizer, pesticide and fungicides.
SUPPLIES
1. Plastic Container with Lid
To build a worm composting bin you need a large dark colored plastic container with a lid.
2. Drill
A drill to make holes in the bottom of your container for drainage
3. 1 brick / or heavy wood plank
That's to keep critters away from getting into your composting bin
4. Green Waste Material (provides nitrogen)
Citrus rinds, coffee grounds,, tea leaves, egg shells, lawn clippings, young leaves, fruit, veggies, manure (chicken, rabbit, horse), hair, feathers .
Do not add meat or dairy products!
5. Brown Waste Material (carbon)
Newspaper, telephone book paper, pine needles, chopped small wood pieces, fallen leaves, straw, corn stalks, egg cartons, cardboard
Do not add glossy magazine paper or hay!
6. Earthworms
It is recommended to use 1 lbs of earthworms for every square foot of bin space. For this large plastic container 1 lbs is enough.
7. Spray Bottle with water
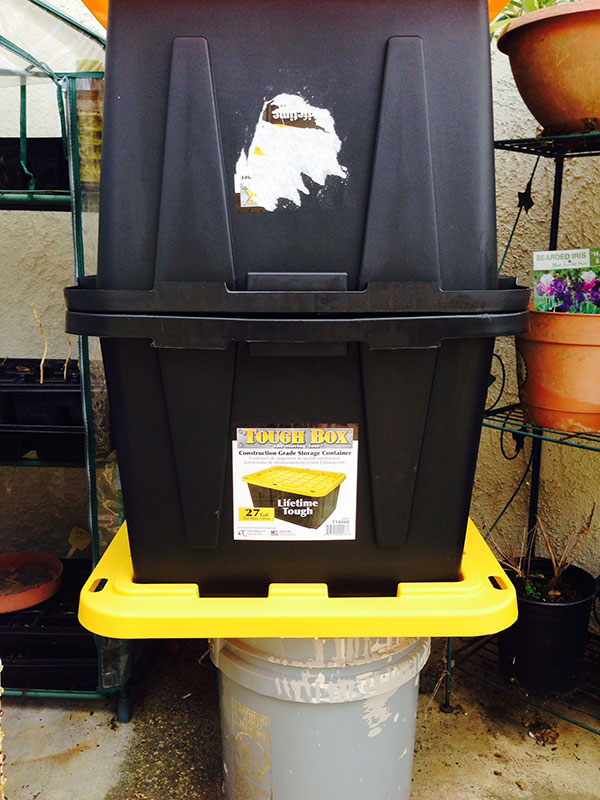
DIRECTIONS
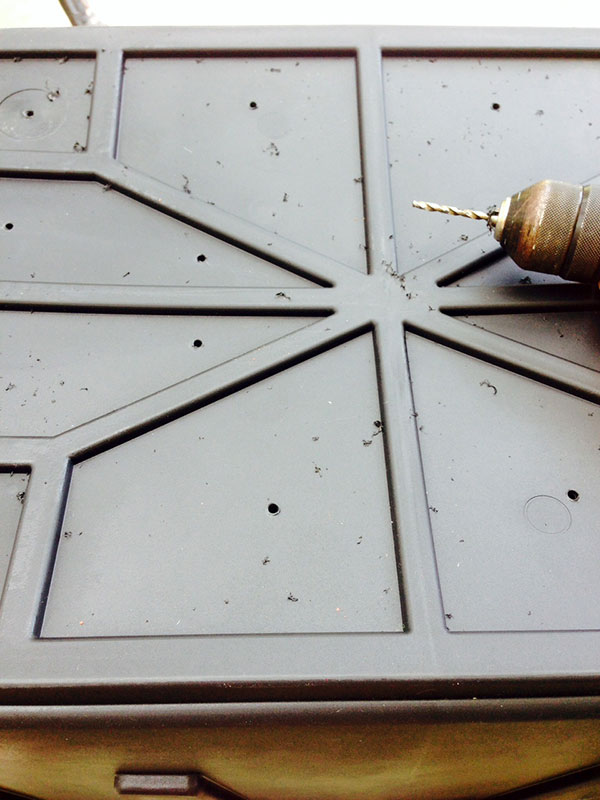
1. Turn your plastic bin upside down and drill holes for drainage.
2. FInd a shady spot in the backyard and place the bin on top of the lid. You might need to raise the bottom off the ground so that the bin does not sit in water.
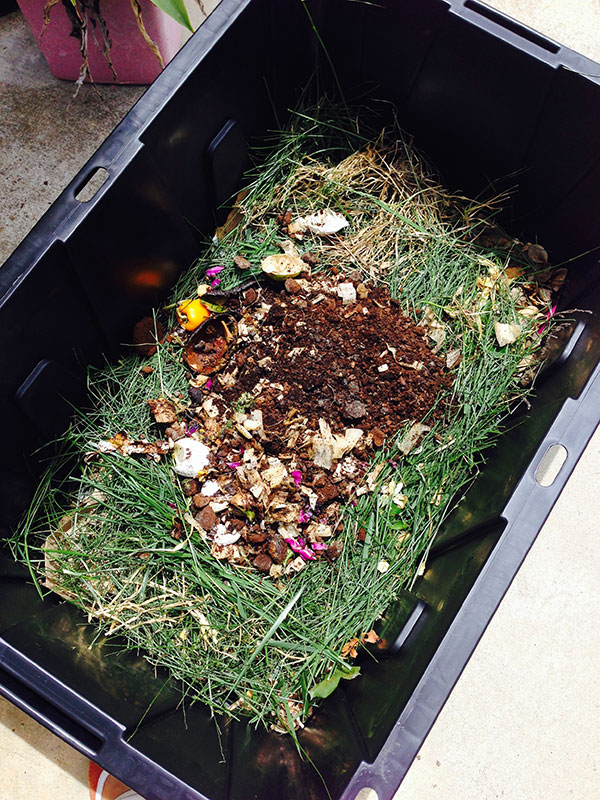
3. Now fill the bin with about 2 inches of Green Waste (food scraps). These should be small so that the worms can eat through them fast.
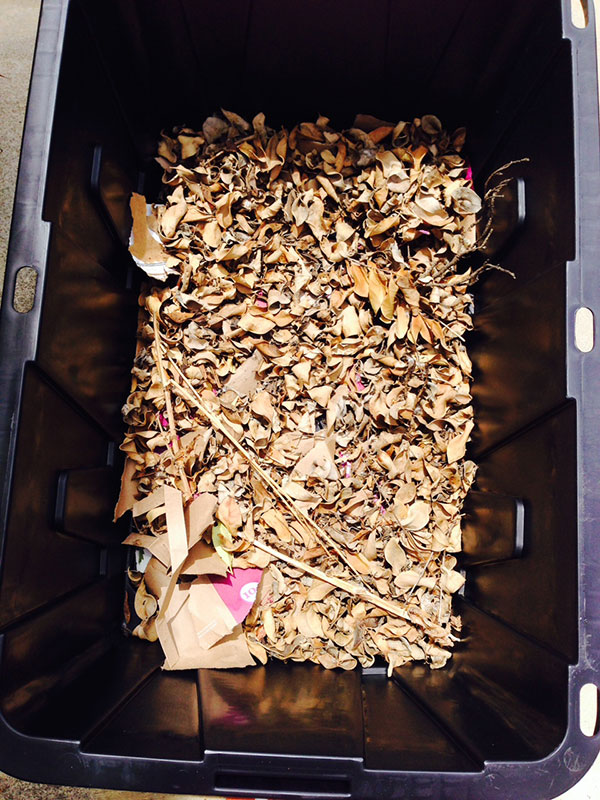
4. Layer with 2 inches of Brown Waste
5. Mix is all up
6. Use the spray bottle and mist the pile. The ideal condition should be a mix that is damp, but not wet. Sort of light a wrung out sponge.
7. Add your worms on the top. They will make their way down into the pile and start eating.
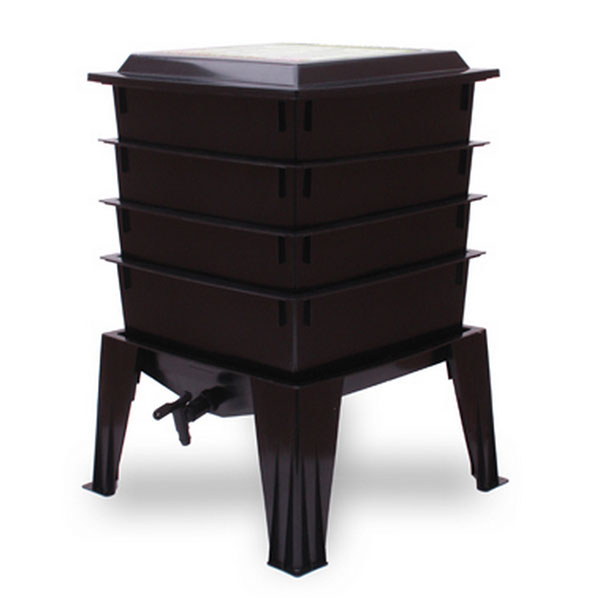
Fancy Worm Composting Bin by Master Gardening
UP KEEP
Think of your worms as your new pets. In order for them to thrive you will need to supply them with food and a little moisture.

HARVESTING BLACK GOLD
Remove nutrient -dense castings (black gold) every 3-6 months. You will see that your supply of Green and Brown Waste has turned into something that looks like black soil. It will have a forest earthy smell and have worms as well as other small insects mixed in it.
Technically you could dump all this rich soil with your worms into the garden, however it is better to get your next compost going.
Divide you old bin into two sections, by removing the soil from one side and putting it into a new empty container. Only in the newly created empty space start layering green and brown waste. As the worms get hungry they will leave the black earth and come towards the side that has the fresh kitchen scraps. One they have all moved over you can easily remove the rich soil and use it for the garden or miix the vermicastings into potting soil or use alone as organic fertilizer.
TROUBLE SHOOTING
1. Bin is too wet - add more newspaper
2. Bin is too dry - add more food scraps or mist with water.

Of course if this is all way too much trouble you can always purchase worm castings in a bag. It looks like black sand and does not smell. I use it by sprinkling a handful in with my regular potting soil and it works wonders for my plants.
 Wiggle Worm Earth Worm Castings -- 15 lbs
The miracles of the earthworm are easily seen in the beautiful growth and yields of you... [More]
Price: $12.30 Buy Now