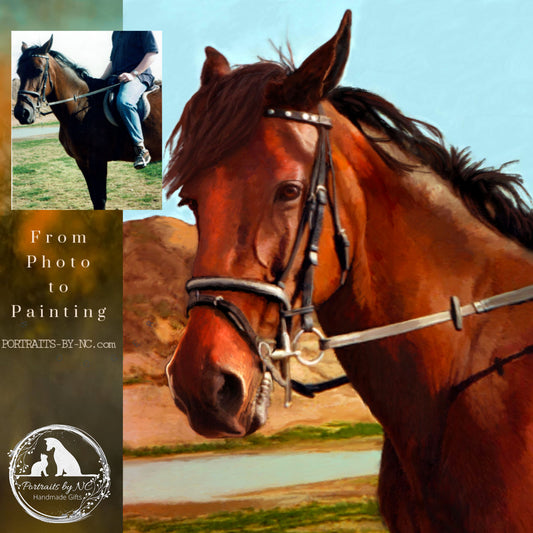
How to Create Color Swatches using Photoshop
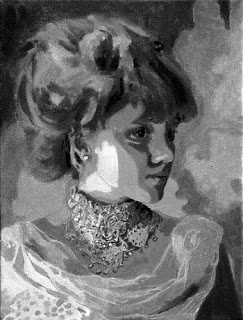
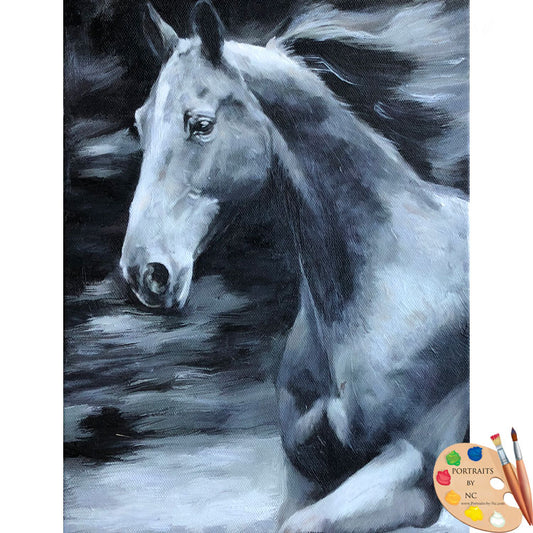
Last time I talked about how to posterize an image in Photoshop. After I converted my reference photo to black and white, I used the posterized image to quickly place the corresponding values on the face. Since everything got simplified down to 4 values, the grizaille came together much faster than usual.
What we think we see and what is actually there are two different things and I thought it might be fun to take a look at the color swatches for this reference photo.
Create Color Swatches on Photoshop
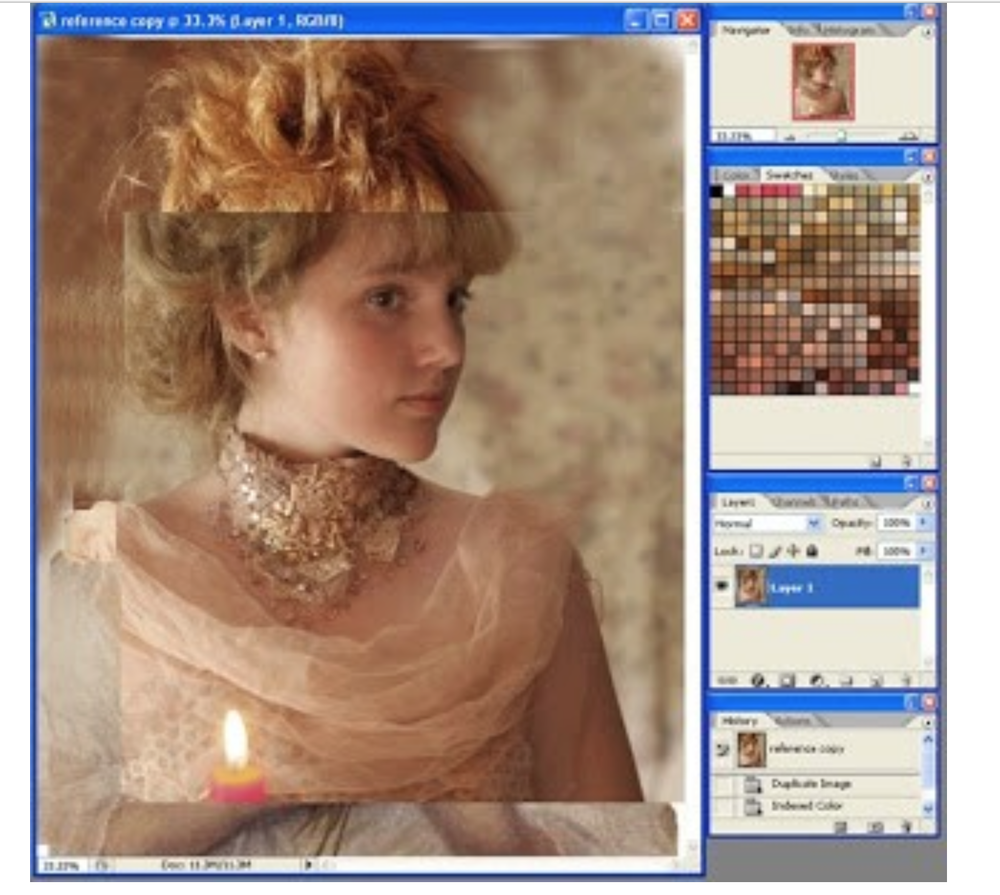
Let's say you have a photo and like to create a color swatch table for all the colors present in the image (see custom made swatches on the upper - right):
Open photo
Click on Image>Mode>Index Color
keep Preserve Colors on to get the exact colors of your image> click >OK
click on Image>Mode>Color Table -- This pulls up all the color swatches of your image
click SAVE> name.act >OK
(I like to save the color swatches where I also keep my reference photos, just make sure you save it as an .ACT file)
Go back to Image
Click on Image>Mode>RGB to change back to previous file
Now go to SWATCH Palette
Click> Replace Swatches
Opened Color Table - Locate your saved swatch file
Source:
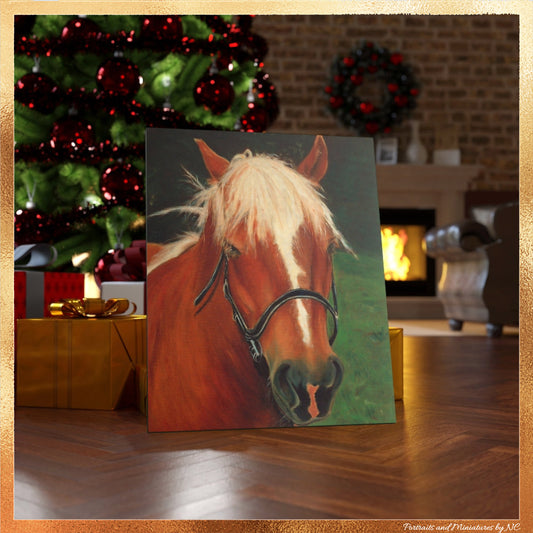
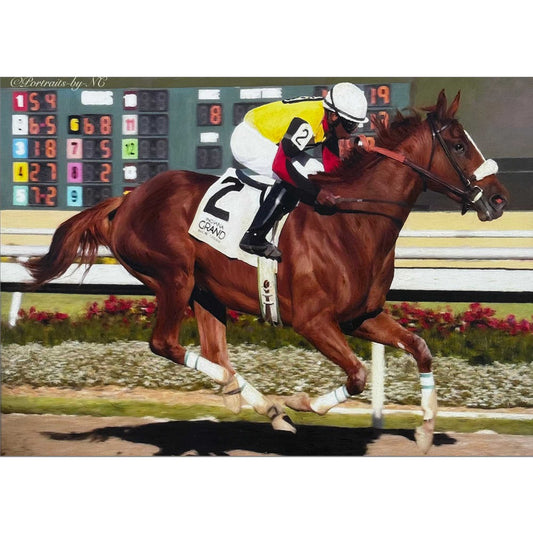
Update: Below is the finished painting so you can see how the painting is build layer by layer.