How to Make Realistic DIY Miniature Vines: A Rolife Kit Customization Hack

Hiding the Seams: DIY Realistic Miniature Vines for Your Rolife Kit
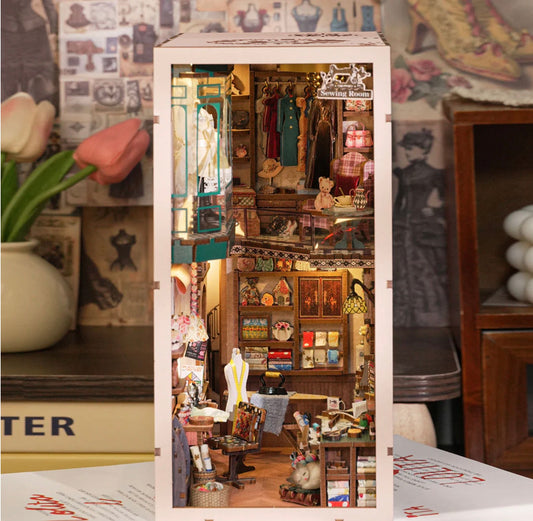
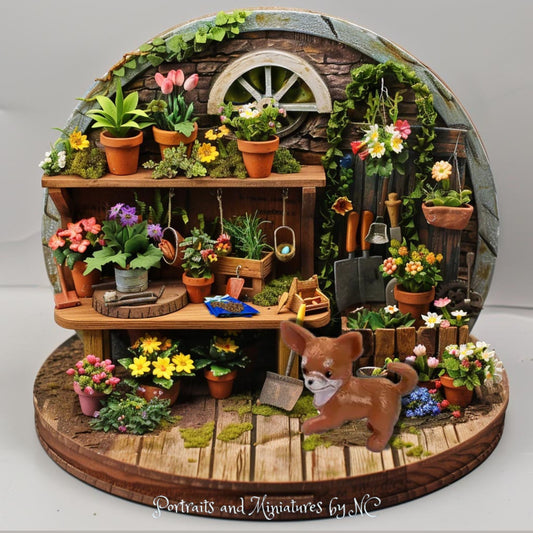
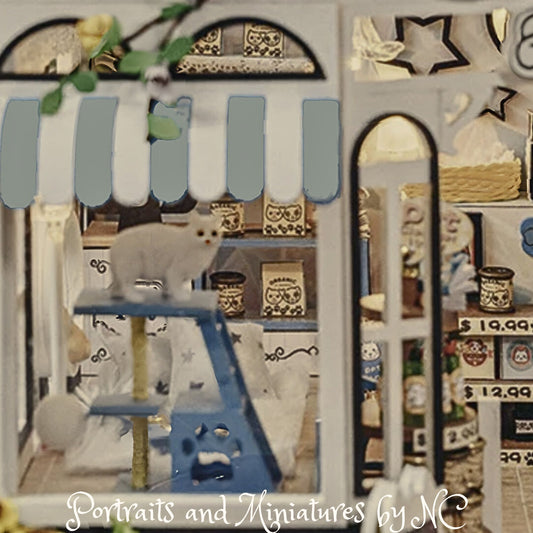
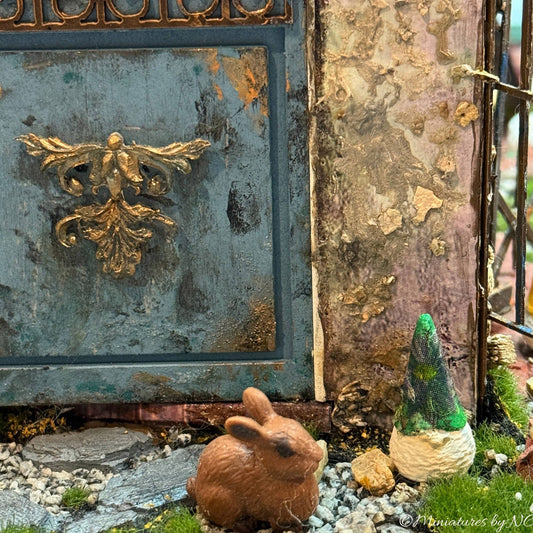
One of the challenges with "snap-together" miniature kits like the Rolife Catherine's Flower House is that despite the beautiful design, you are often left with visible wall joints and wiring for the LED lights. While the structure is impressive, those vertical seams can pull you out of the miniature world.

To solve this, I developed a simple, sustainable technique to mask those areas while adding lush, three-dimensional realism to the facade: Handmade 3D Creeping Vines.
The Materials
You don't need expensive landscaping materials for this. In fact, you likely have everything you need in your recycling bin:
- Old Magazines: Look for pages with various shades of green (forest, lime, olive).
- Leaf Punch: A small craft punch in a leaf shape (1:12 or 1:24 scale works best).
- Glue: A fine-tip adhesive or tacky glue like Aleene"s Tacky Glue
- Tweezers: For precise placement like these

The Process
1. Punch and Prep
Using your leaf punch, go through your magazine pages and punch out dozens of leaves. I recommend using different shades of green from the same page to give the vine a natural, variegated look.
2. Add Dimension
Don't glue the leaves flat! Before applying them, gently bend the punched-out shapes. Curling the edges or pinching the center of the leaf gives it a "sculpted" feel that catches the light, making the vine look like it's growing off the wall rather than being printed on it.

3. Strategic Placement
Identify the areas where the walls snap together or where wires run along the exterior.
-
Start at the base: Glue a few leaves near the bottom of the facade.
-
Creep upward: Randomly glue the bent leaves along the seam line, overlapping them slightly to ensure the gap is completely hidden.
-
Go "Off-Road": Let some leaves stray away from the seam to mimic how a real vine would naturally search for light across the house facade.

The Final Look
By the time you finish, the structural gaps are gone, and Catherine's House looks like it has been part of a garden for years. This "living" texture adds a level of cinematic storytelling that sets your kit apart from a standard build.
Pro Tip: This technique is also perfect for hiding the battery box or wire exits on the back of your dioramas!
Build Catherine's Living Room with me!
Artist Tip: Before you head to Rolife to order Catherine's Living Room Kit, make sure to use copy coupon code SOOTHING to get $15 off the kiti! It's a fantastic way to start this project with a little extra savings.
Timeline of the Built