How to Make a White Marble Replica Surface for Photography
Today's Post is sponsored by #DiscoverCraftopia
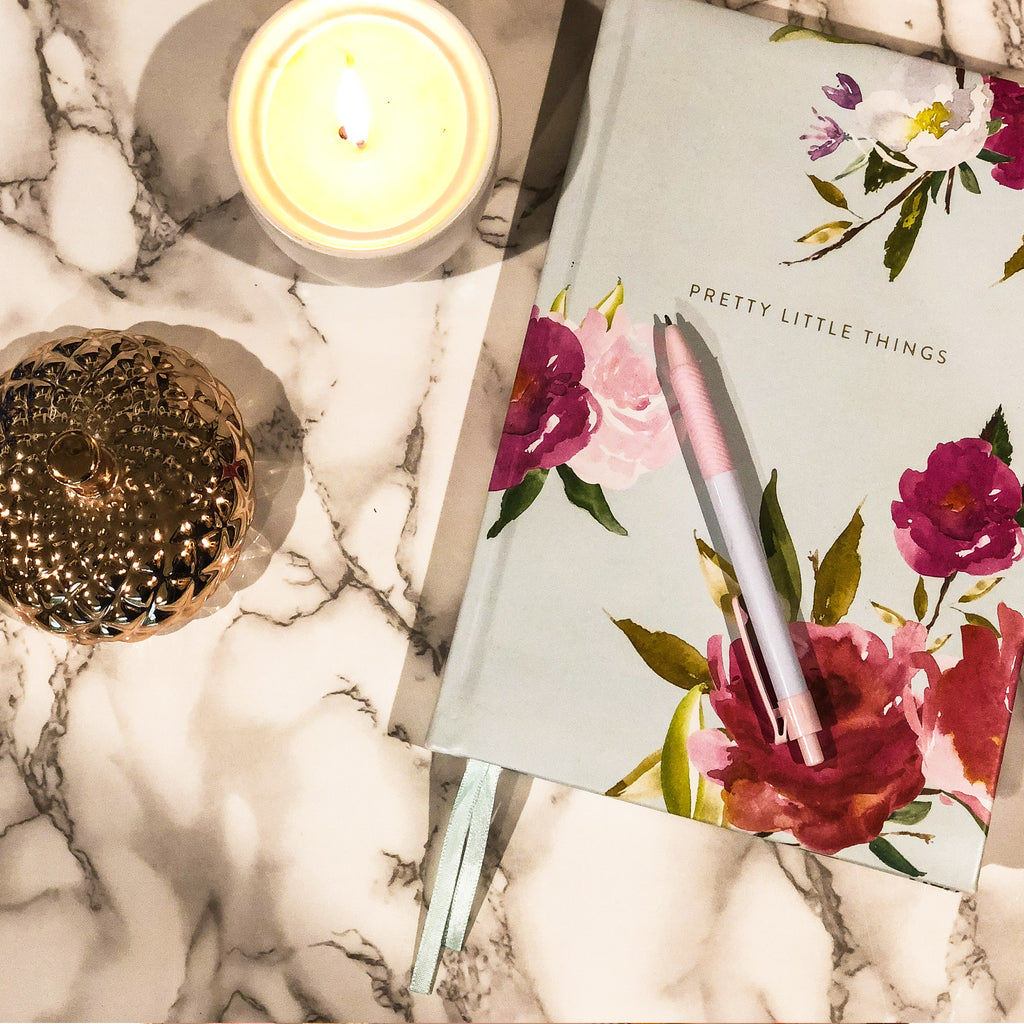
Food Bloggers and product photographers love white marble backdrops since it lets whatever is put in front or on top stand out more. These types of patterned backdrops are great for all sorts of Flatlay photography. White marble has just the right amount of light grey veining in it to make the surface more interesting than a plain white surface. However, not everyone has a white marble countertop or wants to drag around heavy pieces of marble just to set up a shoot.

My solution to this problem was to use a marble-like contact paper and adhere it to flat boards that I can position any way I like for that perfect shot. Since the panels are lightweight, under 1 lb they can quickly be taken anywhere as needed and since they are thin storing takes up no room at all. Another benefit is that spills can quickly be wiped off making the backdrop usable time after time.
Here is what you need for your White Marble Replica Surface:

- 1 large roll of white marble adhesive Craft Vinyl Roll (contact paper)
- Windex
- Paper Towel
- Squeegee or a soft scraper
- Exacto Knife
- 2 16x20inch Smooth Panels ( you can choose whatever thickness or size you like as long as the surface is smooth - I used 16x20in Clayboard panels)
Directions:

1. Spay your surface area with Windex and wipe off any excess dust or dirt.
2. Take off the plastic wrap of your contact paper and place it on top of the area that needs to be covered.
3. Cut off any excess contact paper.
4. Spray the surface area with Windex again. This is done so that you can easily slide the contact paper into place without it immediately sticking to the surface.
5. Peel the backing off the contact paper, parts at a time. Don't pull off all the backing, but rather do a small portion so you can line it up with the area to be covered and avoid bubbles and creases.

6. Once the contact paper seems to be in the right position place it on top of the surface and use the squeegee to adhere the contact paper permanently to the surface.
7. At the same time continue removing the backing and smoothing the areas that are making contact with the surface.
8. Repeat until the entire area is covered.
9. Use the squeegee once more to make sure that the entire contact paper is making good contact with the surface and that no bubbles, bumps or creases are visible.

10. Use the Exacto knife to cut off any excess. Enjoy your new creation!

Photography Tip:
When you shoot a simpler scene use the marble veins for a more interesting setting. When your scene is more complex choose an area that has less visible grain.
I love using Adhesive Craft Contact Paper since it is a quick way to make a large visual impact for a very low cost. You can line shelves and drawers, cover furniture and even use it in various crafting projects.


As I mentioned before the nice folks at Craftopia send me several rolls of their Granite Gray/White Marble Vinyl Paper Rolls to try out. First off I liked the 16"x89.25" large rolls. The size is ideal to cover large areas.

I like that the back has a grid which makes cutting straight lines ever so much easier! The paper stuck to my surface with ease and I had absolutely no trouble with placing it on my desired surface area. I have tons more rolls to use and I am already making plans to cover some other areas in my home in this nice looking faux marble. The vinyl can easily be wiped off with a damp cloth.