Ever since I discovered decoupage and the world of molds I have become hooked on trying out different crafting projects. I am going to visit my girlfriends very soon and thought why not bring them each a little crafted framed piglet that they can hang up in their kitchen.
For this project you will need the molds listed below and a few other items for which I will list the links later on.

A little note about paper clay. I love paper clay, because it is very lightweight, dries fast and can be painted with various materials. I started the project with Activa La Doll Premier Natural air Dry Stone Clay which I absolutely love. For the 4th frame I run out and used DAS Clay and had a chance to compare. DAS clay took longer to dry and was heavier. The color was also a bit more grey and not white. It took the mold nicely, but so far I do prefer the Activa clay over DAS. But back to the tutorial.

Sprinkle a bit of baking powder or even baby powder in the mold so that the mold comes out easy. Then take a bit of clay and fill the cavity of the mold. Press the clay in firmly so that all the crevices get filled.

Use a ruler or other sharp blade and cut off the excess clay. Then turn the mold over and slowly let the cast drop out of the mold.You might have to help it along a bit, but the cast usually drops out fairly easy.

If you need to do some touch up, you can take a bit of clay, wet a brush and gently brush on some more paper clay. I am going for a vintage look here and will not be touching up anything.

If you have an old frame you can use it for the next step. If not I found it very convenient to have molds for frames on hand. Just make sure that your piggy has enough room in the center of the frame.

This is what the a cast of a frame looks like. I found similar molds on Amazon just make sure to double check the size before ordering. I have ordered plenty of stuff not realizing that they were much smaller than what I thought them to be.

Now it's time to make a backing for our frame. When using air dry clay some shrinkage can occur, so it's best to wait until the clay is dry. Then just trace a circle on cardboard and cut it to size.
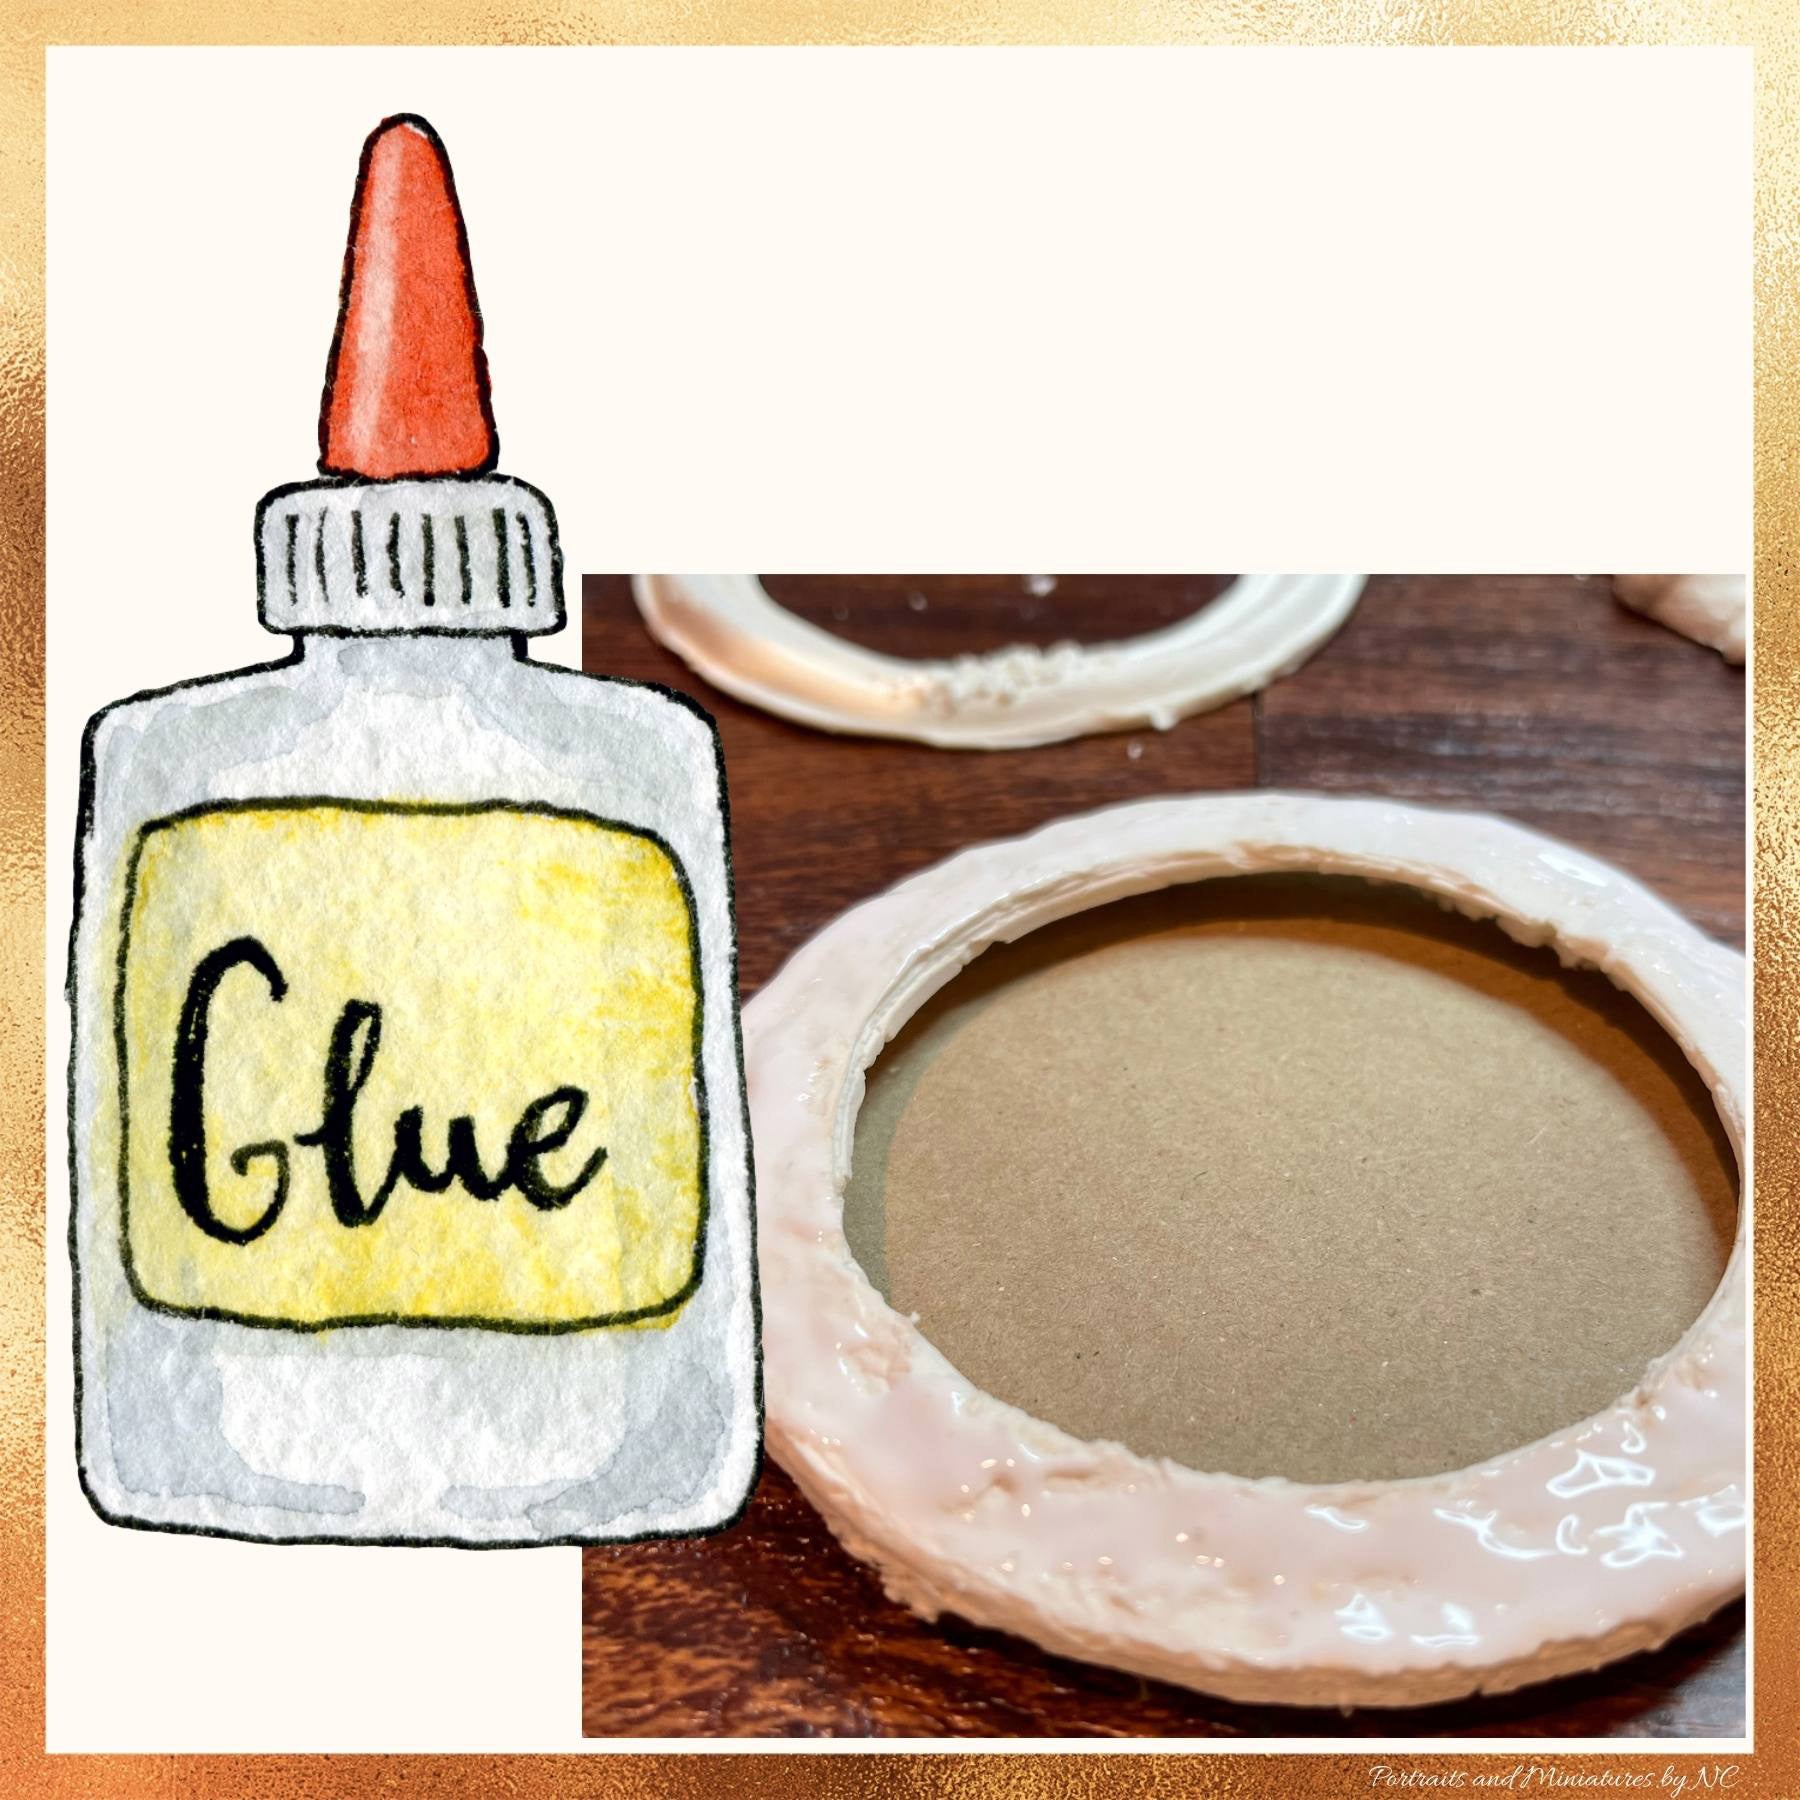
Apply a generous amount of glue on the backside of your frame and glue the cut out cardboard backing to the frame. Glue the piglet in the center of the frame.

I apply a coat of Golden Soft Gel Medium over everything. It acts as a barrier to protect the cardboard from buckling when wet paint is applied and it also acts a bit as an adhesive to seal everything in.

You can use any color Acrylic paint at this point. I started with a coat of white and then decided to go with an off white instead. Then I took a chocolate brown and made a wash (more water than paint) and applied it all over. I rubbed away some areas that I wanted to remain lighter and added more paint in areas where I wanted it to be darker. The painting process is a put on wipe off sort of thing. Don't be afraid to experiment - you can always paint over with a heavier coat of color.

Here you can see how the darker brown paint has seeped into the crevices. This will only happen if you either use watery paint or a paste to wipe the color in.
As I mentioned before I am going for an aged look and want to the piece to have a bit of patina. That's why the color application is not even.

Here is a side view of the piece showing the supposed age of the piece.

To finish the piece off add a ribbon and attach a small saw tooth picture hanger
The piglet mold can be ordered from my store - see below